DIY No Sew Halloween BOO Fabric Tie Wreath
DIY No Sew Halloween BOO Fabric Tie Wreath We are back with another super fun project this month. This DIY No Sew Halloween BOO Fabric Tie Wreath looks so amazing on...
This post is brought to you in partnership with Waverly Inspirations and its parent company, Iconix. I have been compensated for my time. All opinions and ideas are my own. We hope you love our DIY Unicorn Head Pencil Case. Read our full disclosure policy here.
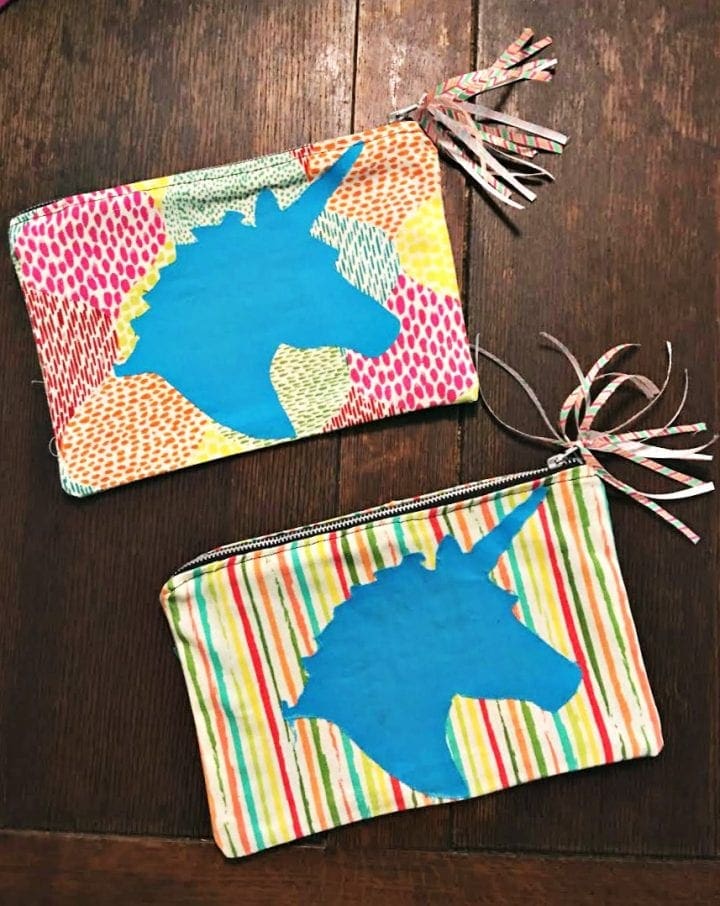
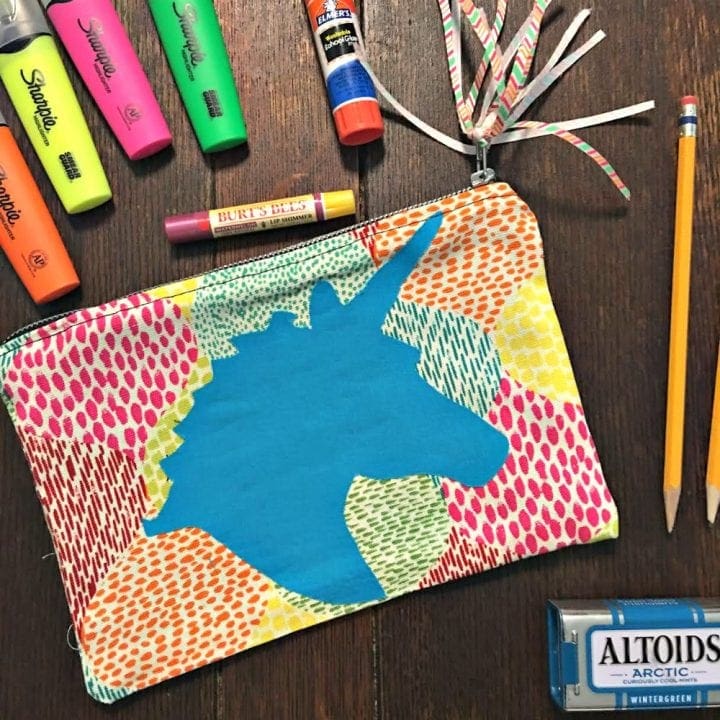
My challenge this month was to come up with something back-to-school related. I knew exactly what to do. My girl's love unicorns and they always want a little larger pencil case so they can bring a few other things as well like lip gloss, mints, etc. My first thought was to do the entire body of the unicorn but then we scaled back to the head which I think was a great choice. I love this DIY Unicorn Head Pencil Case.
https://divinelifestyle.com/diy-unicorn-bath-dust/
This pouch just turned out so cute. We absolutely love them! In fact, my girls made a few extra to share with their friends. We are thrilled to be partnering again with Waverly to bring this fun back-to-school craft. Waverly Inspirations products are available exclusively at Walmart.
 DIY Unicorn Head Pencil Case
This was such a fun project thanks to the superior sewing skills of my stepmother. She sewed the second pencil pouch in no time flat!
Choose your fabrics. We loved these Waverly Inspirations fabrics with the beautiful, bright colors. We paired our fabric choices with a solid, coordinating color for the unicorn head and pencil pouch lining. Iron all fabric as needed to remove all wrinkles.
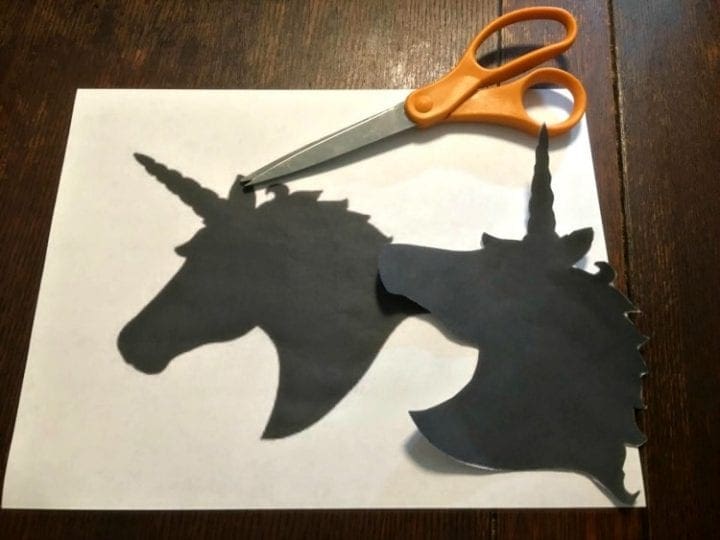
Print out the Unicorn Head Silhouette and cut out the head completely. This is where you can decide to leave the horse with the wavy main or you can cut a smoother horse but cutting off the hair on the mane. Place the head on Wonder Under and trace out a unicorn head for each pencil case you plan to make. Next cut out each unicorn head, follow the Wonder Under instructions and iron the head onto your fabric. Cut the heads out once again and place to the side.
 Step 3.
Use the marking pencil and pins to cut two pieces of the outside fabric measuring 11 X 7 with a 3/8 seam allowance. Cut the coordinating fabric liner as well with the same measurements. Pin everything inside out.
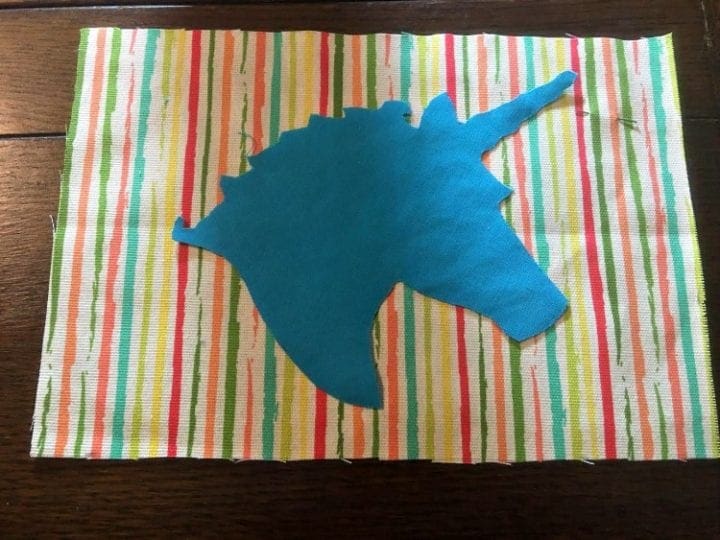 Step 4.
Now you want to peel back the paper on the Wonder Under Unicorn Head. Using a pin mark on the front side of the pouch mark about where the horn of the unicorn should be. My goal was for the ribbon to look like is was coming off of the top of the Unicorn horn so I pinned where the top of the zipper would go and sewed accordingly. I have literally never said unicorn so much in my life but it is surprisingly uplifting.
Now it's time to add the zipper. We used this fab video for the exact instructions on how to add the zipper. Watch the entire video once and then pause when you start to sew the zipper.
Once your zipper is added, you are ready to sew the case. You should position your zipper with the teeth side down along the right side of fabric of the top edge of the bag. This is where you have that 3/8 seam allowance. Layer lining on top (right side down), pin in place and sew with zipper foot and straight stitch. Repeat on the opposite side.
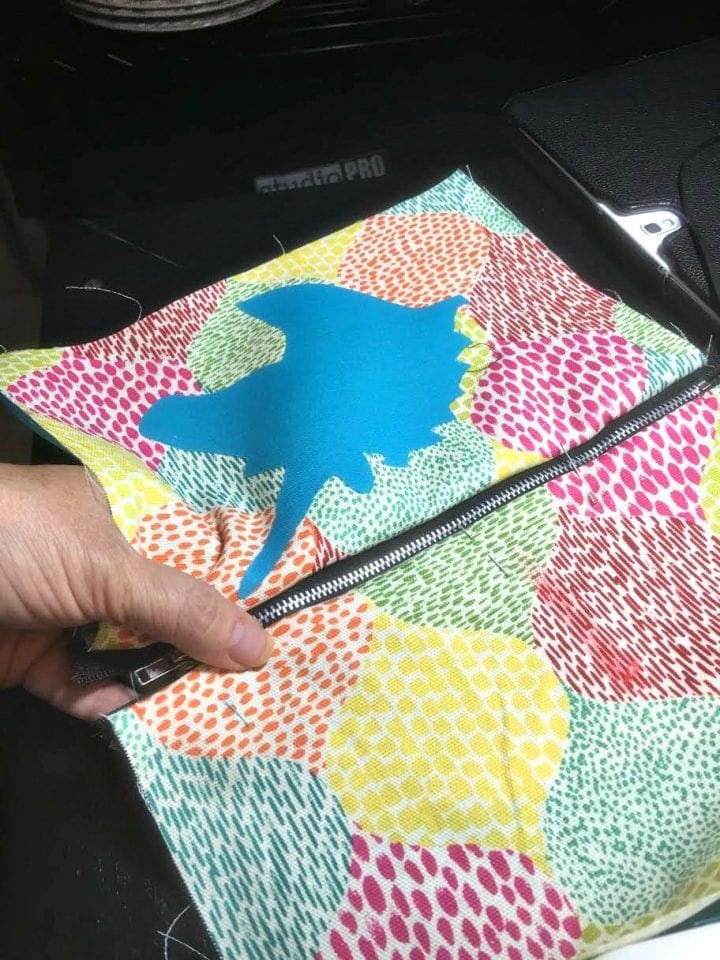

Cut your choice of ribbon into 5 inch pieces. Cut these pieces in half and then half again. Each piece should yield 5 inch strips. Thread as many strips as you can through the zipper. I managed to get 6 or 7 pieces into each one. Tie them in knots. Keep tying knots around the other knots until every strip is done.

Trim off any stray threads and your pencil pouch / makeup case is complete.

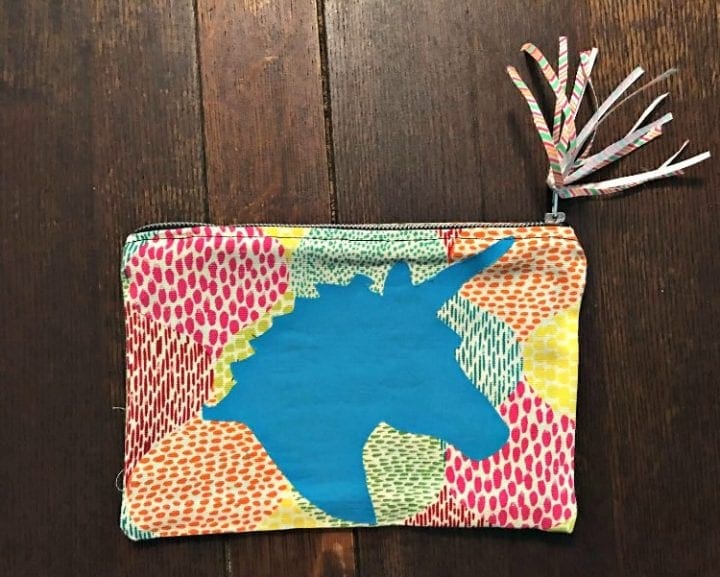 We hope that you love this DIY Unicorn Head Pencil Case as much as we do!
The Waverly Inspirations collection takes its design direction from its rich archives of American design and updates these patterns for today’s consumer. Whether you are a beginner sewer or crafter, or an experienced one, Waverly Inspirations has something for everyone. From fabric to ribbon, from craft paint to home décor. Waverly Inspirations can help you with all of your decorating needs.
Check out Waverly on Instagram
Like Waverly on Facebook
See Waverly on Pinterest
Tweet with Waverly on Twitter

That is super cute!
That is so pretty! My niece loves anything with unicorn in it. Now if only I knew how to sew. 🙂
What a fun idea! This would be so cute to do for my daughters birthday party loot bags.
Plus they could personalize them themselves too.
Pinning this for later!
What a cute pencil case! My niece would love to get one of those, she loves unicorns. I wish I knew how to make one.
That is such a neat idea. I love the unicorn too. Sounds like a great diy project. I love making stuff like this!
These must be so fun to make! I love how colorful and personalized they are/can be. This is a great DIY project!
Wow so awesome! I love fun DIY projects and this is one that’s great for all ages because of how versatile it is! Love this, thanks for sharing!
So clever and thanks for the printable unicorn head silhouette! I sew and will definitely incorporate it into something. This is perfect for back-to-school since I love sending my kids off with some sort of homemade goodness.
What a cute craft idea! I will have to show this to my daughter.
This is such a cute pencil case. I love DIY projects that I can customize to my sons interest.
This is such a fun craft. I remember when my niece was obsessed with unicorns!
Love this! both my girls would love something like this for school, especially if they could make it! So super cute great DIY project for us!
This is so cute! What a fun project with the kids!
Oh that is so fun! I love that unicorn design and all of the colors are perfect! Great back-to-school idea.
Nothing beats bright colors and unicorns! I know my daughters would love something like this, but I definitely want to make one for myself too.
We’re obsessed with unicorns in my household! Definitely something I would love to do for my nieces before they go back to school.
This is freaking adorable. My daughter and I are going to make a large makeup bag. Thank you for the instructions!
Holy cuteness! This is adorable and I want one for myself.
What a cute project! My daughter would love to make one of these with me.
This is super cute! My daughter would love to make this!
That is such a cute case! I love DIY projects, they’re so much fun!
I love this so much! What an adorable pencil pouch and what a great idea to make exactly what your kiddo loves.
This is such a fun project! My youngest daughter loves unicorns and would flip over this. I need to get my sewing machine out and do more projects with her!
That’s awesome! I love DIYs because it’s fun and you get to do it with the kids not to mention it’s so much cheaper than buying something ready-made! This is such an adorable looking pencil case.
This is really cute! My daughter would love this for back to school.
I love DIY ideas like this. So cute and gives you time with your kids to create something unique.
Well how adorable is this!? I know my daughter would love to make this with me! And you make it look so easy!
This pencil case turned out really good. I will have to try making one this weekend with my Daughter.
This is so cool! I can’t believe you made this! What a fun DIY project!
It turned out really nice. I love that you used a unicorn.
WOW This Is Adorable & So Easy To Do I Must Make With My Girls They Will Love It
What a great DIY to do with the kids to get them excited about back to school. Definitely making these
Oh, nice idea. I love DIY projects, they are low cost but very unique!
Wow, this is so cute. My sister will be so excited to see this.
Talk about getting in a unicorn craze recently, I can’t be more pleased to see this! I also needed a different type of purse or case for some of my smaller things, this is the perfect one!
I have a teacher friend who absolutely LOVES unicorns so I will try my best to make this for her as a Back to School gift. Thanks for the step by step tutorial!
Oh, that is the best! Unicorns are my favorite magical creature, and I love that fun background you put the head on. Love it!
This is a fun DIY craft. I can see myself making this and stuffing it with supplies to give to my child’s teacher.
What a cute project. This looks easy to make. The girls are all about Unicorns, I want to do this for them.
This is a cute zippered bag. I never thought of making my own. I always remember those cheap plastic zippered bags growing up. I was lucky if they lasted several months especially with heavy use.
That is so cute and very creative. Definitely a hit for the unicorn lovers. This is awesome!
What a cute pencil case! Love the colors! My niece would love to get one of those!! Can’t wait to show it to my SIL!
I wish I had sewing skills because that unicorn pencil case is adorable. it would be perfect for my niece’s school pencils.
i seriously LOVE Unicorns and this is sooo cute!! I’ll have to show my niece LOL thanks!
Pingback: DIY Unicorn Bath Dust | Fizzy and Sleepy Time Bath Bombs