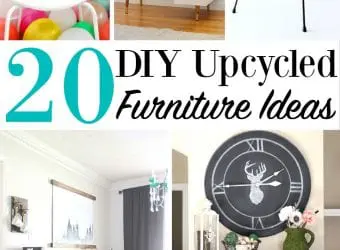
20 DIY Upcycled Furniture Ideas
20 DIY Upcycled Furniture Ideas When it comes to renovation and DIY in my home, the first place that I look is at our existing furniture. A great furniture upcycle can save our project...
 This post is brought to you in partnership with Waverly Inspirations and its parent company, Iconix. I have been compensated for my time. All opinions and ideas are my own. We hope you love our DIY Unicorn Head Pencil Case. Read our full disclosure policy here.
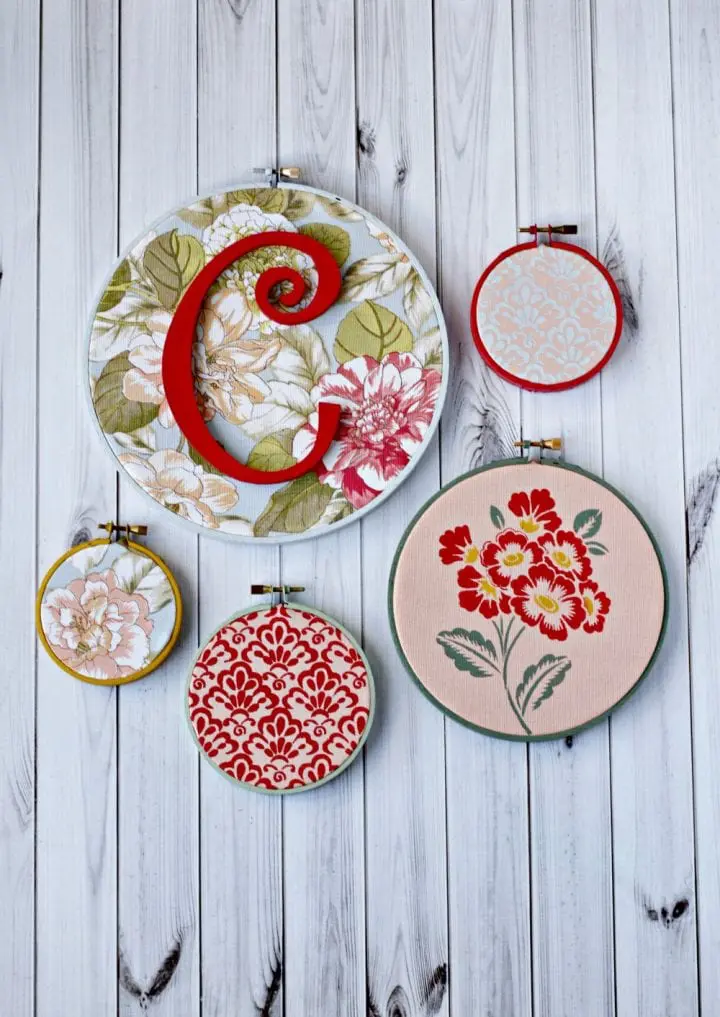
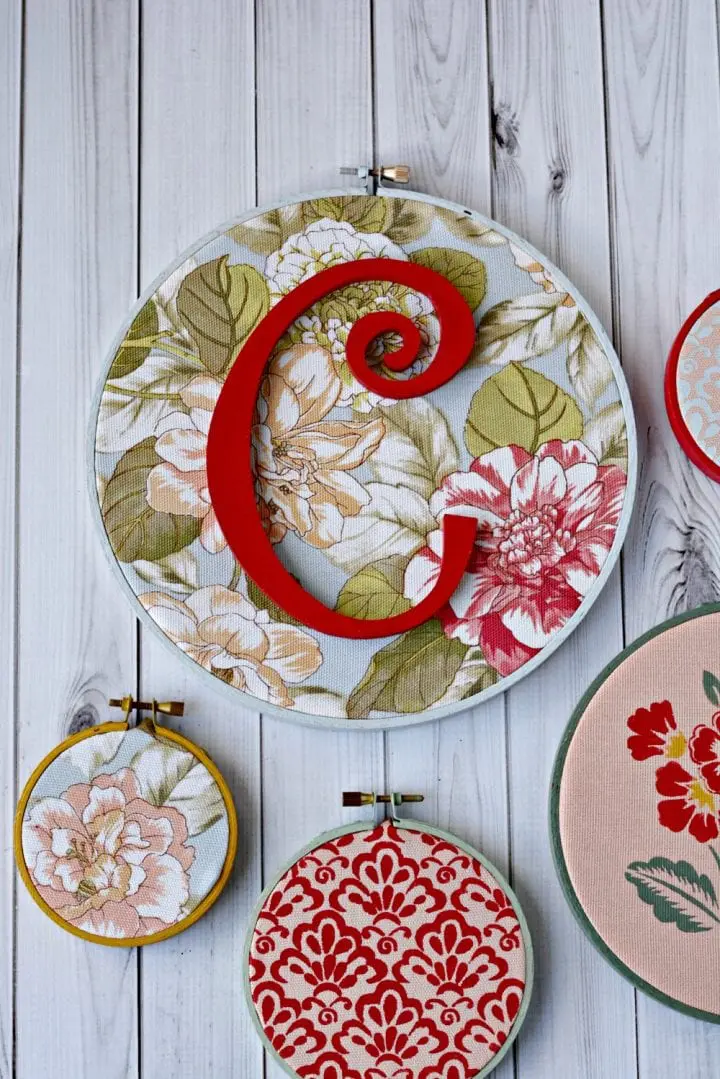
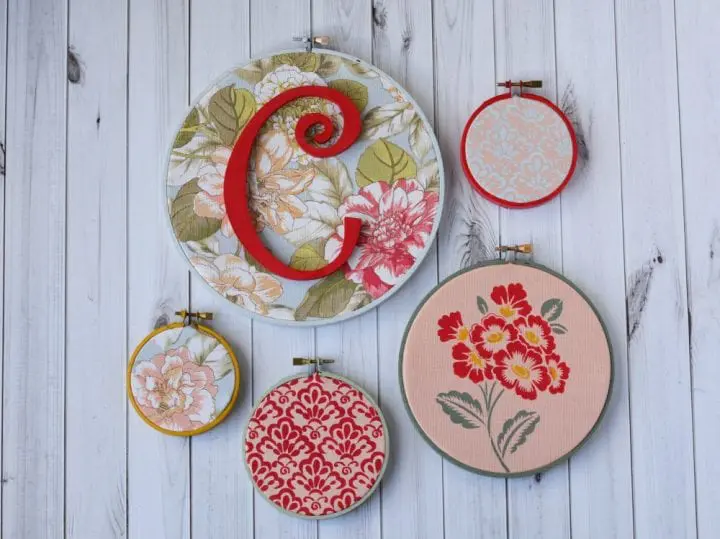
We are back with another fun post with our partners over at Waverly Inspirations. Last month we made these totally rockin' DIY Unicorn Head Pencil Case which is just soooo adorable. The month before that we did this beach themed gallery wall: DIY No Sew Decorative Fabric Frames + Bonus Scrap Ribbon Initial Craft. We hope that you love this DIY Embroidery Hoop Gallery Wall as much as we loved creating it.
 DIY Embroidery Hoop Gallery Wall
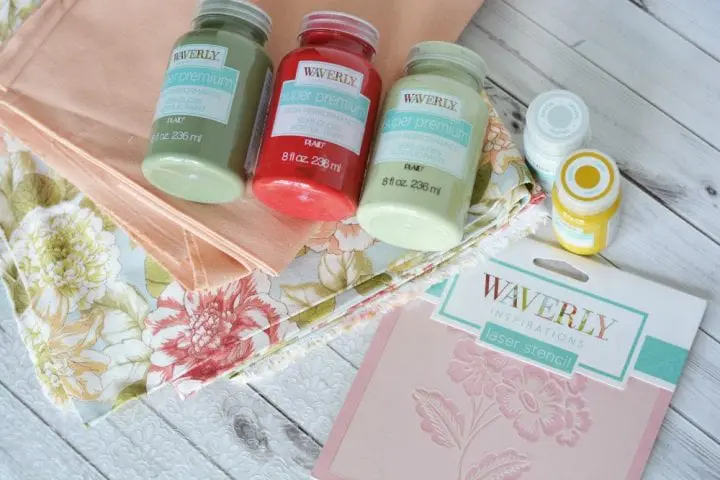
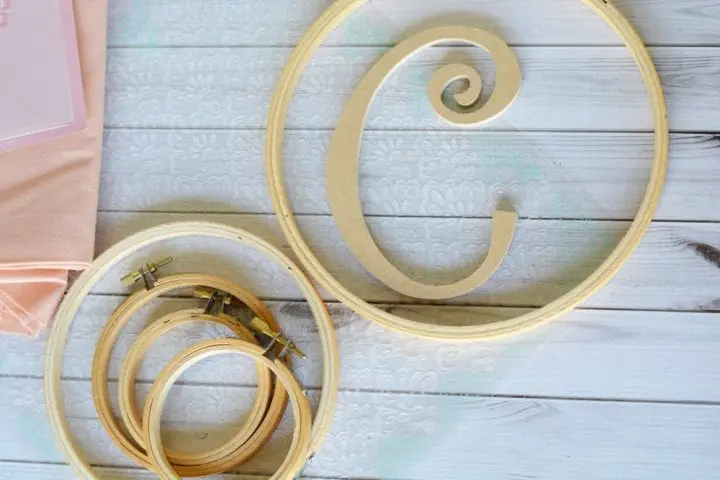
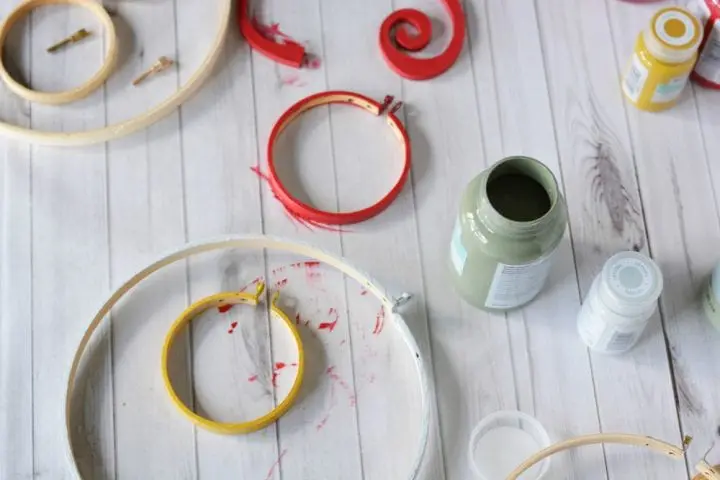
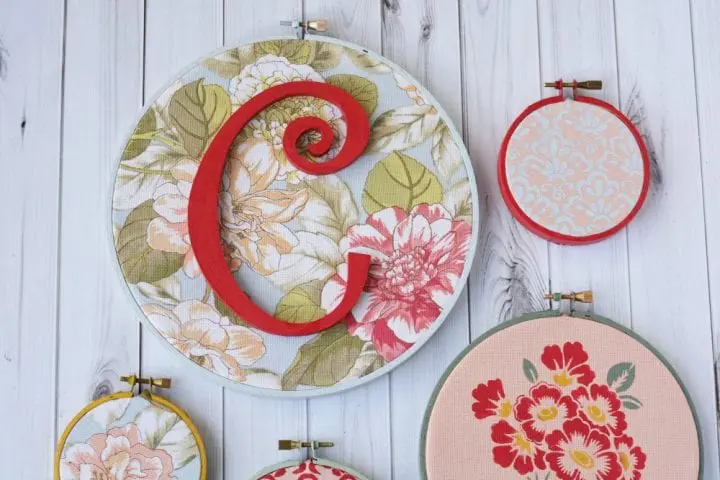
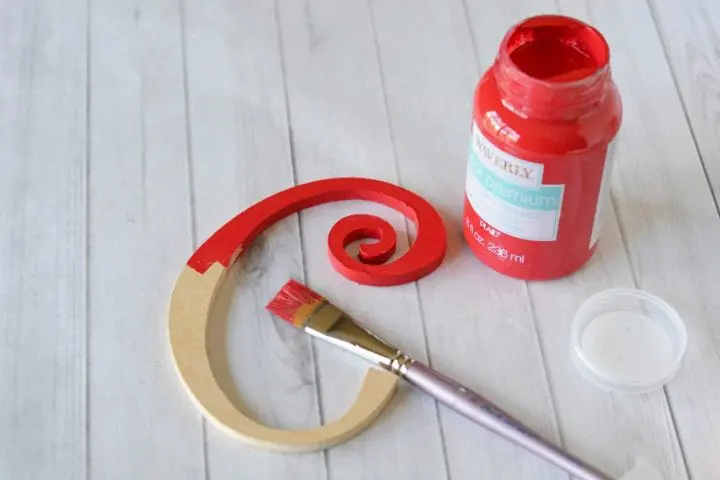
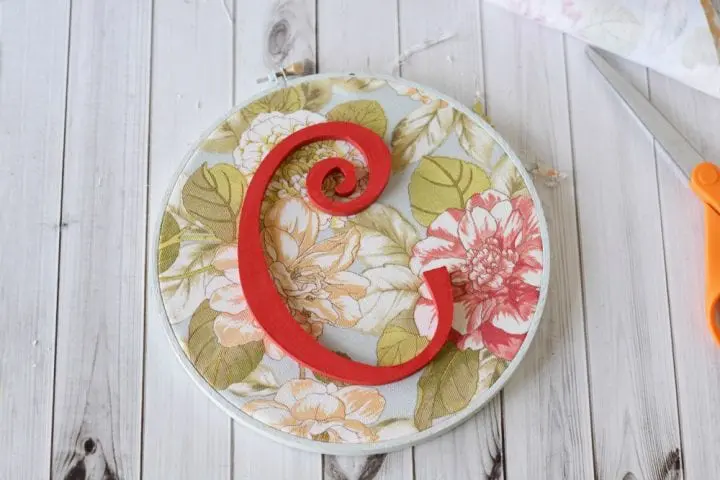
Paint your initial the color of your choice. I used crimson. Let your painted projects dry.
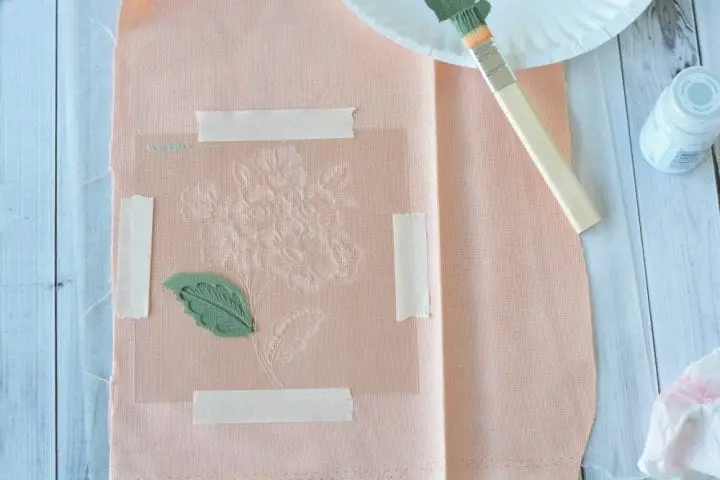
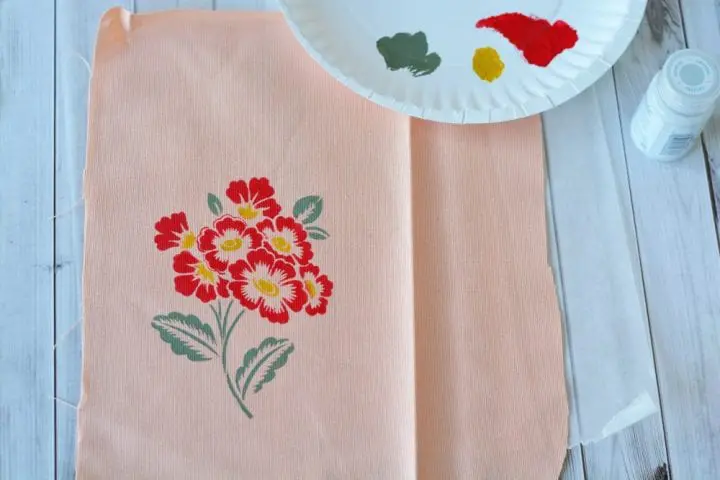
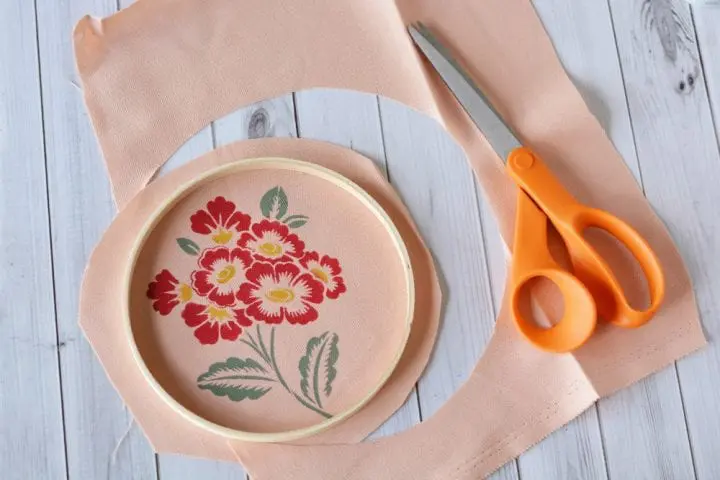
Cut a 10″ piece of fabric to stencil your flower. Set the fabric on wax paper and lay your stencil onto the fabric. Use masking or painter's tape to hold the stencil to the fabric. Use paint to cover the stencil with paint. The trick to stenciling is to use light paint and several coats. If you use too much paint, it will seep under the stencil and look like a blob. I put paint on my brush and then dab it onto a paper plate, removing the excess. Then I add more paint as needed to fill the stencil. When flower is complete, remove the stencil and set fabric aside to dry.
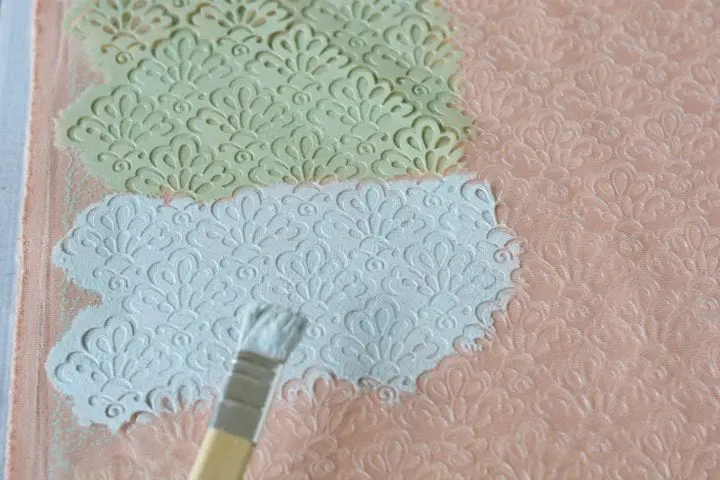
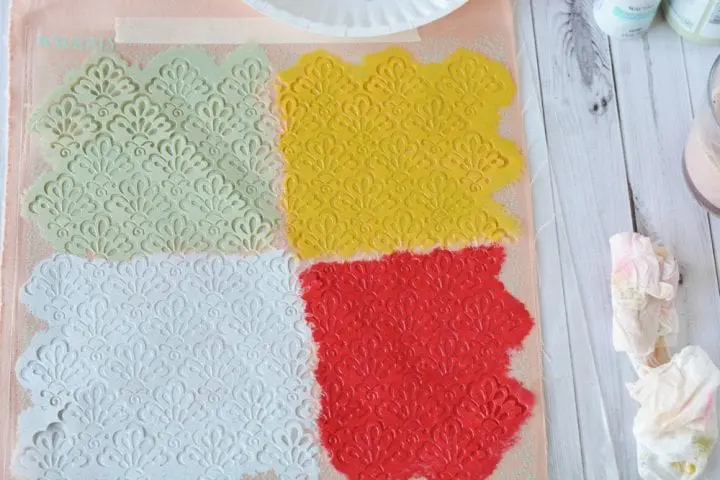
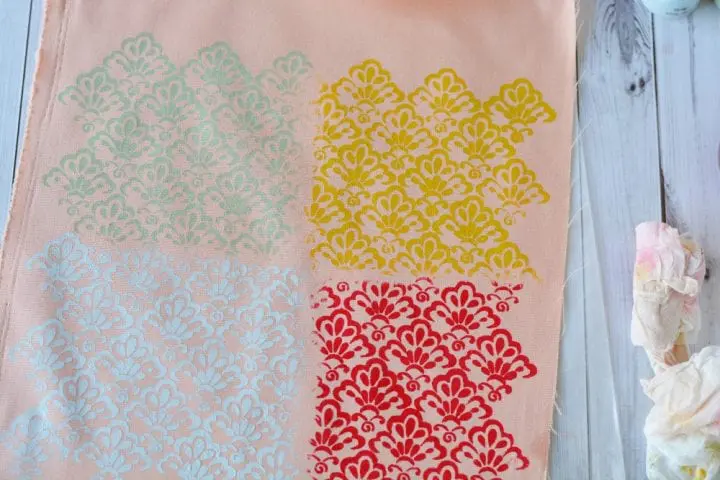
Cut a larger piece of fabric, about 14″ and press/steam the creases as necessary. Place your large background stencil onto the fabric, affixing with masking tape, and use paint in the same way you did with the flower (dabbing excess on the paper plate) and stencil the fabric. I used four colors because I wasn't exactly sure what colors I wanted to put into the hoops. I used: celery, curry, crystal and crimson. Let dry.
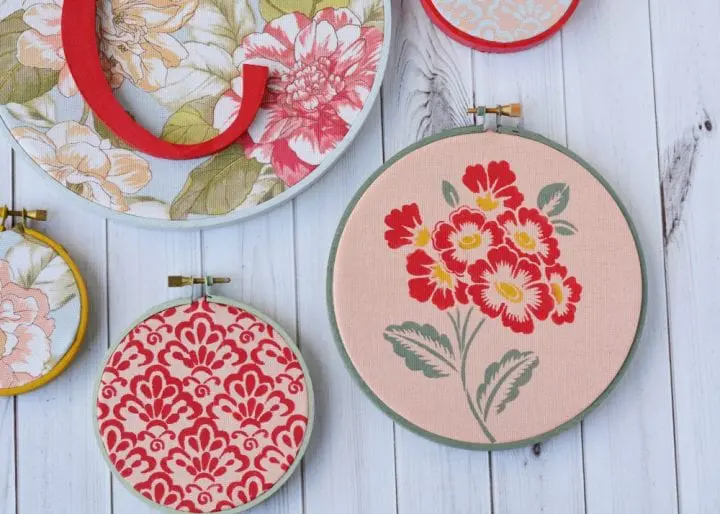
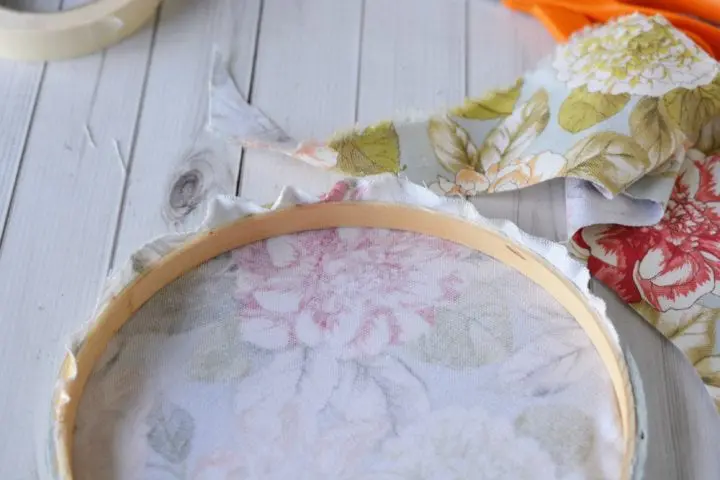
Now that the paint is dry, you can assemble the embroidery hoops. To assemble each hoop, you want to cut your fabric about 1″ wider than the hoop. Cut the fabric, place the inner circle on the table, place the fabric on top of the inner circle. Attach the screw to your outer circle and gently press it over the fabric. Tighten your screw and flip over your hoop. Gently pull on the fabric from the back to remove any creases. Trim the excess fabric on the back with scissors.
Repeat this process until each hoop is filled. 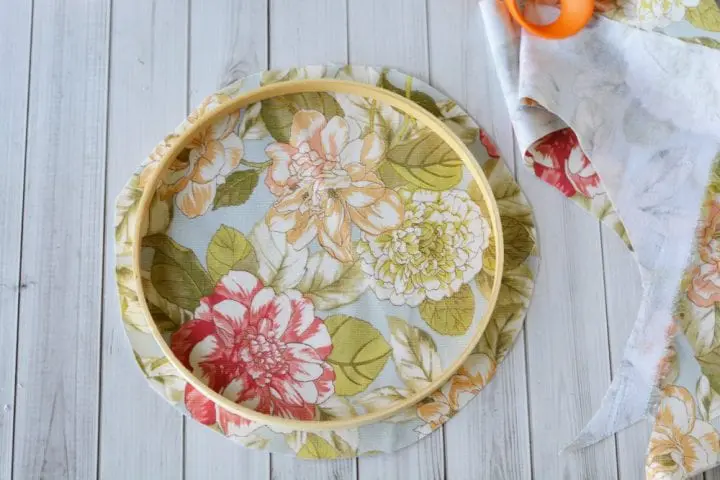
 Step 5
Once you have your large, 8″ hoop ready, use hot glue to attach the initial to the front.
 Step 6
The Waverly Inspirations collection takes its design direction from its rich archives of American design and updates these patterns for today’s consumer. Whether you are a beginner sewer or crafter, or an experienced one, Waverly Inspirations has something for everyone. From fabric to ribbon, from craft paint to home décor. Waverly Inspirations can help you with all of your decorating needs.
Check out Waverly on Instagram
Like Waverly on Facebook
See Waverly on Pinterest
Tweet with Waverly on Twitter
20 DIY Upcycled Furniture Ideas When it comes to renovation and DIY in my home, the first place that I look is at our existing furniture. A great furniture upcycle can save our project...
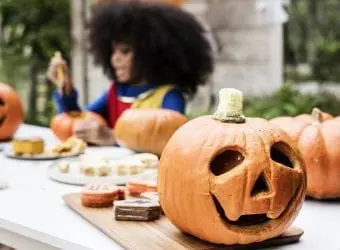
600 Spooky Stencil Designs for Your Halloween Pumpkins Every year we love carving pumpkins and all things Halloween. Everyone in the family spends time picking out the perfect pumpkin and then we get to...
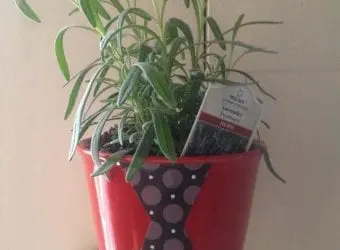
DIY Father’s Day Tie Herb Pot Giving potted plants as gifts isn’t just for Mother’s Day! Dads like fresh herbs too and if your dad is anything like by husband, he could use a...
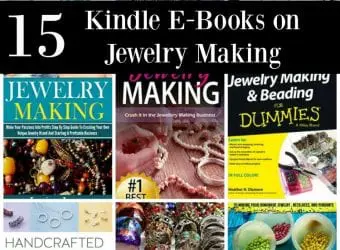
1. 13 Free Jewelry Patterns From Prima Bead Do you love stunning jewelry, but don’t want to spend a fortune buying brand new accessories? Learn how to make your own dazzling homemade jewelry with...