Upcycled Peacock K Cup Crafts
Upcycled Peacock K Cup Crafts We are recyclers in this family. We always have been. We try to recycle or reuse everything that we can in this house. If you look around our home,...
 This post is brought to you in partnership with Waverly Inspirations and its parent company, Iconix. I have been compensated for my time. All opinions and ideas are my own. We hope you love our DIY Unicorn Head Pencil Case. Read our full disclosure policy here.
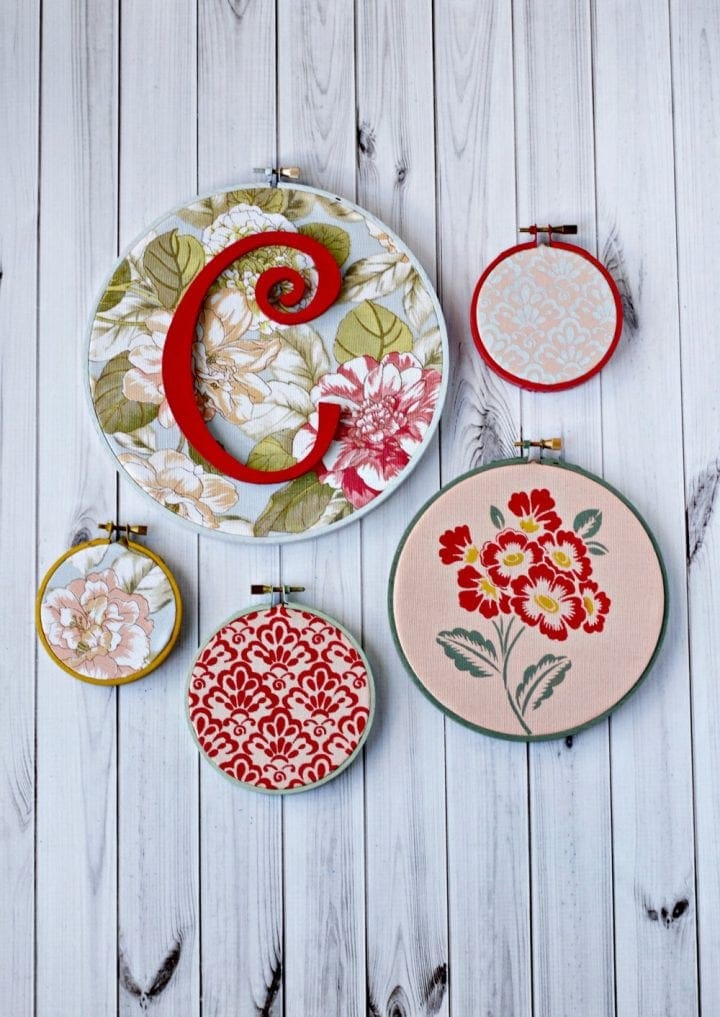
We are back with another fun post with our partners over at Waverly Inspirations. Last month we made these totally rockin' DIY Unicorn Head Pencil Case which is just soooo adorable. The month before that we did this beach themed gallery wall: DIY No Sew Decorative Fabric Frames + Bonus Scrap Ribbon Initial Craft. We hope that you love this DIY Embroidery Hoop Gallery Wall as much as we loved creating it.
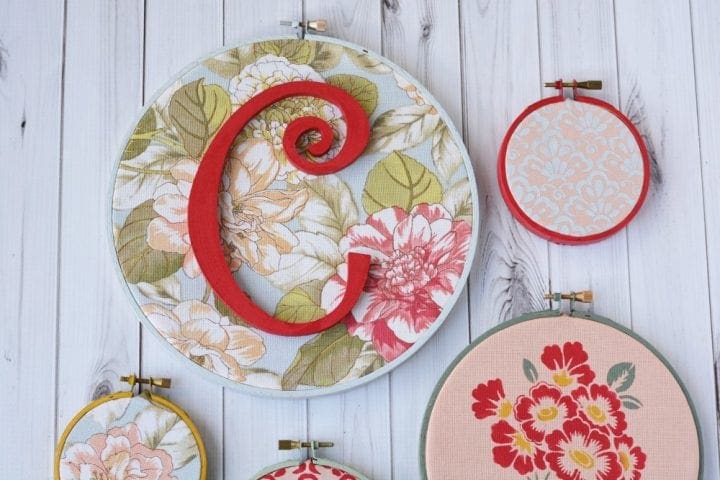
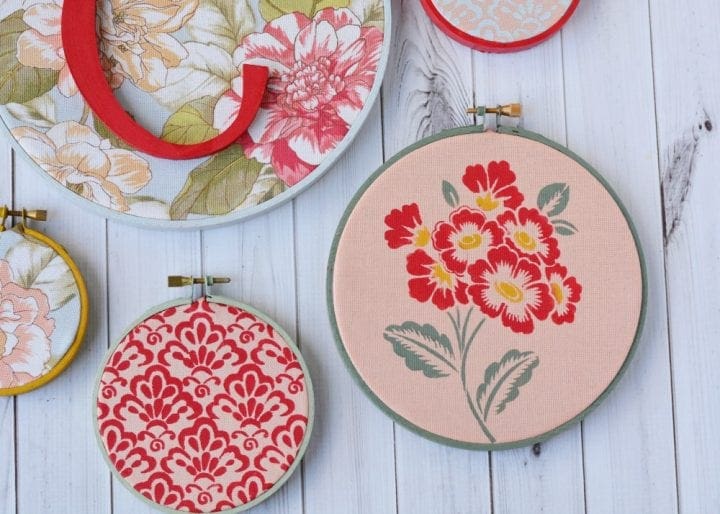 DIY Embroidery Hoop Gallery Wall
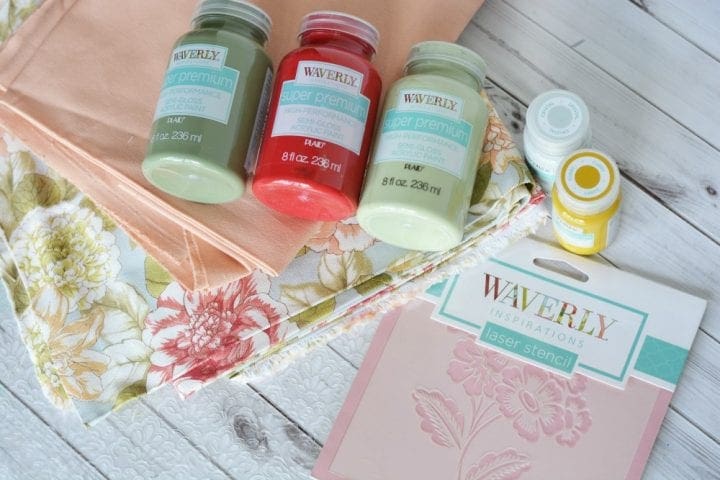

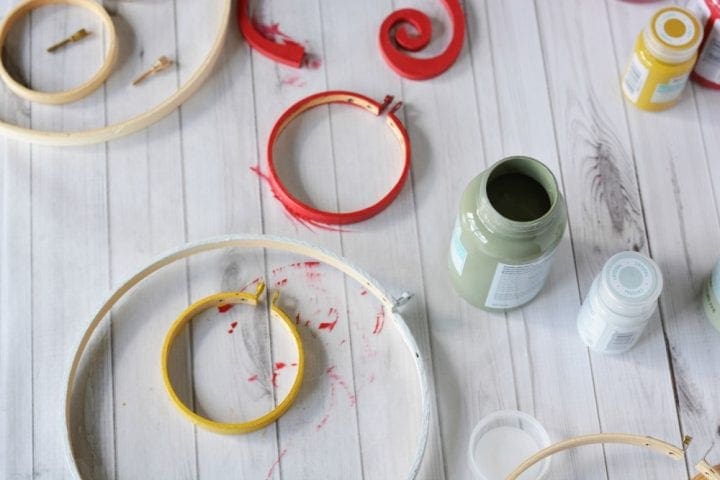
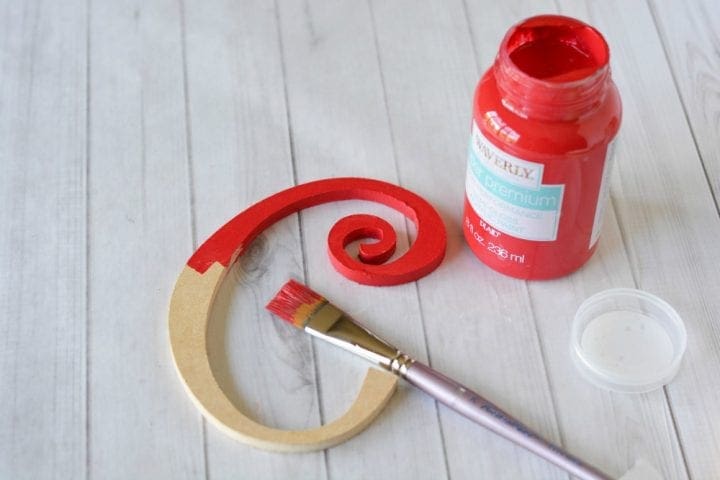
Paint your initial the color of your choice. I used crimson. Let your painted projects dry.
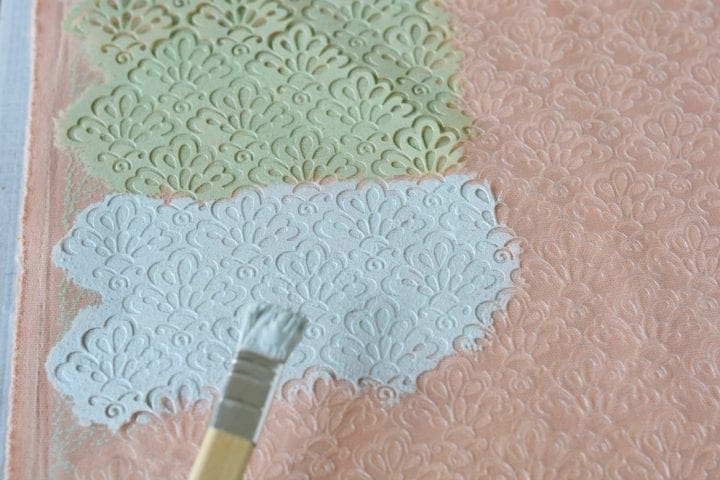
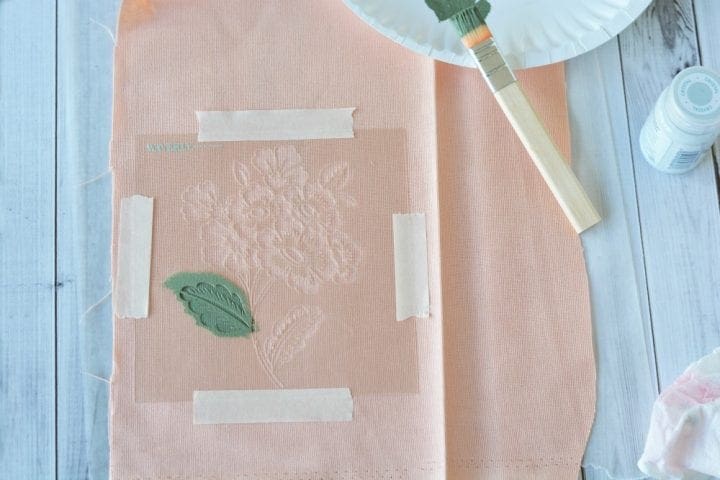
Cut a 10″ piece of fabric to stencil your flower. Set the fabric on wax paper and lay your stencil onto the fabric. Use masking or painter's tape to hold the stencil to the fabric. Use paint to cover the stencil with paint. The trick to stenciling is to use light paint and several coats. If you use too much paint, it will seep under the stencil and look like a blob. I put paint on my brush and then dab it onto a paper plate, removing the excess. Then I add more paint as needed to fill the stencil. When flower is complete, remove the stencil and set fabric aside to dry.
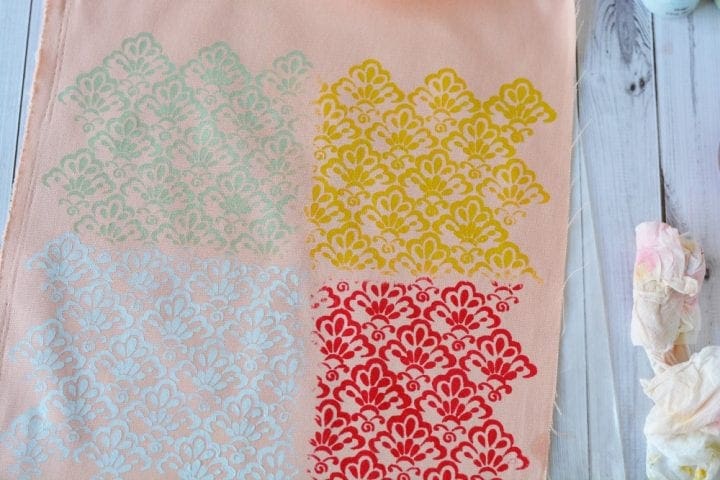
Cut a larger piece of fabric, about 14″ and press/steam the creases as necessary. Place your large background stencil onto the fabric, affixing with masking tape, and use paint in the same way you did with the flower (dabbing excess on the paper plate) and stencil the fabric. I used four colors because I wasn't exactly sure what colors I wanted to put into the hoops. I used: celery, curry, crystal and crimson. Let dry.
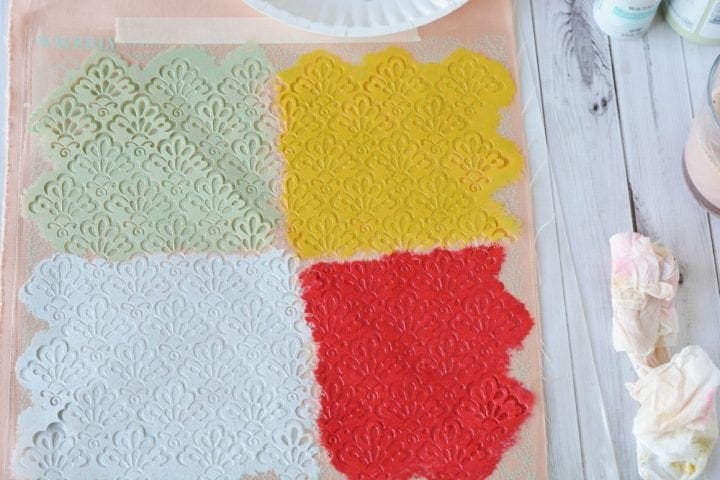
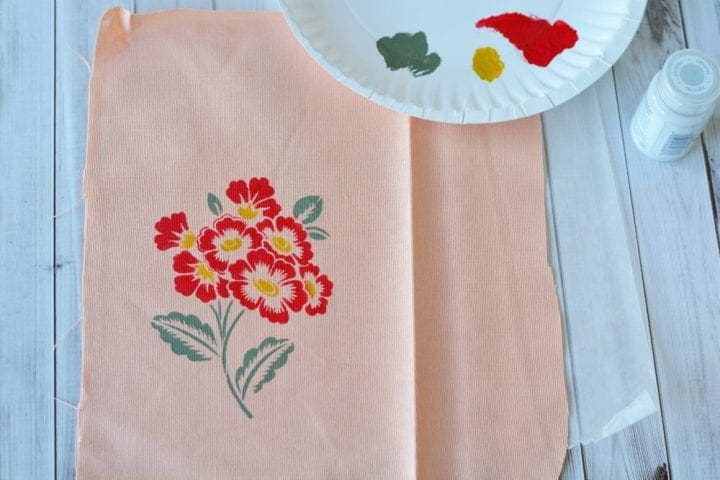
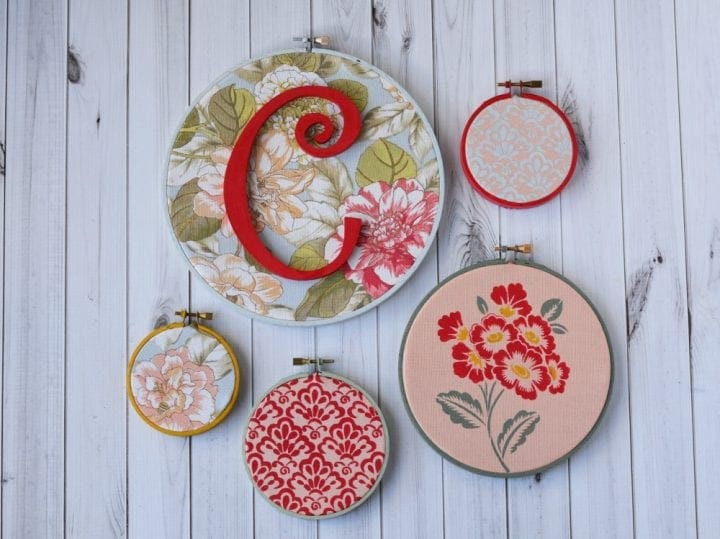
Now that the paint is dry, you can assemble the embroidery hoops. To assemble each hoop, you want to cut your fabric about 1″ wider than the hoop. Cut the fabric, place the inner circle on the table, place the fabric on top of the inner circle. Attach the screw to your outer circle and gently press it over the fabric. Tighten your screw and flip over your hoop. Gently pull on the fabric from the back to remove any creases. Trim the excess fabric on the back with scissors.
Repeat this process until each hoop is filled. 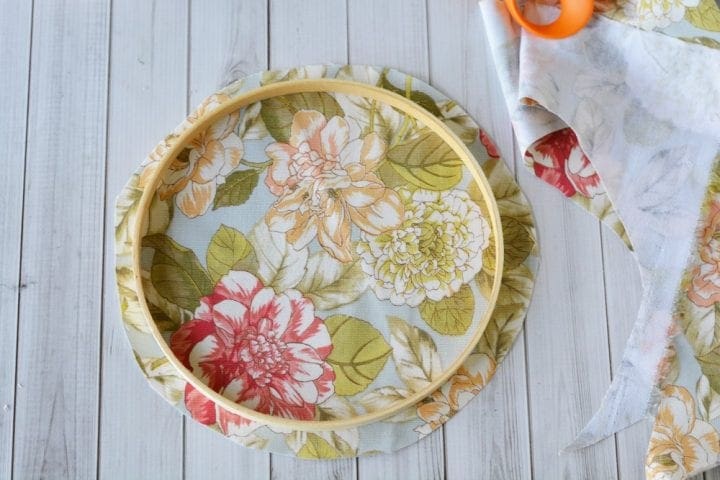
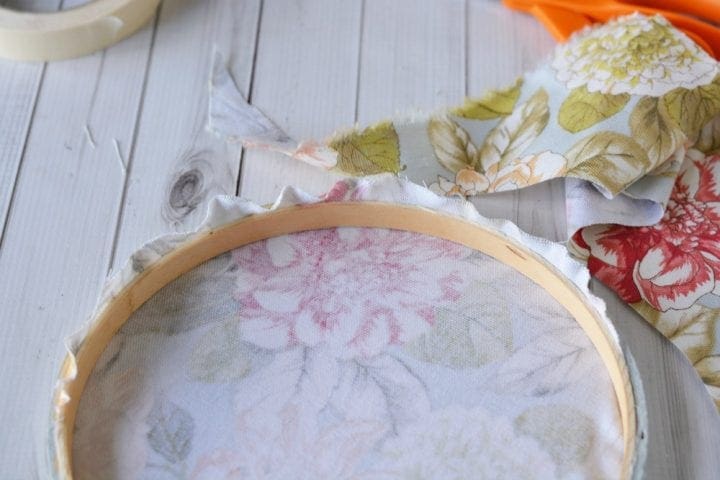
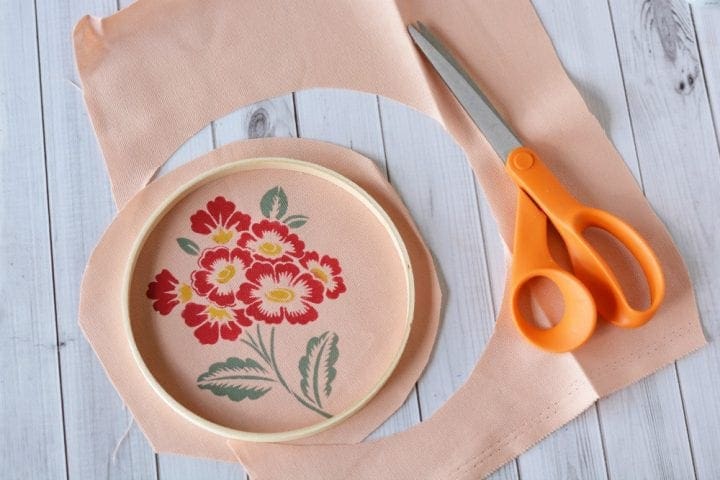 Step 5
Once you have your large, 8″ hoop ready, use hot glue to attach the initial to the front.
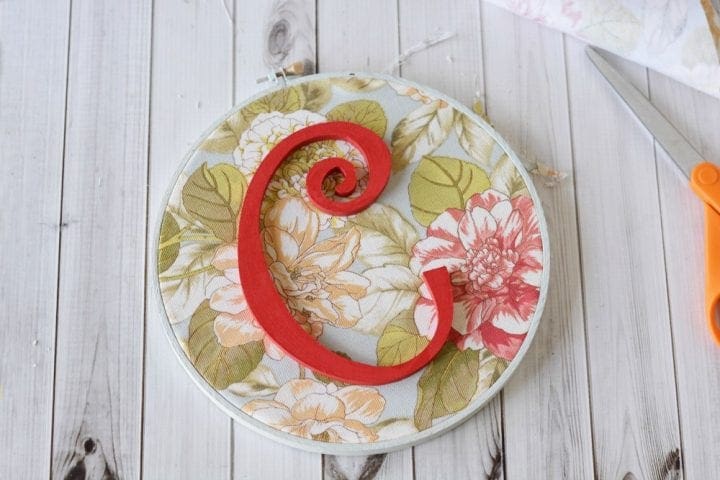
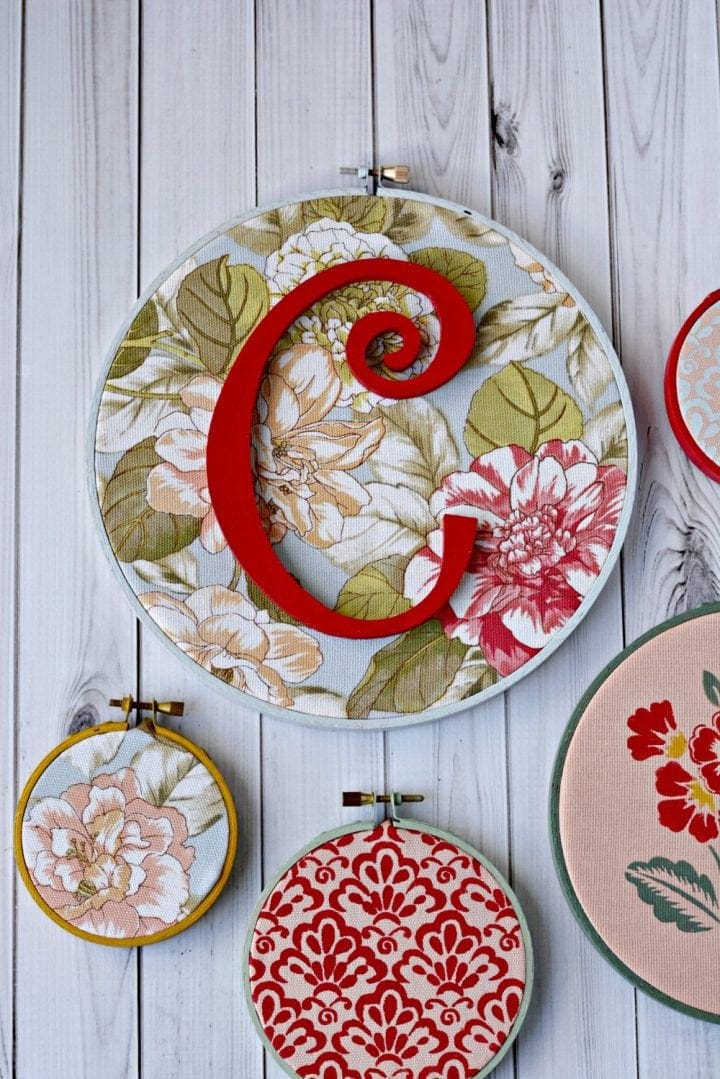
 Step 6
 About Waverly Inspirations
The Waverly Inspirations collection takes its design direction from its rich archives of American design and updates these patterns for today’s consumer. Whether you are a beginner sewer or crafter, or an experienced one, Waverly Inspirations has something for everyone. From fabric to ribbon, from craft paint to home décor. Waverly Inspirations can help you with all of your decorating needs.
Check out Waverly on Instagram
Like Waverly on Facebook
See Waverly on Pinterest
Tweet with Waverly on Twitter
Those decorations are so cute! They would make perfect additions to any wall!
I recently made my mom a cross stitch hoop like this, (but did the cross stitching…) it was completely rude and irreverent and she loved it 🙂
What a cute and creative craft project. This will be a fun project to do with my friends on our next girls day.
Those are so beautiful! I love that look, and I love that they’ll practically fit in anywhere in my home. Great job!
I have always loved gallery walls, but never got around to making one. This is a really cute twist on the usual gallery wall.
I absolutely love this craft! I have been a Waverly fan for many years. I would love to have these in my own home!
I love these. Have always wanted to make some of these and hang them on my wall, and my kids walls. But I thought they were hard to do – now I think I can do these!
Beautiful designs, I love the C because that’s the first letter of my name. DIY crafts are so rewarding to look at after they’re completed.
I love the fun yet fancy look this gallery wall brings. It would be perfect for a girls room, regardless of age.
This is so pretty! I love the designs you made. I think this would be a wonderful wall decoration.
These are so pretty! My mom used to spend hours doing embroidery, but this looks like it would be much simpler with just as lovely a turnout!
Oh my goodness your gallery wall is absolutely beautiful – I love how simple you have made the instructions as well I could actually do this myself! x
These are so lovely and easy to follow instructions make me feel like even I, a DIY novice, could manage to make them and have them look as good as the ones you designed! Can’t wait to dig in!
I am redoing a big wall in our basement with photos, so will pin this for an idea to mix in with the photos.
Oh you just brought back so many memories of all the arts and crafts I use to do with my grandma. I really need to start doing something like this with my girls.
I would totally mess this up. You’re so good at this! I’m terrible with this kind of stuff, haha.
What a cute idea. This looks so easy to do as well. I would just need to figure out where to hang these.
I do LOVE these and it looks like something I would enjoy making. They would go perfect in my house!
How pretty! What a creative way to add some unique, one-of-a-kind style to your walls. It would be fun to make them as gifts too.
I haven’t done embroidery in years. This is really cute. If I can remember how to do embroidery, I might try this.
These turned out super cute! I’ll have to try to make one.
It is gorgeous! I absolutely love this deign
This turned out amazing. I will have to get the supplies to try making this for my wall.
I’m trying to get more crafty decor this is cute!
Those are all so darling. I know my daughter and I will have a blast making them together.
Very cute decor! My sister loves making these kinds of crafts! I’ll be sure to pass this idea to her! Thanks!
Wow, those are really gorgeous decorations. I want to make some for my wall.
I am a Waverly junkie, in fact I once decorated a large home completely with Waverly wall papers, linens and wall treatments., LOL. Your craft is especially beautiful and I think would be a lot of fun to make.
LOVE this! Such a great way to add some color to a drab space! I want to make some for my daughters room.
So pretty! I would love to be gifted like you! Every time I try a DIY, it doesn’t work!
This is so cute. It looks so elegant, but is amazingly simple. I think it would be great to do something like this in my kids’ rooms too. It’s something they could help with and we could make really fun and creative designs.
My daughters will be getting their own rooms soon. I know they would love this as artwork!
Embroidery hoops are a great framing device. It is nice to see them used for more than just embroidery as you showed here.
Very lovely, I would take these activities instead of splurging for wall decorations. I like the fact that aside from great designs and ideas, Waverly updates their catalogue for what’s in tune for the crowd.
Great ideas, and a very pretty grouping. Embroidery hoops are a neat idea for kids artwork!
Pingback: Front Door Topiary Ideas