Disney Pixar Monsters Inc. Inspired Ornaments
Disney Pixar Monsters Inc. Inspired Ornaments Well, the Christmas Season is here! This means it is time to get decorating and in the Christmas spirit! I am one who loves to save money when...
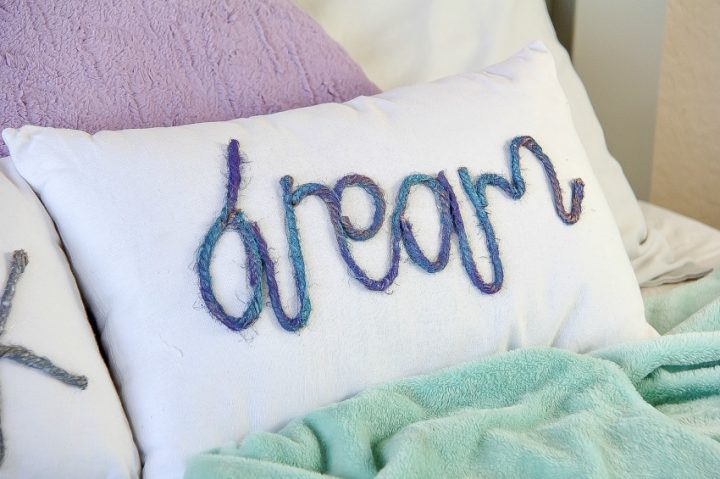
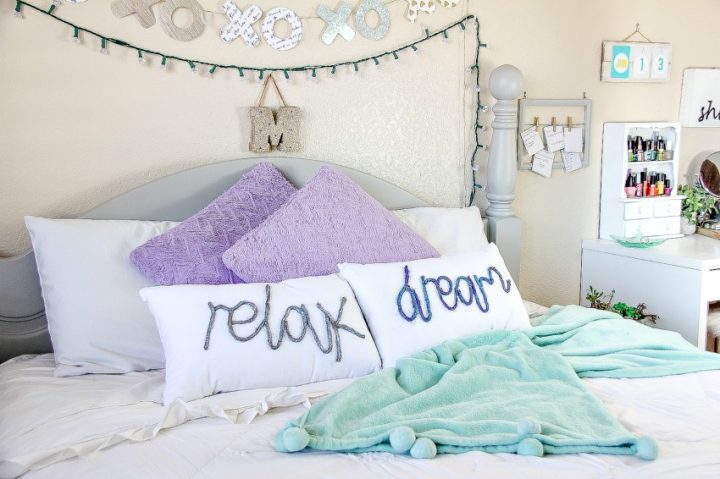
My daughter is obsessed with decorative pillows. She not only has about six at any given time on her bed, but her walk-in closet has a long bench along one wall that is covered in them too. I'll buy a new one for the couch, and the next day it's gone. She even asked for more on her Christmas wishlist. So, when I spotted plain pillows at the craft store (and knowing I was armed with a coupon), I couldn't resist bringing a couple home for her bed. And you should have seen her face light up when I uttered those magical words … more decorative pillows. I hope that you love this DIY Decorative Word Pillows tutorial.
This craft will only take about 30-minutes if you don't paint the hemp cord, but if you do, then add on the drying time for the paint too.
What you need:
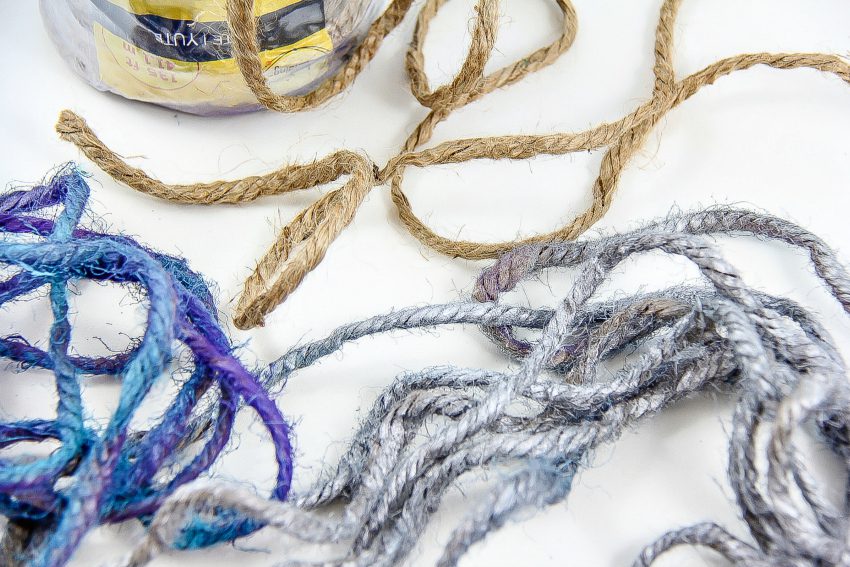
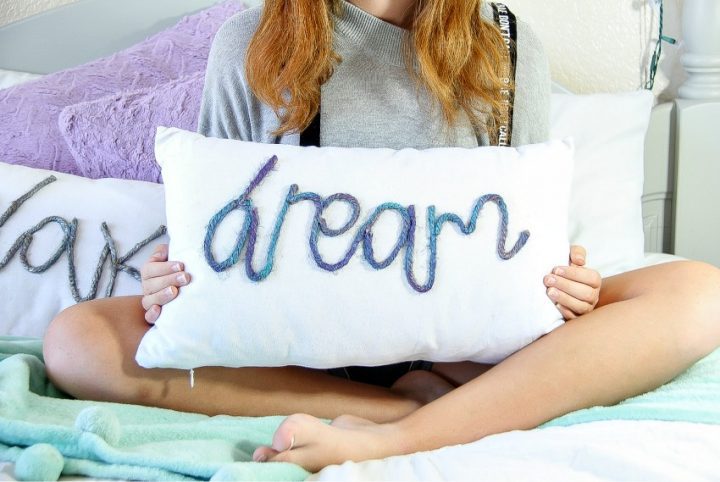
If you are going to paint the hemp cord, go ahead and do that now. You can see that I painted one silver, and the other I did a mermaid color scheme of blue and purple. A little of the blue and purple sprayed onto the silver too, and we were just fine with that. You'll even spot a little exposed hemp cord that the spray missed. I love that it gives it a little more character though, and so does she.
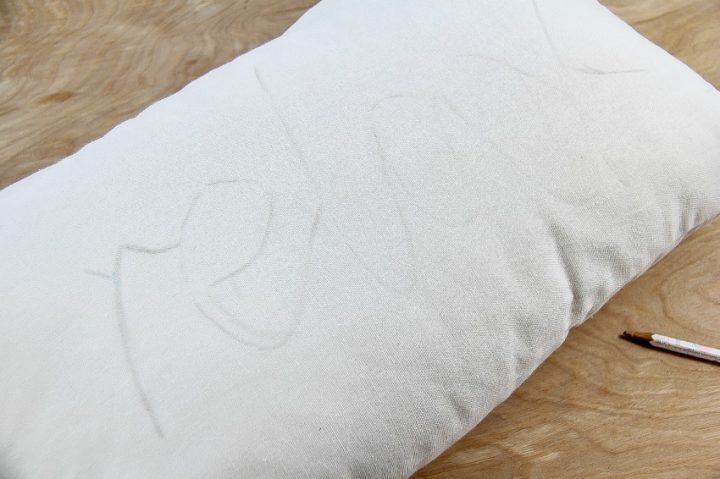
While the paint is drying, using a pencil or fabric marker to sketch the word you want on your pillow. This will serve as your template for gluing the hemp cord on. I recommend using something that can wash away with water though just in case you make a mistake.
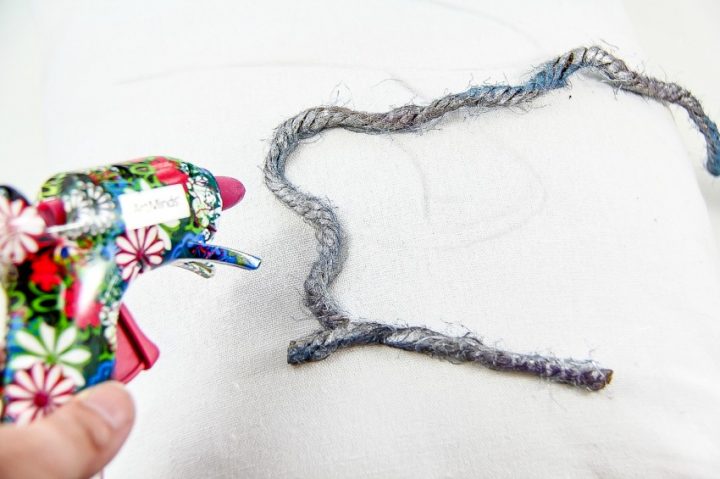
Once your painted cord is dry, use the hot glue gun to attach the cord over your sketch, just a small section at a time.
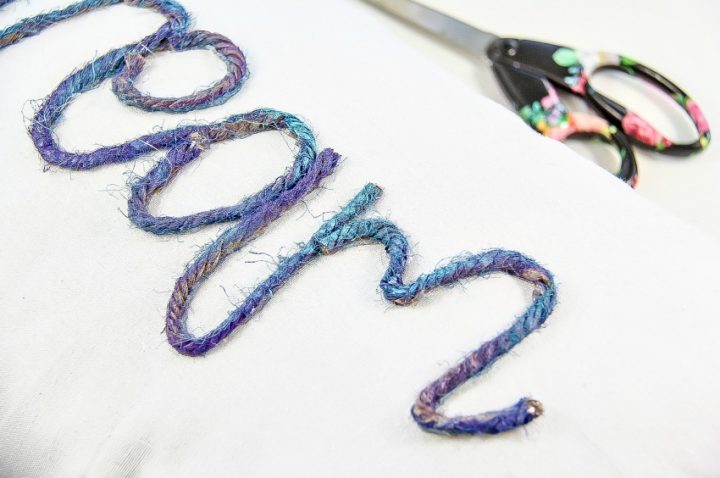
Set aside to dry completely (which won't take long at all) and you have brand new decorative pillows. We hope that you loved this DIY Decorative Word Pillows post.

CUTE!! I have to say, when I first saw this, I thought it was somehow knitted on there and I that scared me….however since it’s hot glued…no problem. I love this idea!!
That’s really lovely! I like that they’re not difficult to make at all. I can imagine doing other designs for other seasons!
These are so darn cute. What a perfect craft for a tween/teen sleepover. Definitely pinning for later!
This looks awesome! Would be a great gift idea!
I just pinned this. Looks easy and I will be making my own diy word pillow with ombre yarn soon!
I’ve never done a decorative pillow before! But this time I tried and make a nice one, not so good as yours but I’m happy with my work. You are great!
This pillow is just darling. What a neat DIY project, I bet my daughter would totally appreciate this!
Aw! This is such a fun DIY craft! What a cute pillow idea!
Oh my goodness what a clever idea! I LOVE it! I’ve been trying to decide what pillows to add to my new living room couch and I think I’m going to have to try this!
This is a really cute idea to spruce up the bedrooms. I bet my daughter would like to design some.
This is awesome. I love decorative pillows too. But I never thought about doing it myself. This is so cool. I have to give this a try. Your daughter does such a good job. Perhaps she should sale them.
I love this idea so much! What a fun way to spruce up your pillows. My teenager would love to do something like this.
Oh, wow! You really are creative. I would love to do this to my pillows too. Thank you for sharing this adorable and easy idea.
This is cute and very simple to make too! I love the spray painted hemp cord idea to decorate the pillow!
Pingback: Divine Lifestyle: Decorative Word Pillows - Tonya Staab
Pingback: 20 Hand Embroidery Quote Patterns – Needle Work
I made some pillows to give my niece for her room, this idea seemed very good! Apart from being pretty, it’s easy to do, with no twists.