DIY Succulent Projects
DIY Succulent Projects You know how we love our plants around here. I am still enjoying the custom plant box I had made from this guy on Etsy and I haven't killed a single...
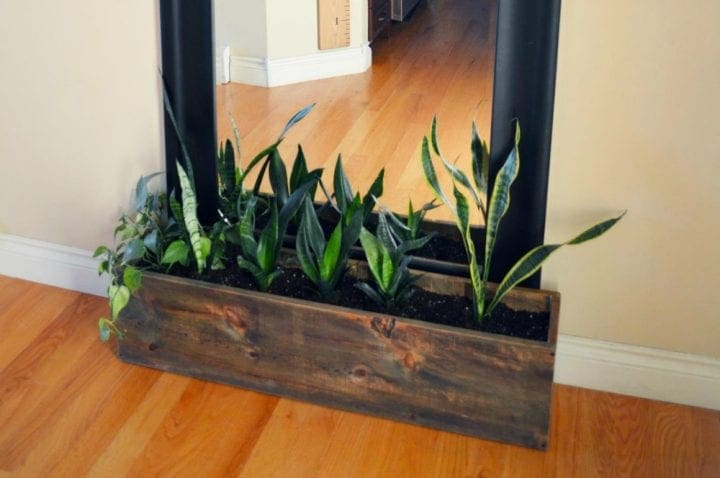
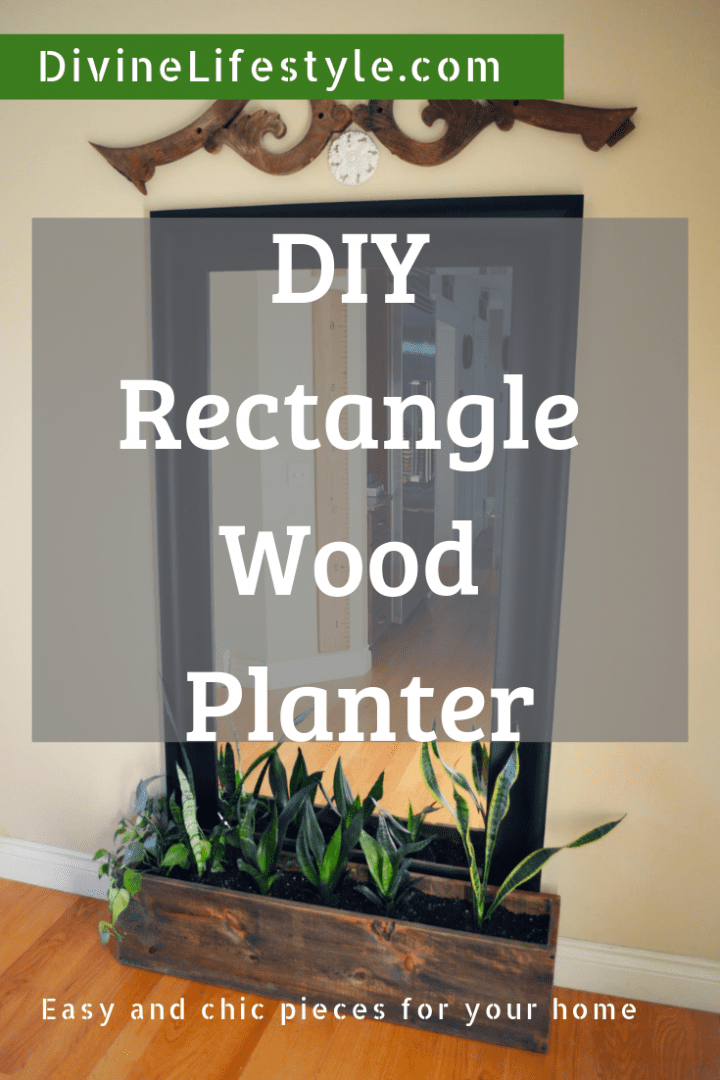 DIY Rectangle Wood Planter Box
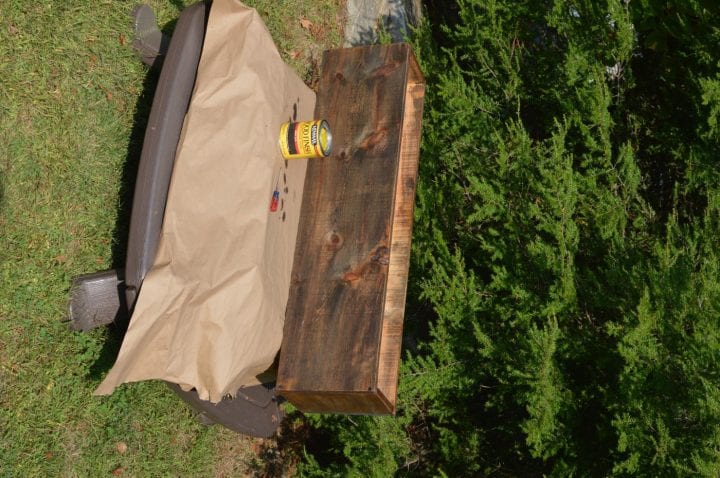
When it comes to diy planter box designs, then I go for all wood. In fact, I used all scrap wood for the planter in this post which makes me love it even more exciting for me. Plus we had an old stain from a previous project which helped pull everything together at almost no cost at all. We hope that you love these DIY Rectangle Wood Planter Box plans.
Some of our most favorite diy planter box designs or diy planter box ideas or diy planter box plans are the simplest one. Whether you are wondering how to build a planter box from pallets, how to build a planter box for vegetables, how to make wooden planters from pallets or even how to make wooden planters from decking, we have you covered.
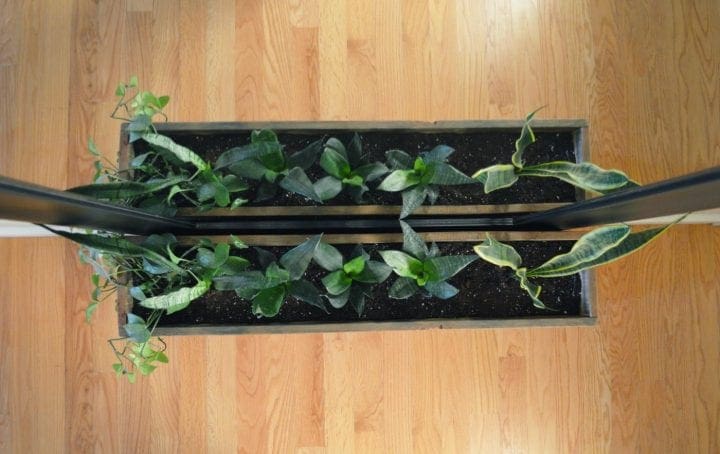
Need wood? Check around with your local recycling centers to see if they have a wood pile you can check out for free supplies. I manage to find some great pieces of wood from the Habitat for Humanity store and Lifecycle Building store. This project was fast, it literally came together in a couple hours and most of that time was waiting for things to dry. This exact planter was 9 inches wide, 45 inches long and 12 inches deep/tall.


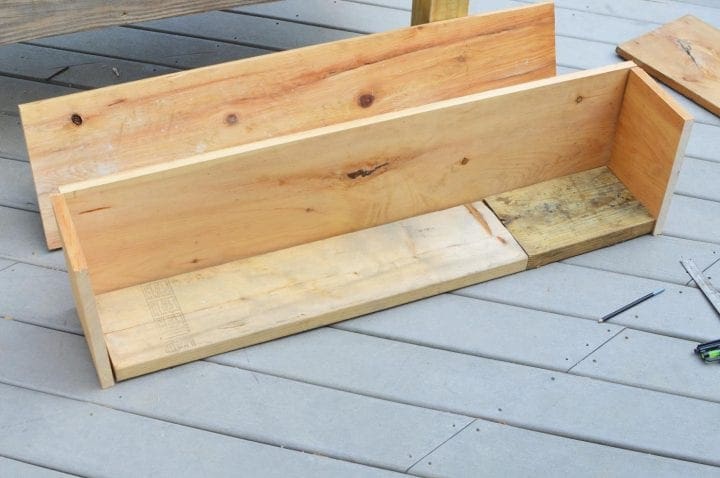
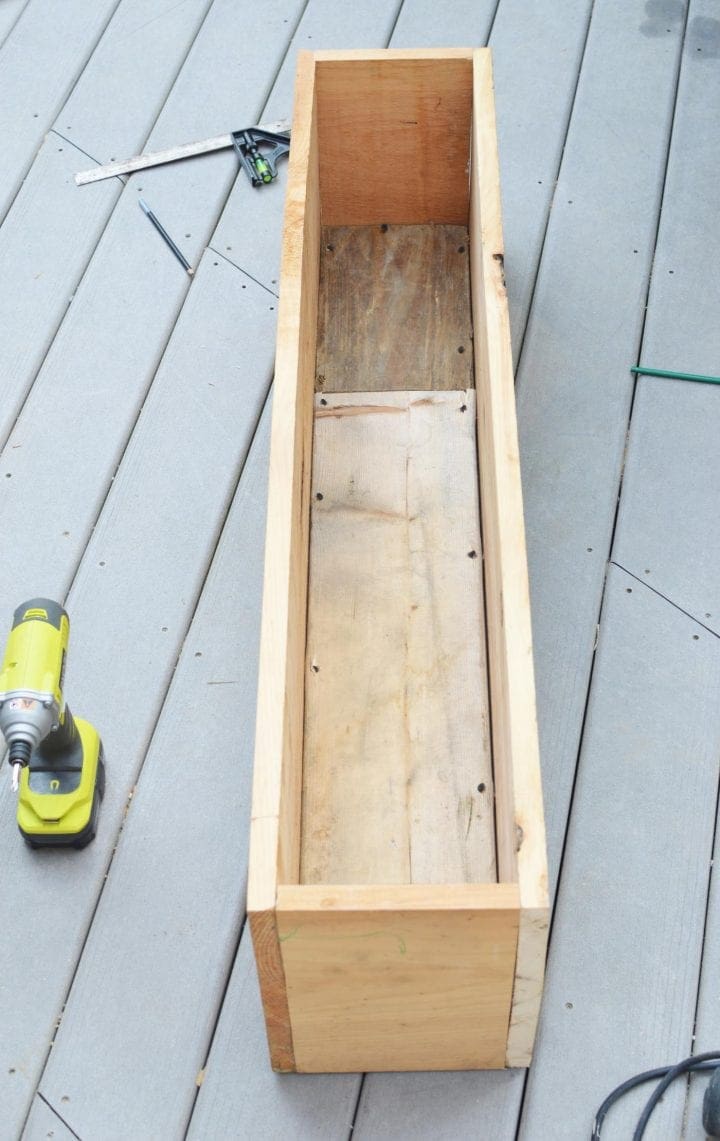

 Building
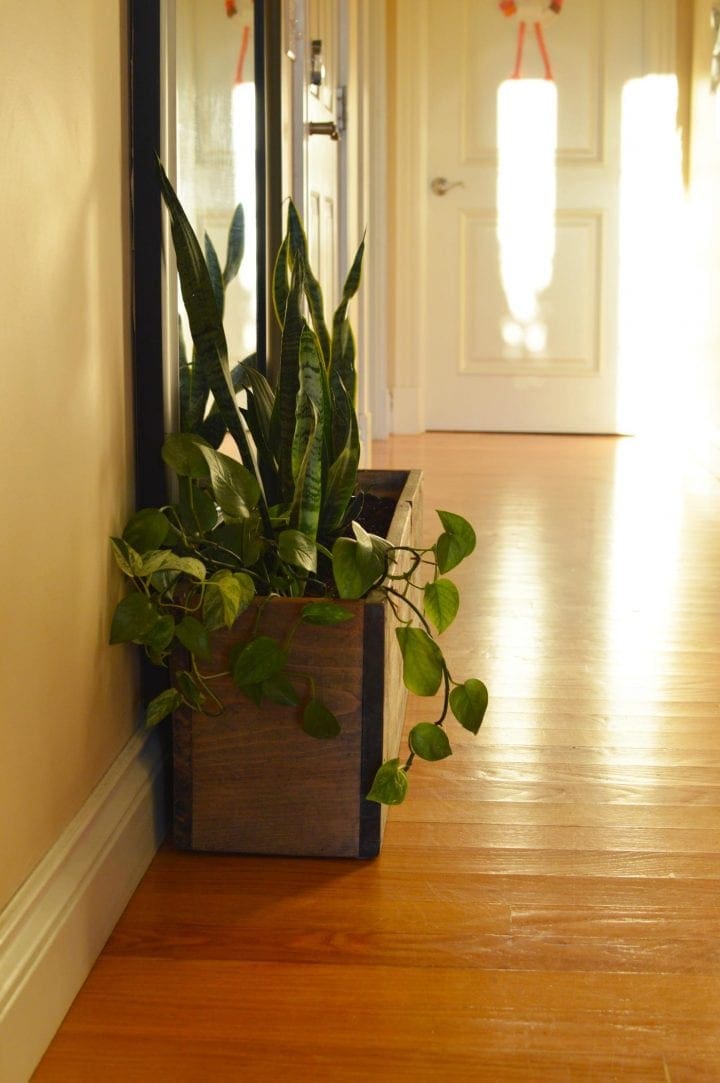
We hope that you are inspired by these Diy Rectangle Wood Planter Box plans. Enjoy these free Diy planter box ideas and your modern wood planter box. Happy building!


DIY Succulent Projects You know how we love our plants around here. I am still enjoying the custom plant box I had made from this guy on Etsy and I haven't killed a single...
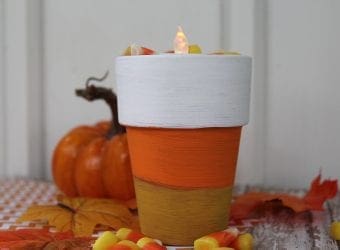
Candy Corn Votive Holder Candy Corn seems to only have two camps. Love and Hate. In this family, we are definitely candy corn lovers who always are looking for some kind of way to...

This DIY Spring Throw and Bolster Pillows #WaverlyInspirations #InaWaverlyWorld post is brought to you in partnership with Waverly Inspirations and its parent company, Iconix. I have been compensated for my time. All opinions and ideas...
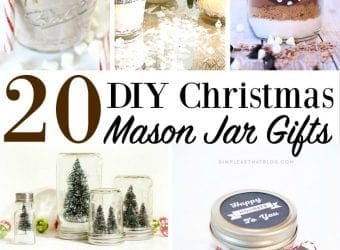
Are you looking for Mason Jar Christmas Gift Ideas? Gift-giving is no easy feat. Shopping for and then finding the perfect Christmas gift for that person in your life is such a fun experience....

Pingback: 12 Handmade Gift Ideas
Pingback: Nature Inspired Interior Decorating