Best Beauty Vitamins
Best Beauty Vitamins | Vitamins for Beauty Beauty often begins on the inside with what you eat and drink, but also on the outside. This is where essential vitamins and minerals come in. If...
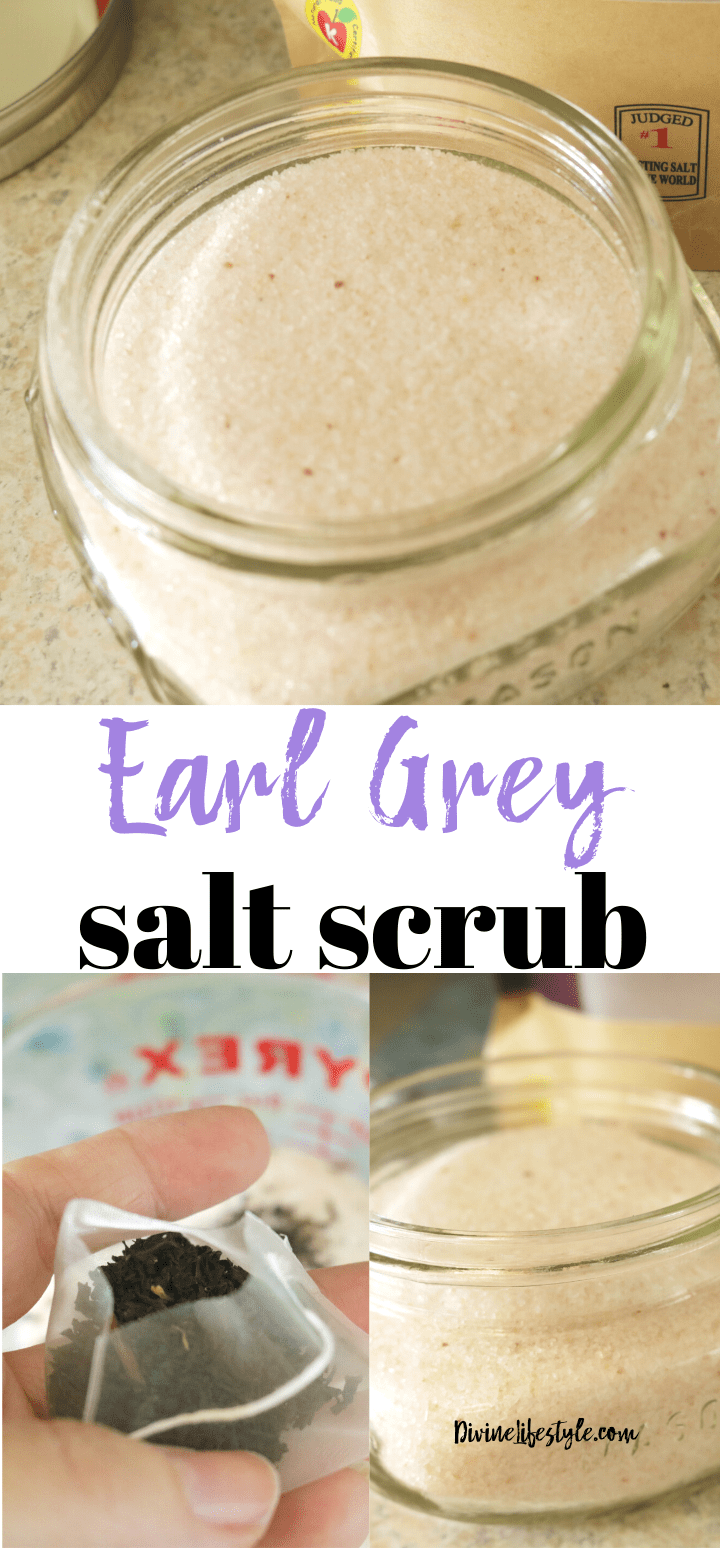 DIY Himalayan Salt Scrub
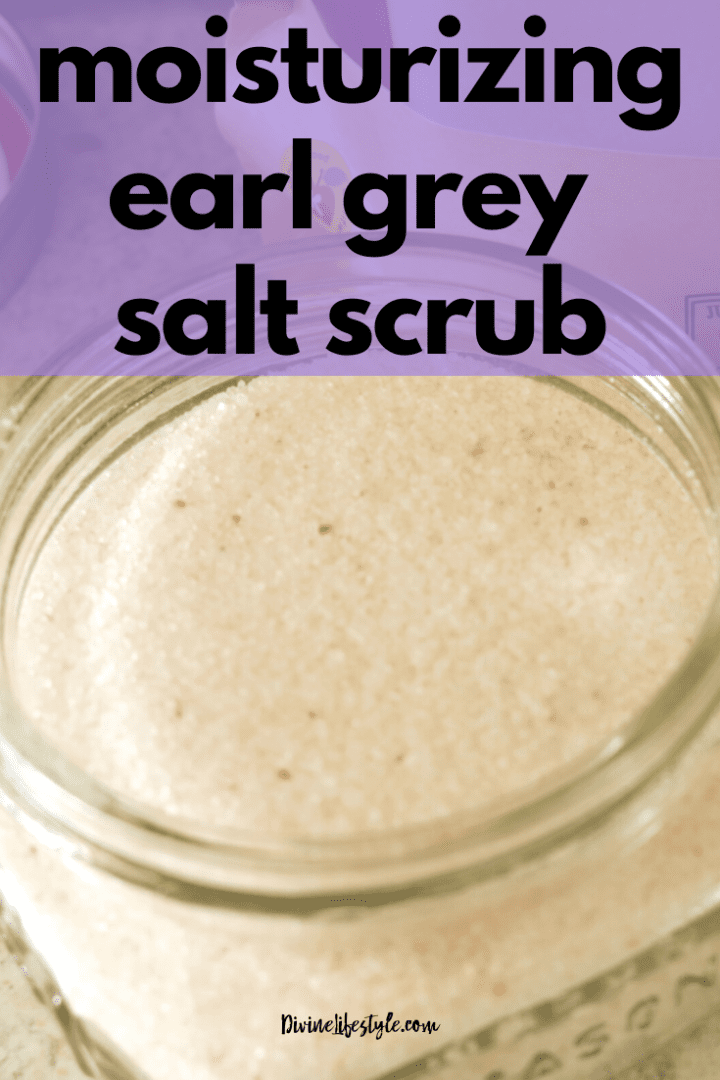
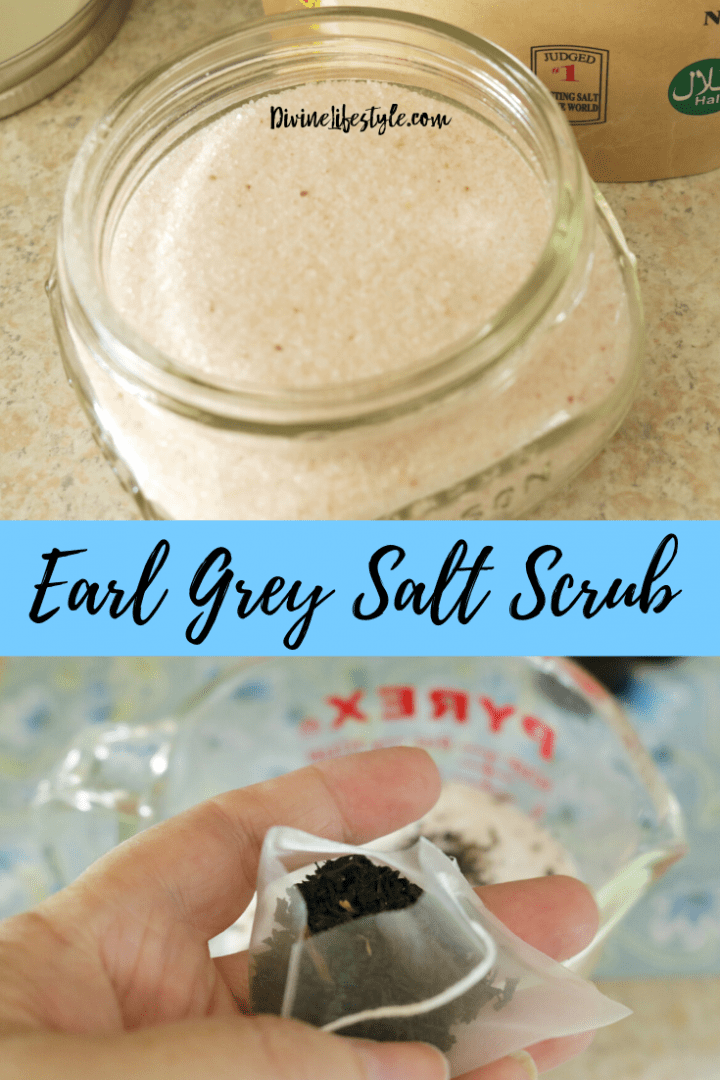
Purchasing bath scrubs can be really costly, although a rewarding product to have for yourself with their ability to exfoliate well and still be really moisturizing but not this pink himalayan scrub or himalayan salt scrub benefits recipe. What if you could easily duplicate one at home and still get the same results like a himalayan salt exfoliation or a himalayan salt face scrub? This recipe is one that works very well, is easy to make & doesn’t include any ingredients that are hard to find either. It contains only natural ingredients that all have great health benefits, and you can whip this up in no time! So save yourself some cash, and maybe make a few to give as gifts while you’re at it. We hope that you love this DIY Himalayan Salt Scrub recipe.
The pink himalayan salt scrub benefits are plenty. What makes this “Earl Grey” is the combination of the lavender and bergamot essential oils that you will add. Typically, earl grey tea has its distinctive flavor because of the bergamot, and sometimes it has lavender as well. Both oils are calming for you and very good for your skin.
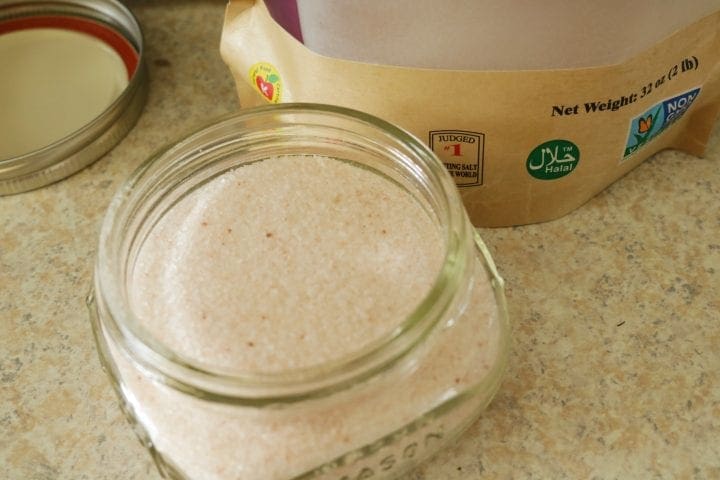 DIY Himalayan Salt Scrub | Himalayan salt face scrub
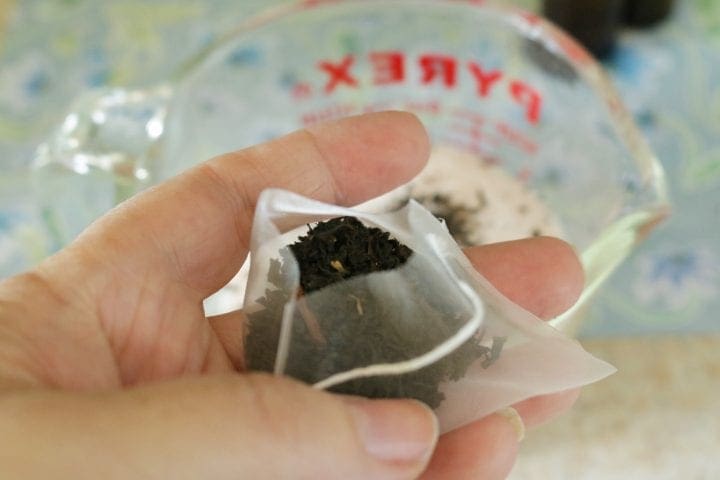
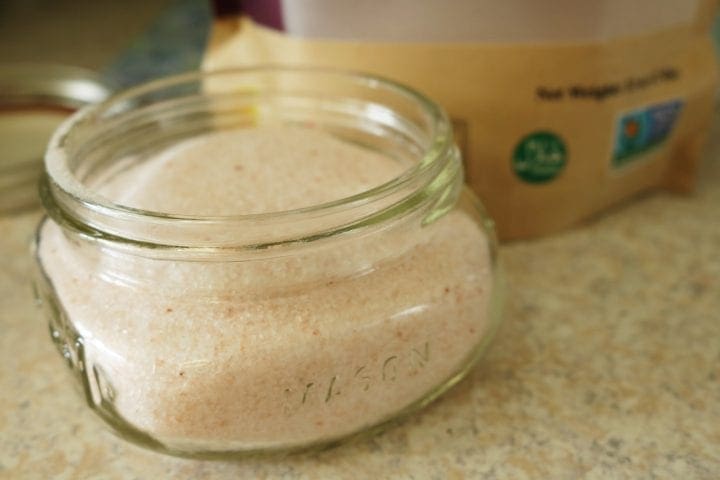 Directions
Whether you needed a himalayan salt exfoliation or wanted to know the pink himalayan salt scrub benefits, this how to make your own salt scrub recipe will not disappoint. We hope that you are inspired by this DIY Himalayan Salt Scrub. Happy creating!


Pingback: DIY Cherry Lip Balm Easy Chapstick Recipe Beauty
Pingback: Easy DIY Citrus Mint Lip Balm Beauty Product Do It Yourself
Pingback: Pumpkin Spice Latte Sugar Scrub Facial skincare soft skin
Pingback: Whipped Peppermint Sugar Scrub
Pingback: DIY Bath Salts Girls Night In Birthday Party Crafts
Pingback: Orange Exfoliating Scrub