Preschool Valentine Crafts
Preschool Valentine Crafts Crafting is something that we love to do in this household and it started when my kids were young. AS soon as they could hold crayons, they could craft and they...
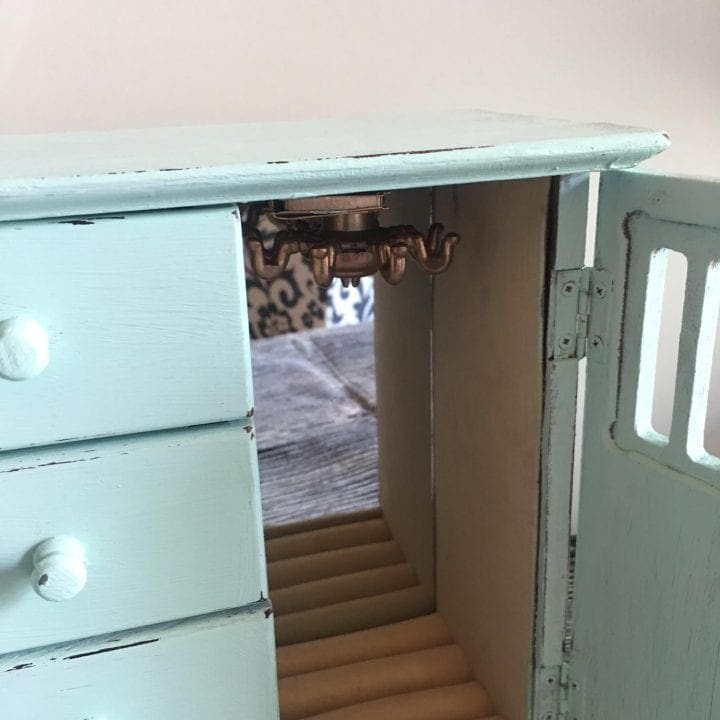
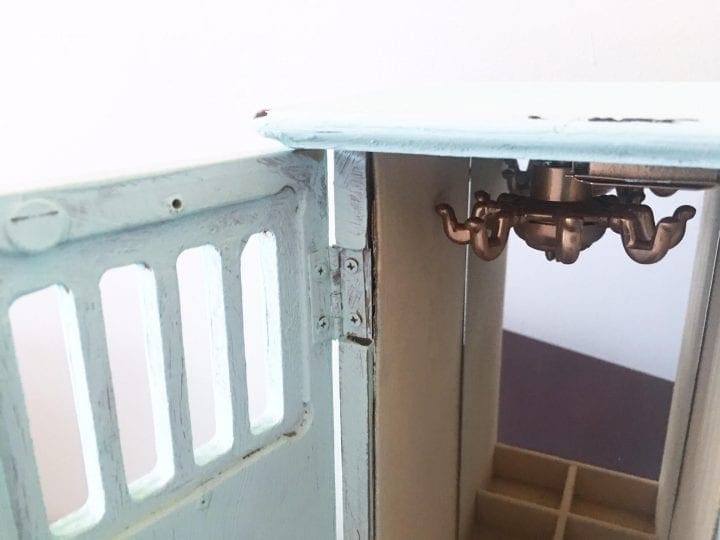
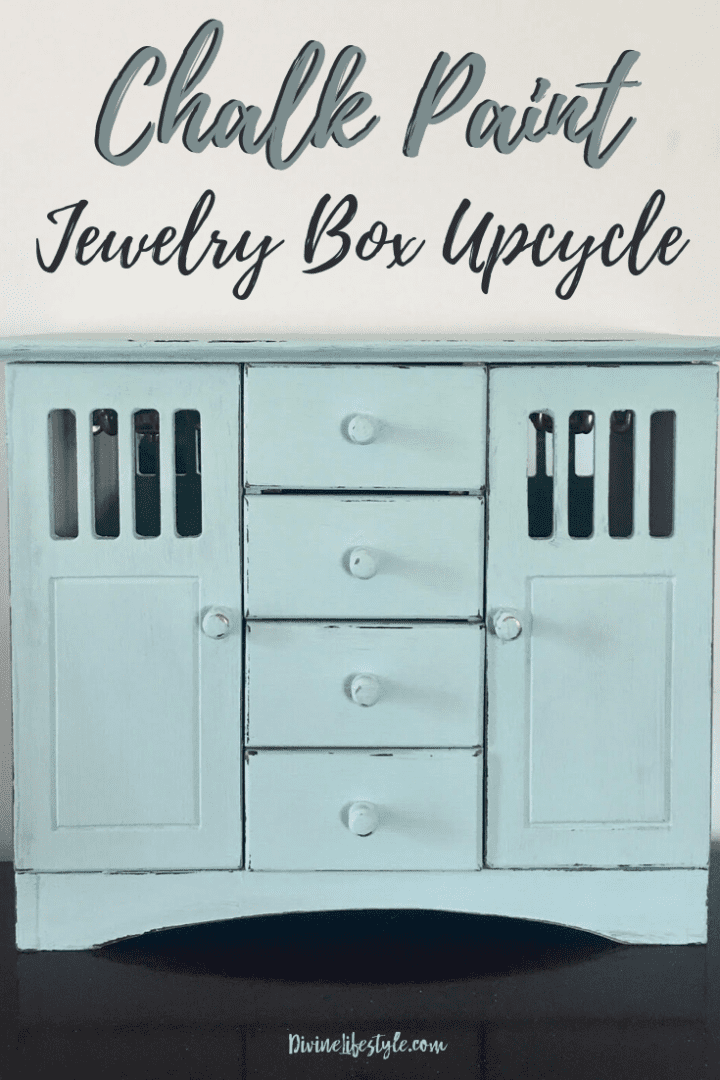
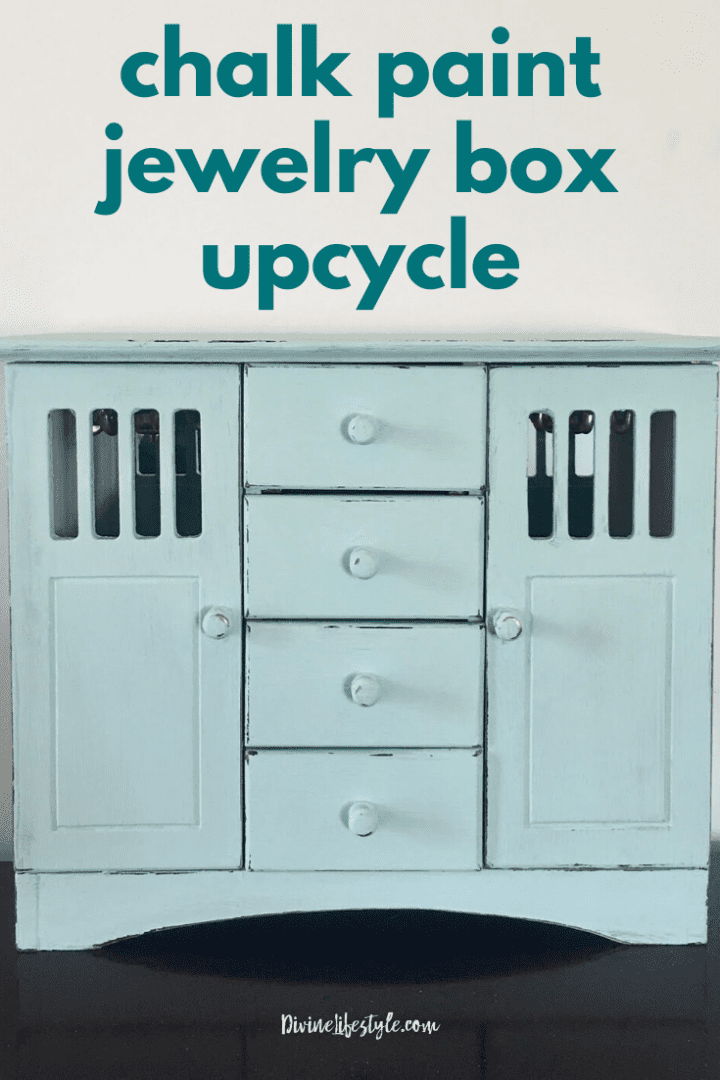
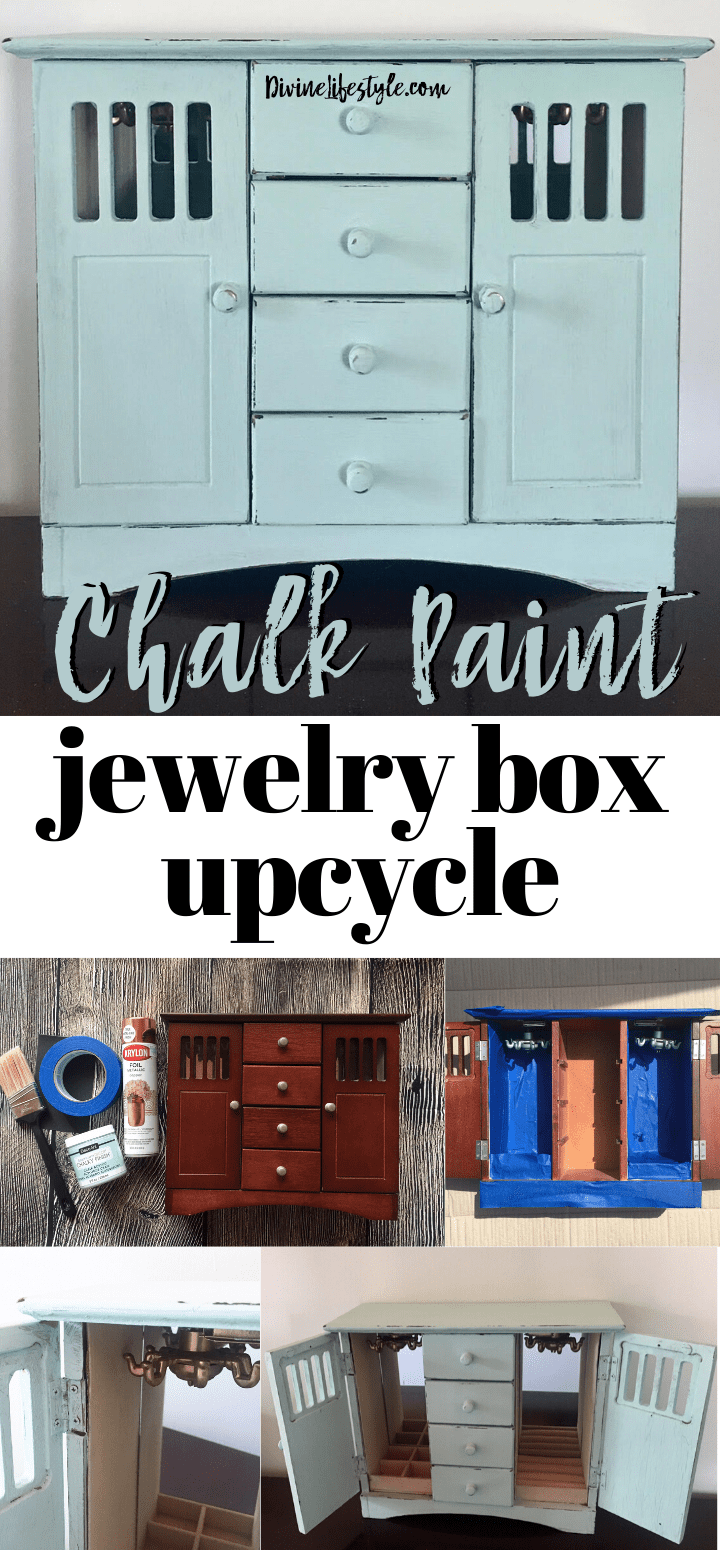 DIY Chalk Paint Jewelry Box
My daughter is 7 and just has started to collect more and more jewelry. She kept asking for a jewelry box every time we went to Marshalls or TJ Maxx. Sometimes she even made her own jewelry. After her jewelry started to collect into piles and things were getting tangled we figured it was time for of a new jewelry box. I was in the thrift store and came across this box for $7 which definitely got the creative juices flowing. I decided she is too young to spend a lot of money because I didn't know if she would continue to take care of her jewelry. I didn't want there to be too much glass because she is girly but can also be pretty rough on things. So I planned on removing the glass so it wasn't even a consideration in my buying decision. I would also consider contact papering the sides of your jewlery box with a coordinating print or pattern that you like. This will really make those colors pop. We hope that you love this DIY Chalk Paint Jewelry Box project.
If you are searching for an upcycled jewelry box, wooden jewelry box painting ideas, diy vintage jewelry box, jewelry box painting ideas or even for a hand painted jewelry box, then our painted jewelry box is exactly what you need.

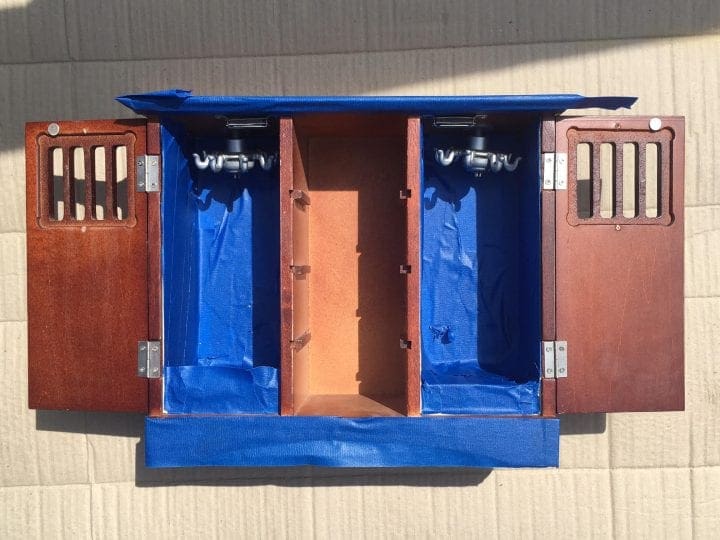
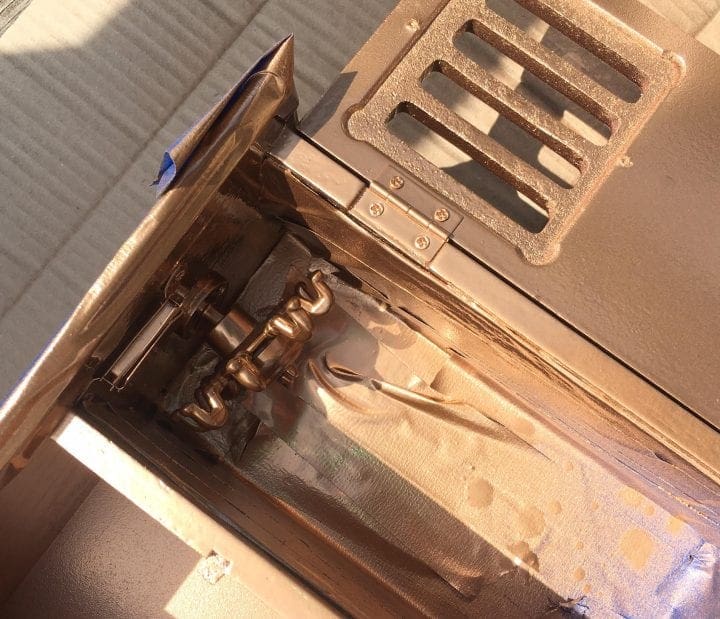
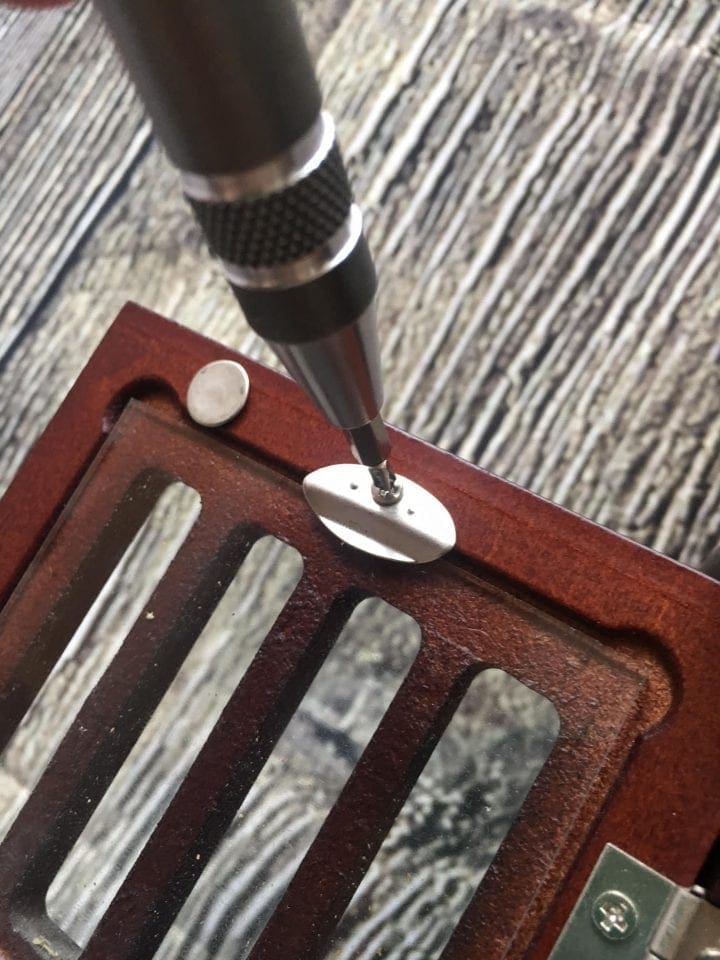
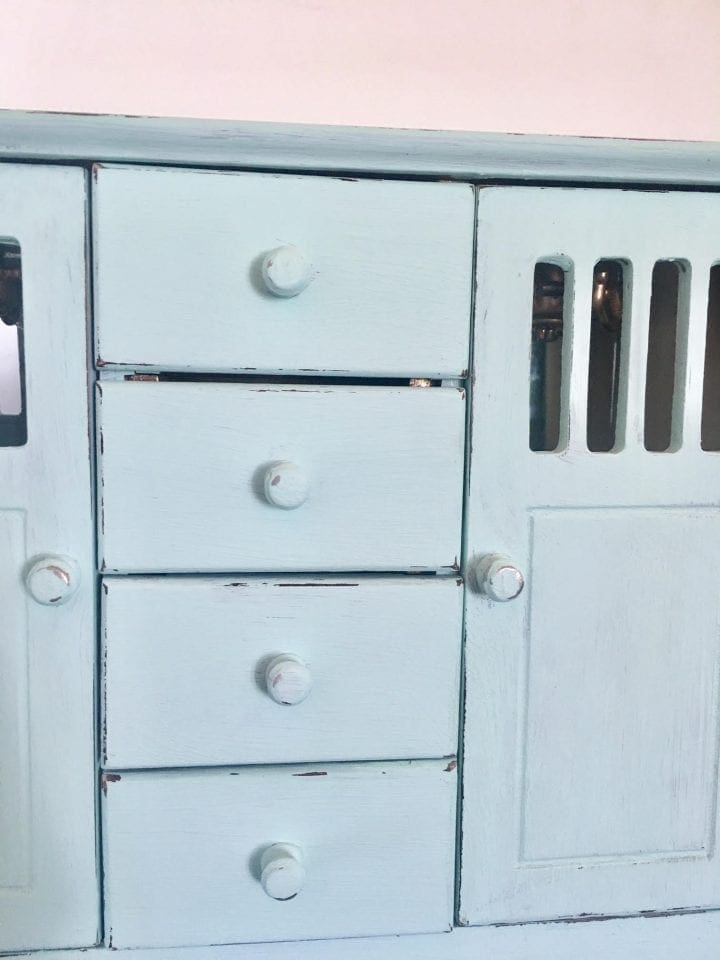 Directions
Whether you needed to know how to upcycle old jewelry box, wooden jewelry box to paint, decorating wooden jewelry boxes, hand painted jewelry box, jewelry box makeover or even restoring old jewelry box, our hand painted jewelry chest will not disappoint. My daughter absolutely loves her updated jewelry box and says it feels brand new! We hope that you are inspired by this DIY Chalk Paint Jewelry Box. Happy DIYing!

Preschool Valentine Crafts Crafting is something that we love to do in this household and it started when my kids were young. AS soon as they could hold crayons, they could craft and they...

Kool Aid Dyed and Scented Wood Letters We are all about the fun crafts for kids that look great and are functional as well. Dying wood is easy and inexpensive. When you do it...
DIY End Table Ideas As we make plans for lots of projects around the house this year, end tables are definitely at the top of the list. We have several beat-up, worn-out end tables...

20 DIY Christmas Centerpieces Christmas really is the most wonderful time of the year and it's one of my favorite times of year. I love the lights, the gift giving, the gift shopping, the...

Pingback: Easy DIY Chalk Paint on Glass Jars for Bathroom Vanity
Pingback: Keeping Your Fine Jewelry Looking Fabulous Divine Lifestyle