DIY Felt Christmas Gnomes
DIY Felt Christmas Gnomes
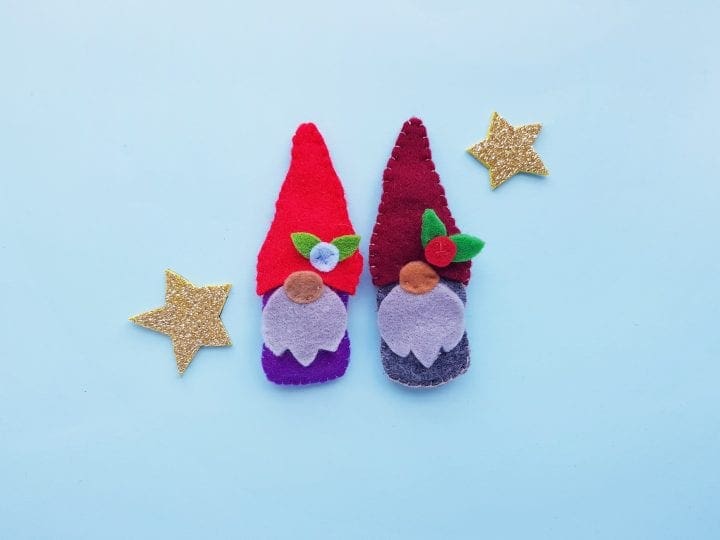
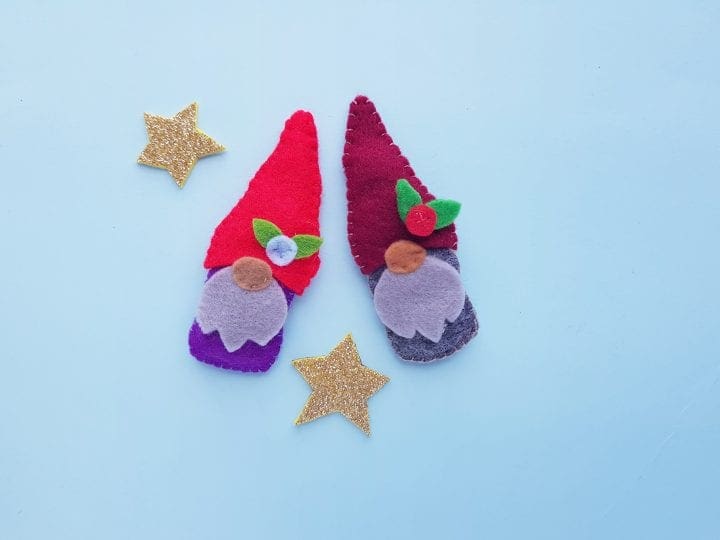
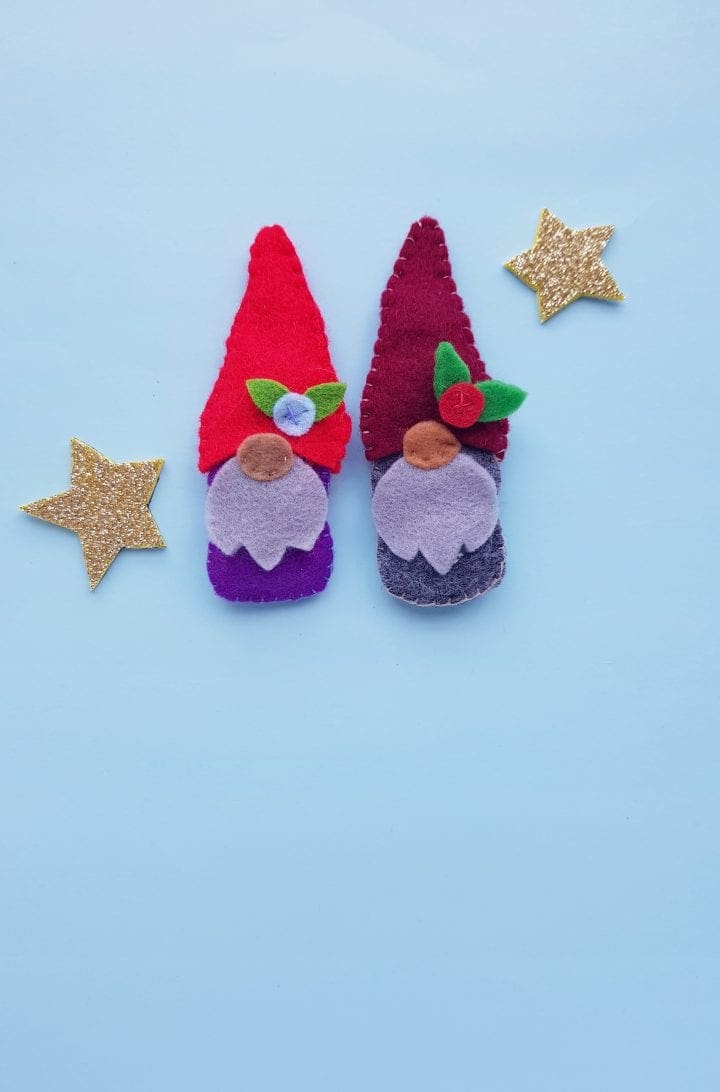
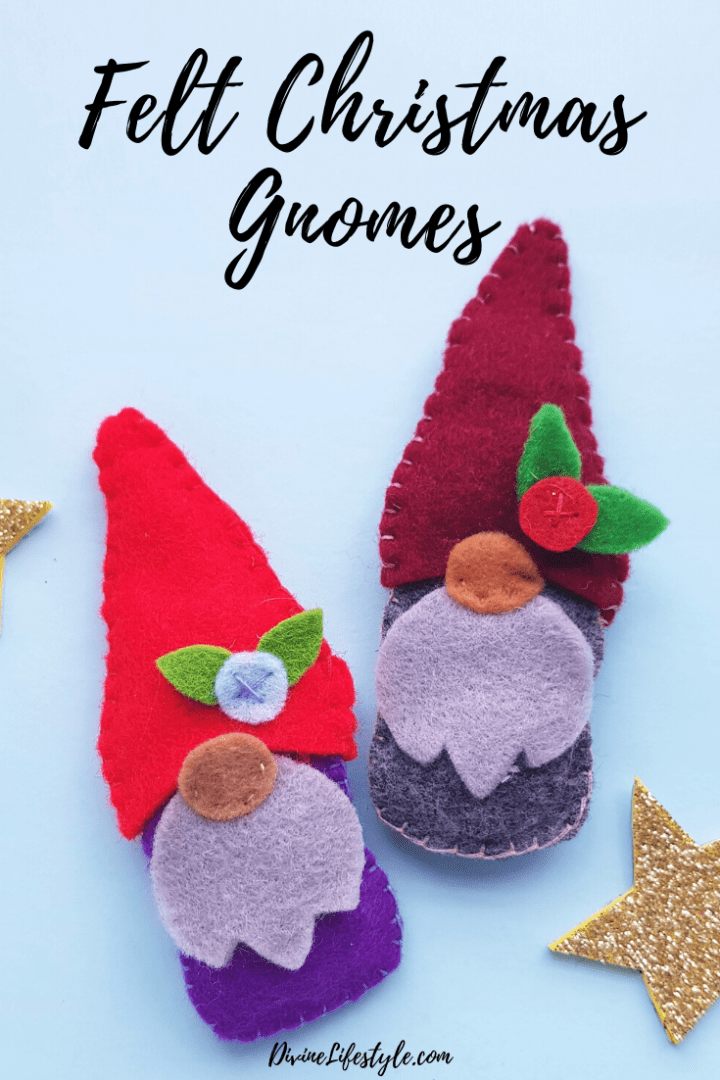
If you have ever wanted to know how to make DIY Christmas gnomes how to make a gnome how to make fabric gnomes or how to make felt Christmas gnomes or even how to make a Xmas gnome, you'll love our Christmas gnomes DIY because of the gnome pattern pdf free and the easy Christmas gnome pattern. These gnomes for Christmas feature a Christmas gnome tutorial that will put all other holiday gnomes or diy gnome crafts to shame. Our free gnome patterns make it so much easier. This DIY Felt Christmas Gnomes is a cute needlepoint gnome DIY.

Celebrate the Holidays – See our other recipes and crafts
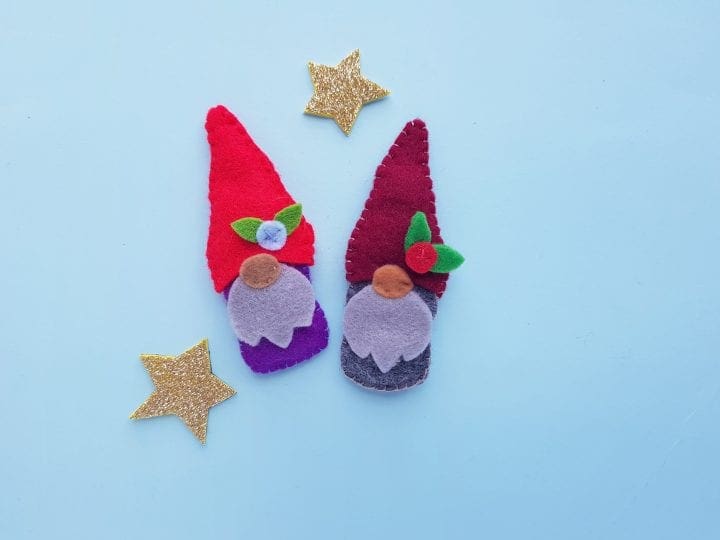
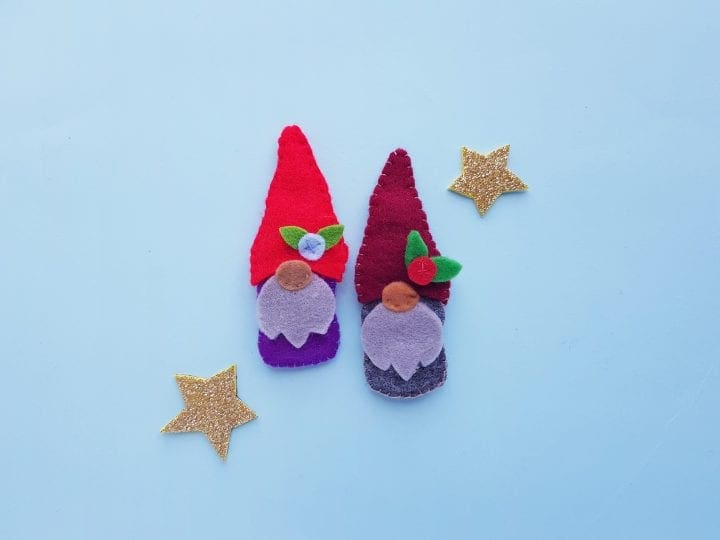
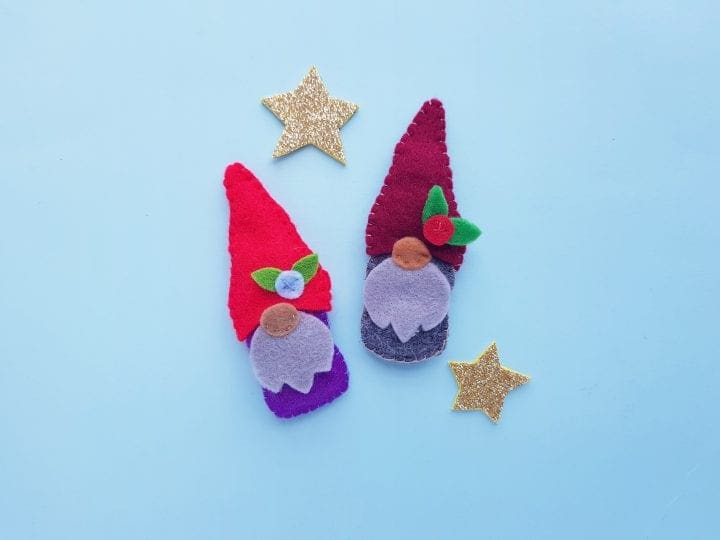 DIY Felt Christmas Gnomes
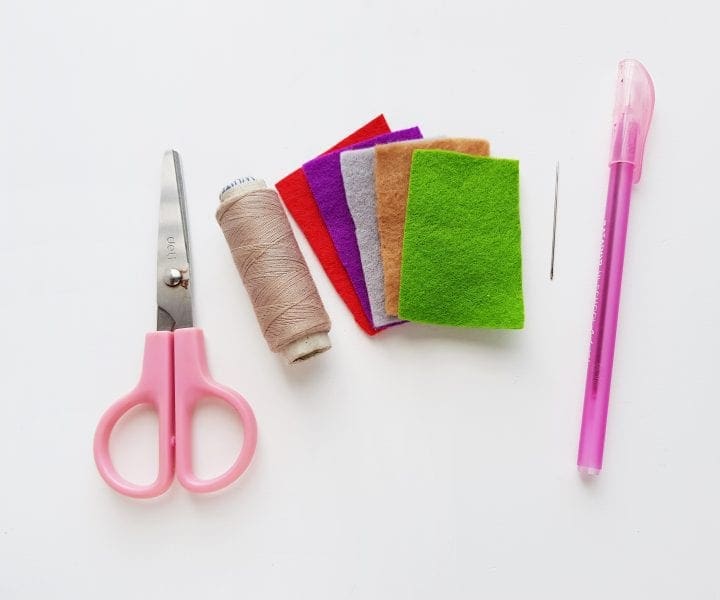
Supplies
Click to print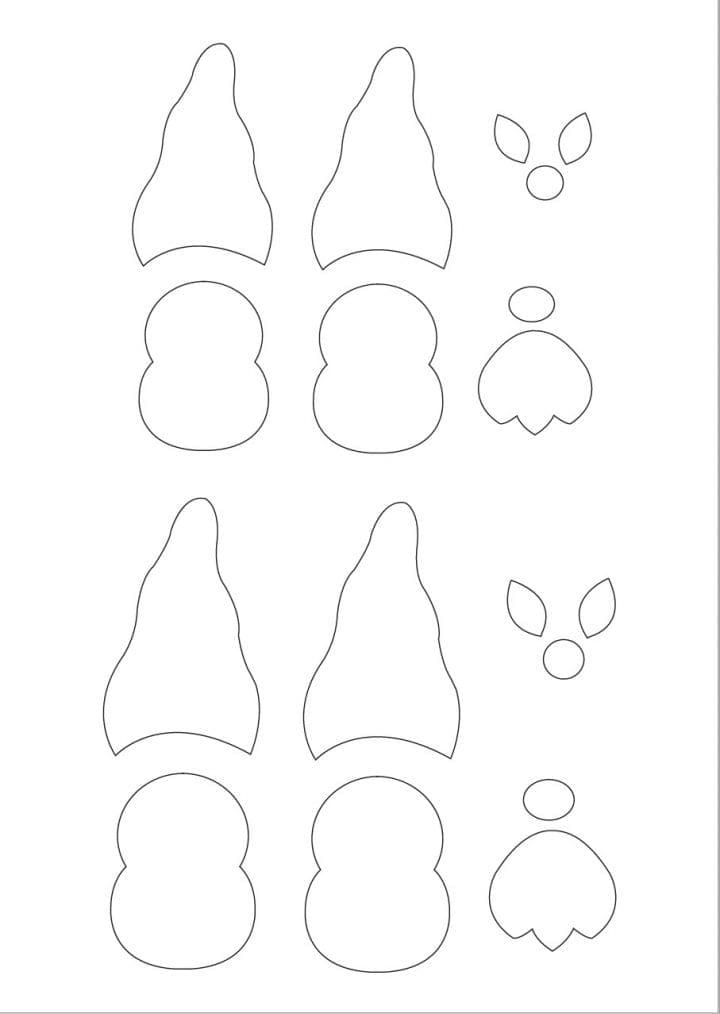

 Directions
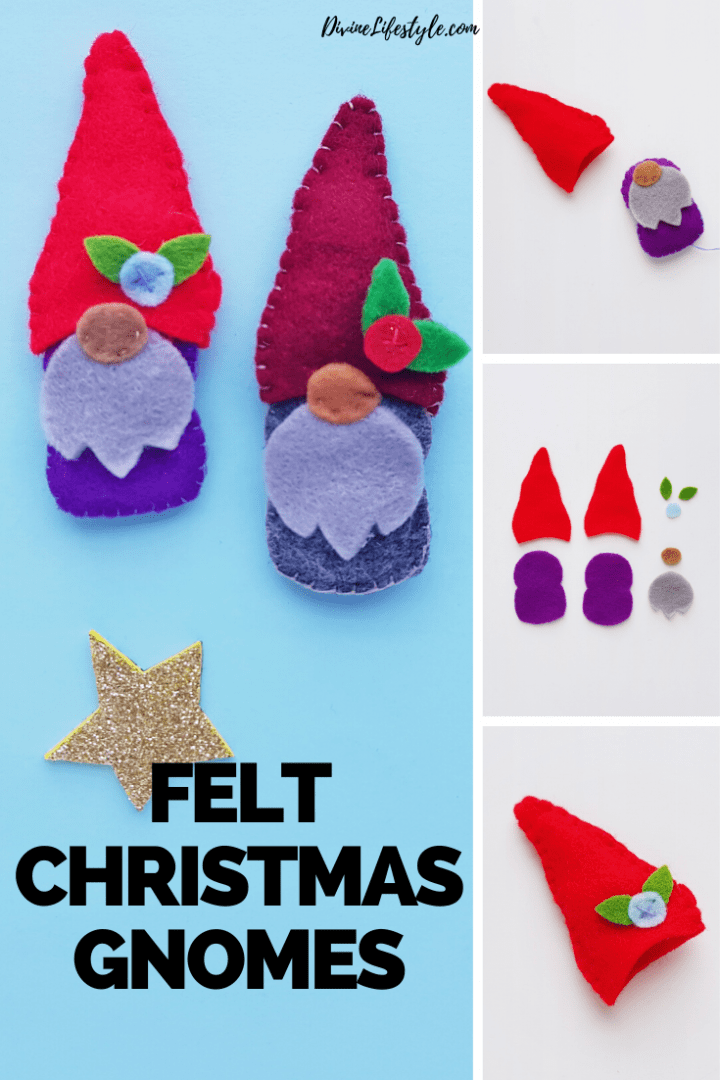
- Print and cut out the free felt christmas gnome pattern from the provided template of diy gnome instructions. Select felt fabrics for the gnome craft. Trace the patterns on the selected felts by using a pencil or a fabric marker. Cut out the traced patterns using scissors. The template includes 2 patterns for the body, 2 patterns for the hat, 1 nose, 1 beard, 2 leaves and a cherry pattern.
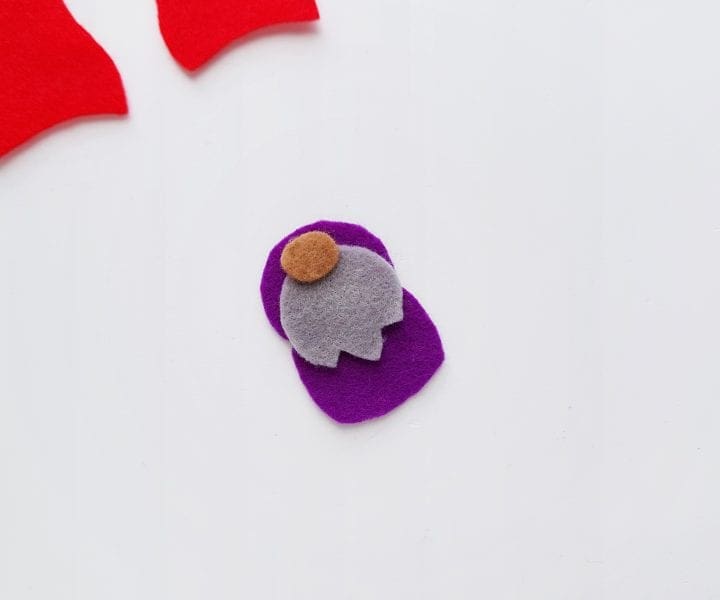
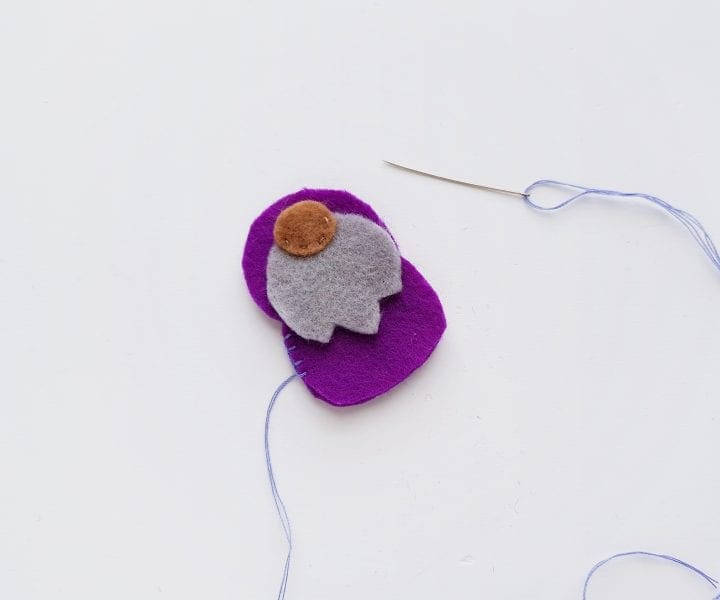
- Grab any one of the body patterns, the nose and the beard. Place the body pattern on a flat surface, placing the beard somewhat on the middle part of the body and then placing the nose on the top side of the beard by overlapping half of the nose with the beard’s top end.
- Prepare matching thread (with nose) with needle and stitch only the overlapped part of the nose and beard; also making sure to stitch the body part with them.
- Place the other body pattern (the plain pattern) under the stitched one. Make sure that both body patterns are matched nicely on all sides. Start to stitch the body patterns around the sides.
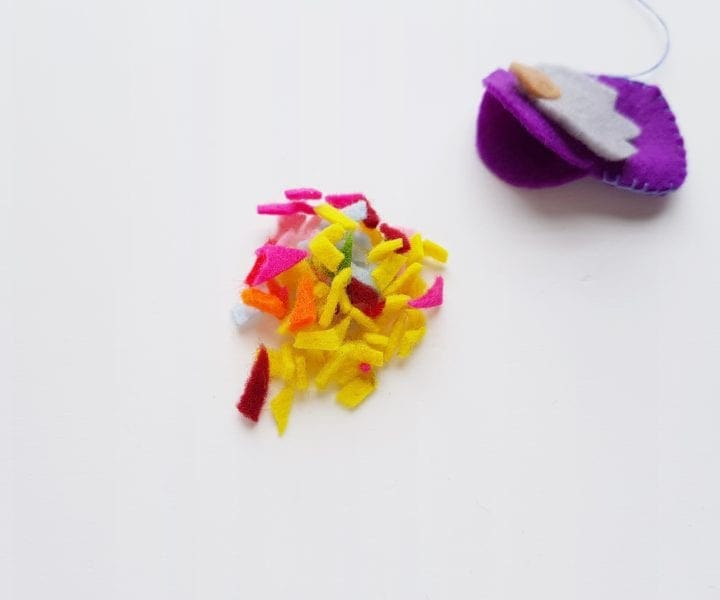
- While stitching the body patterns, keep in mind to keep a small opening for the stuffing. You can use cotton or scrap felt for the stuffing. Cut some scrap felt into tiny pieces and then use them for stuffing.
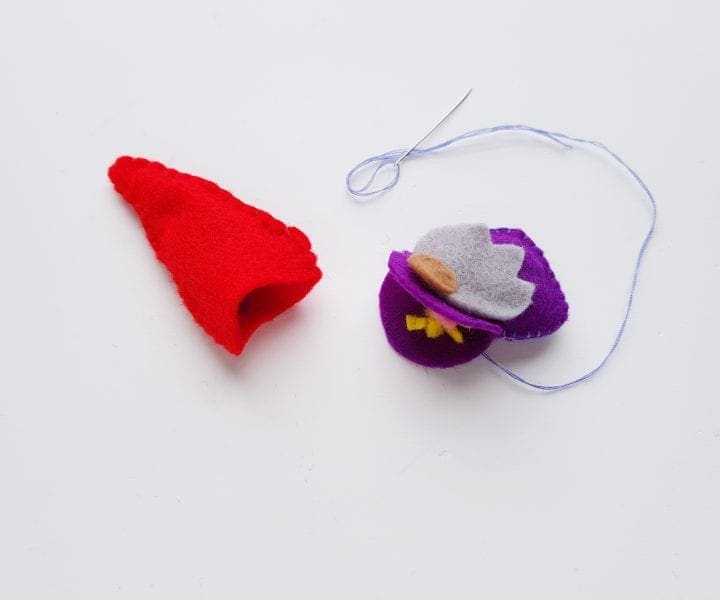
- Fill the felt gnome pattern with the scrap felt through the small opening. Stuff until you are satisfied with the pattern. Also grab the hat cutouts and stitch them around sides but keeping the bottom straight end intact. Stuff the hat through the bottom opening.
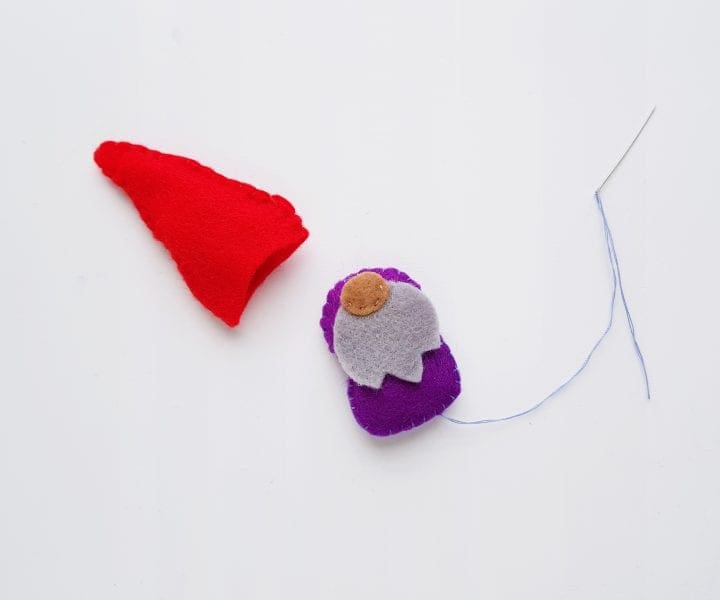
- Stitch the opening of the gnome body to secure the stuffing. Tie a knot and draw the needle through the gnome plush randomly and again drawing the needle out. Cut off extra thread.
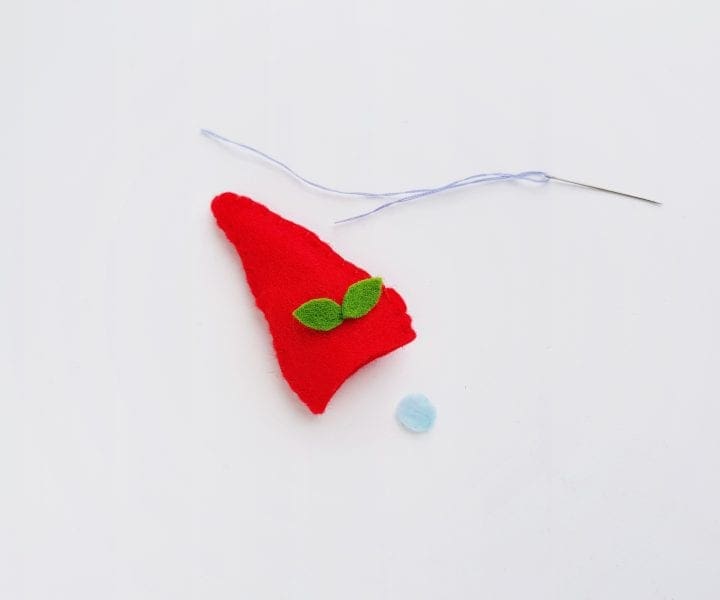
- Grab the hat and place the 2 leaf patterns on the hat.
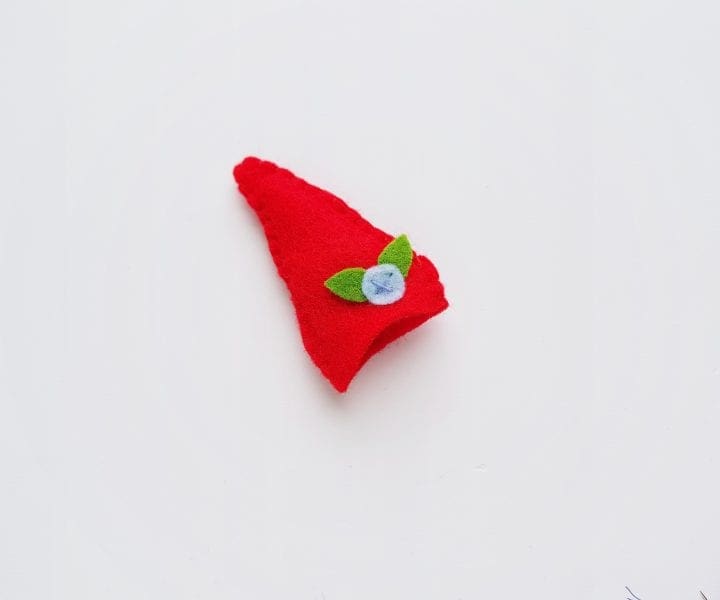
- Place the felt cherry pattern on the leaves and stitch them all together.
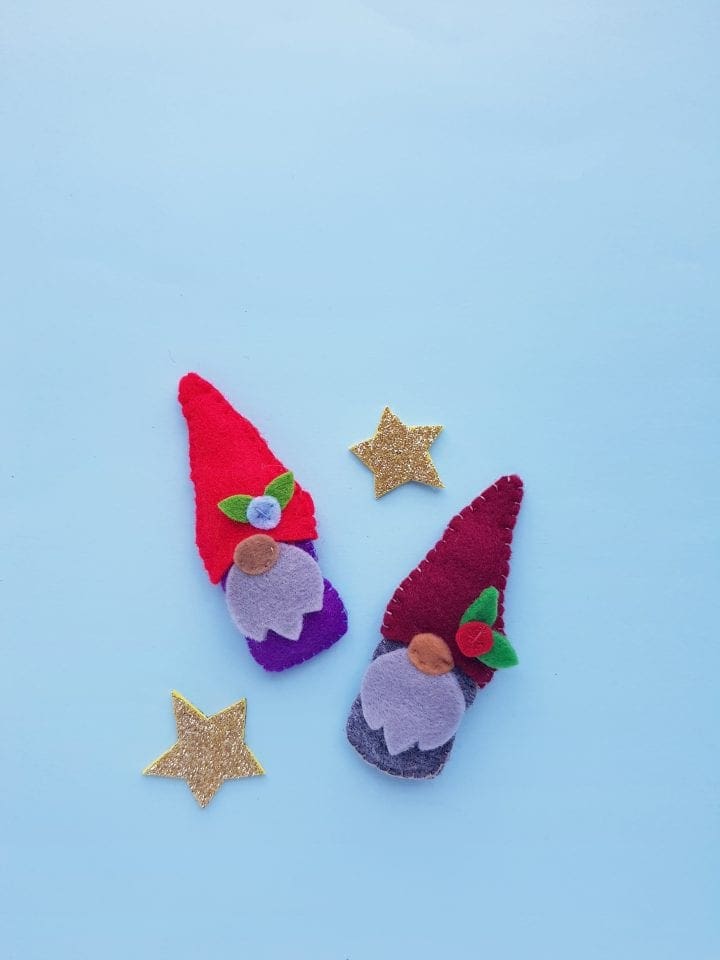
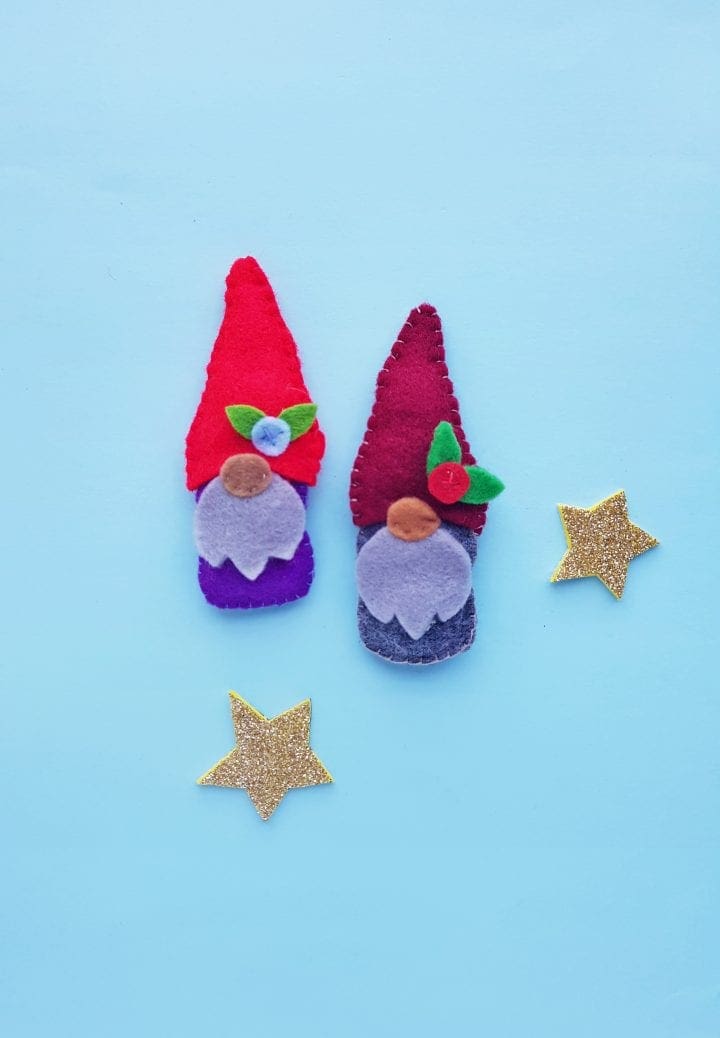
- Place and push the head side of the felt gnome inside the felt hat through its open end till the hat reaches the nose of the gnome. Now stitch to join the felt hat with the felt gnome. Tie a knot and cut off extra thread once you’re done stitching.
Consider making these with our favorite cookie recipe, Holiday Stars Shortbread Cookies. Whether you were looking for easy Christmas gnomes or DIY Xmas gnomes or a Christmas gnome or small Christmas gnomes or even handmade gnomes, our felt gnomes DIY will be one of your favorite gnome crafts. This is one of our favorite gnomes Christmas crafts. We hope that you love this DIY Felt Christmas Gnomes. Happy crafting.


You May Also Like


 DIY Felt Christmas Gnomes


 Directions


Pingback: DIY Mini Vintage Christmas Trees Centerpiece Holiday Craft
Pingback: DIY Beaded Wire Star Christmas Ornament Christmas
Pingback: Air Fryer Brussel Sprouts Vegetables Side Dish Recipe Divine Lifestyle
Pingback: DIY Peppermint Foot Soak Easy Holiday Gift Tutorial
Pingback: Printable Rae Dunn Inspired Christmas Gift Tags Holiday DIY
Pingback: Holiday Stars Shortbread Cookies Christmas Cookie Recipe
Pingback: Save on Shopping with eBay Deals
Pingback: St. Patrick's Day Craft: DIY Leprechaun Beard Divine Lifestyle
Pingback: DIY Crumpled Paper Christmas Tree Craft Holiday Decor
Pingback: DIY Red Christmas Gnome on Skis Holiday Craft Divine Lifestyle
Pingback: DIY Christmas Tree Advent Calendar Paper Mache Boxes
Pingback: 25 Handmade Christmas Gift Tutorials Holiday Presents