Installing the GAF Roof: Our Experience
This Installing the GAF Roof: Our Experience post is sponsored by GAF. The writer has been compensated with goods, services, and/or monetary consideration. All words and opinions are my own.
Installing the GAF Roof: Our Experience
It was time. The roof on our 60's era mid-century modern home was in dire need of replacement. There were leaks and deteriorated shingles all over the place; it was time to call in a pro. So off we went to Lowe’s! We scheduled an in-home consultation with one of their roofing experts who helped us decide on what we would do. Lowe's would supply one of their 3rd party roofing contractors to install a brand new GAF roof system. This was where I really learned a bit about the world of roofing, by the way. Notice how I said we were installing a roofing system? Apparently there is a whole lot more to a reliable roof than just shingles. There are multiple components that all work together to create a surface that will keep out the elements and last for years.
Anyway, we signed on the dotted line and just a few short days later the crew was at our home ready to go. The crew jumped into action as soon as the sun cut into the morning sky. It was time for step one of installing our new GAF roof.
Step One: Get Rid of the Old Roof
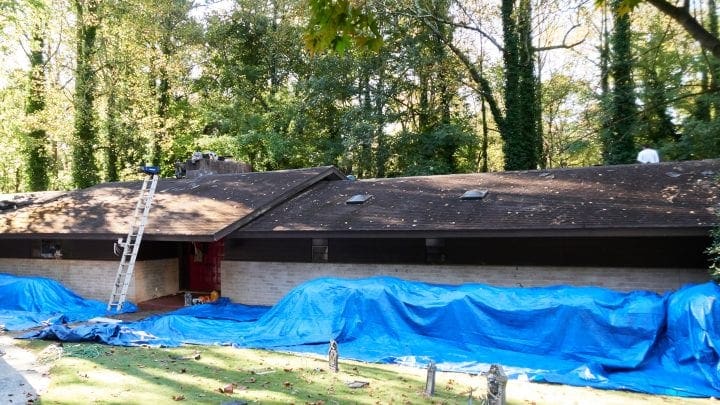
Before you can start on building the new, you have to get rid of the old. To accomplish this, a large dumpster was brought to the edge of the house and tarps were laid on the ground under the roof-line to catch any debris that happened to fall. The first thing removed was the ridge cap at the top of the roof (the shingles that straddle the centerline of the roof). Once those were out, things moved fast. Part of the crew attacked the shingles, lifting them from the decking with a pitch fork looking tool. The rest of the crew was busy filling wheelbarrows with debris to throw away. Once the majority of the roof was clear, the crew cleared the decking to get rid of the last bits of the old roof. Now that we had everything stripped down to the wood decking, we could move to step two of the GAF roof install.
Step Two: Repair and Prep the Decking

Step two of the process is critical. You are essentially laying the foundation for your roof, so if you don't get this right you will likely have problems later. The first thing to tackle was the deck repair. Every single piece of wood decking was inspected and any decking that showed damage was replaced. This insured that we were starting with a solid, sturdy surface.
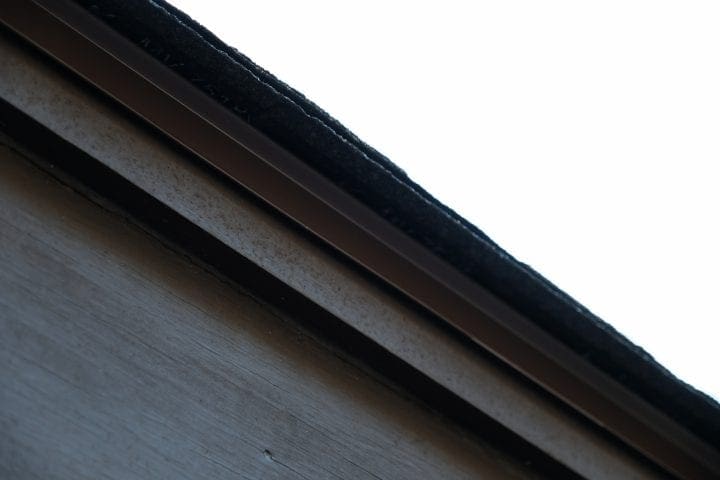
From there, a metal drip edge piece was installed along every edge of the roof (picture above…it's the piece between the shingle and the wood siding). The purpose of the drip edge is to direct any dripping water away from the face of the house.
Next came the leak barrier. In the pictures above, you can see the crew rolling out a black material along the edge of the roof line. That is the GAF WeatherWatch® Leak Barrier. It selfseals to the deck and is designed to help prevent leaks caused by backed up gutters, wind-driven rain, and ice dams in the winter.
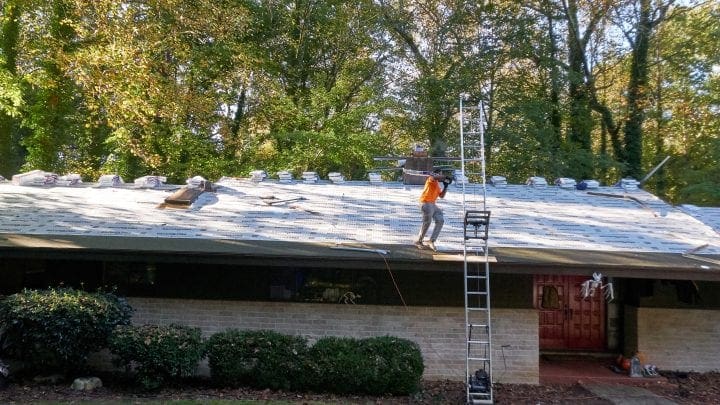
Above is the Roof Deck Protection we installed known as a GAF FeltBuster® (the white stuff on the roof above). This is a product that replaces the old tar paper used back in the day and FeltBuster offers a few advantages. First, the surface is designed to provide traction, making things a safer to walk on for the crew installing the roof. Secondly, unlike conventional felts, the FeltBuster will not break down over time. Traditional materials tend to become brittle as time passes. This isn't good for your roofing system, so FeltBuster solves the issue.
This was as far as we made on day one of our GAF roof installation. The roof had been cleared of the old and the decking was fully prepped and ready for the next morning.
Step Three: Install the GAF Roof Timberline HD® Shingles
The beginning of day two was exciting. We were going to have a finished GAF roof by sunset! The first thing installed were starter shingles along the edge of the roof. Starter shingles are designed help prevent shingle blow off.
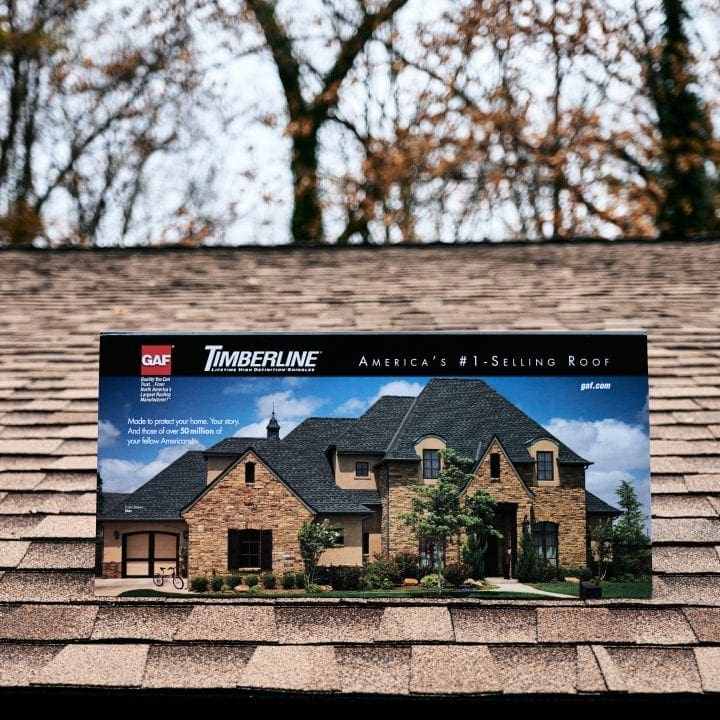
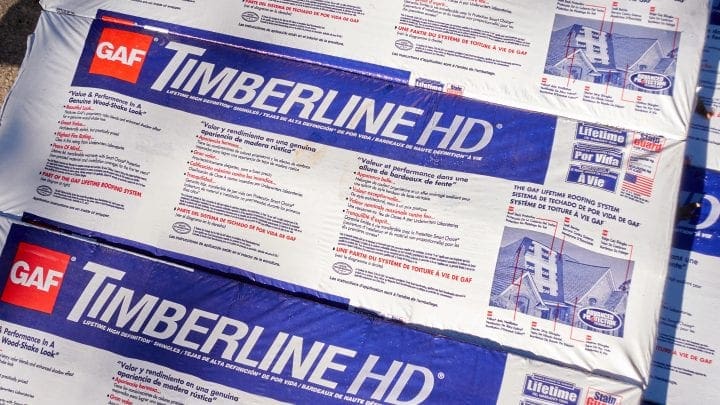
After the starter strip shingles were installed it was time for what we had been waiting for; the installation of the GAF Timberline HD® shingles in Shakewood.
The Timberline® shingles are designed to give the roof a 3-dimensional wood shake look while delivering exceptional value and performance. This shingle is the number one seller in North America for a reason; these are tough shingles that undergo over 4,000 quality checks during the manufacturing process.Once the shingles were installed there was only one thing left to do; install the ridge vent and ridge shingles. For the vent, we used the GAF Cobra® Rigid Vent 3. This is a warm climate vent that allows heat and moisture to escape from under the roof deck. The Rigid Vent is then covered with GAF Ridge Cap Shingles that match our main shingle color and style.
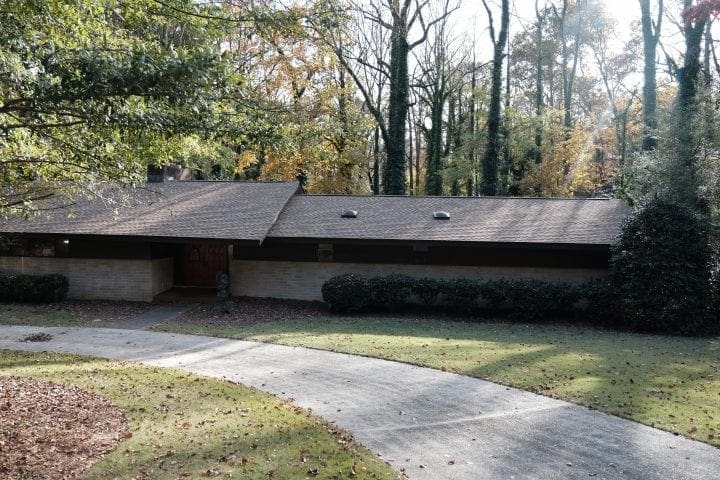
Step Four: Enjoy the New GAF Roof
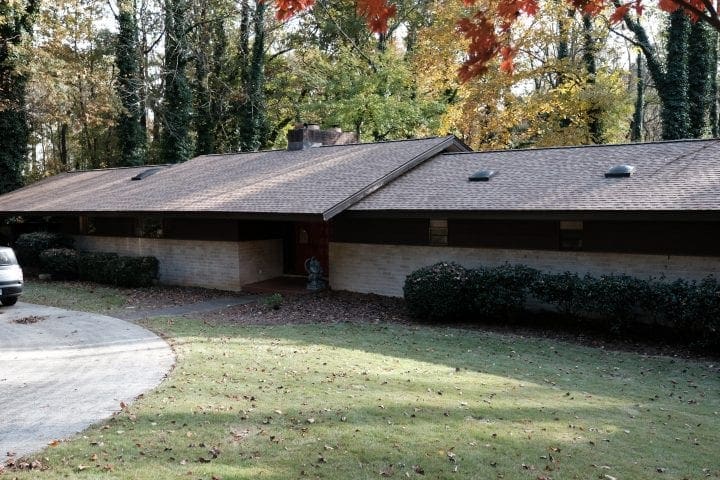
That's it! It took two solid days of work, but it was worth it. The house looks better from the curb, and I don't worry anymore about the roof failing.
Do you know what surprised me the most though? A few days after the roof was installed it rained. Hard. There were no leaks (yay!) but that isn't what stood out. It was quiet. Really quiet. I never realized how noisy it was in our home when it rained until I experienced a storm with the new roof. It was noticeably quieter in our home.
You May Also Like


this is great information! we will need to buy a new roof at some point in the future and this is good to know.
You are giving a great info, nevertheless it is not for me! I will never be able to understand these things! 🙁
The new roof looks amazing! How interesting that you noticed such a difference in noise after the storm with the new roof – it is amazing to think what a difference some things can make.
I would love to get a roof that wasn’t loud. That’s the biggest problem with the roof we currently have.
Im saving and sharing this post with my husband. Roofs need to be fixed or replaced and we have a home we rent out.
I love the new roof; it not only improves curb appeal, but I bet you have such a peace of mind knowing your roof is secure!
I never really thought about acoustics with a roof! That’s great that it’s durable and stylish, as well!
This is a really nice roof! I’d never thought I’d ever write those words, but it’s very true as is evident here!
I never realised how quickly a new roof could be installed, that is quite incredible! It looks amazing.
Wow! sounds like a nice option. I do not own house so I can’t really relate but your new roof looks lovely
Oh yes! I am glad to know what the experience you had when installing new roof. But the result is very nice and beautiful. Love it!
Whoa! That is a massive roof and a big undertaking, but, with these new materials, this project should last at least another generation. It’s amazing how we keep coming up with new techniques and products to make our homes not only beautiful but way more resilient.
Wow what a change! I love the way it came out. I had never thought about what it involved in changing a roof either.
Nothing is more exciting than a Reno. Stressful, but nothing feels better than a before and after. Great post!
Sounds like a great experience! We once remodeled our kitchen and it was nightmare; good to know there are reliable companies out there for such a large project!
I remember doing this with my dad long ago. It was some heavy duty work, great job!
Roofing is something I have always left to the professionals. You make it sound easy but I think you all have some mad skills.
A new roof sounds like a ton of work! You killed it!
Great piece of information. Sometimes something that probably you will never get down to doing is also great to know. Great learning.
The new roof looks good! I didn’t know so much went into a new roof either! I also have never considered Lowe’s I’ve always gone to Home Depot lol. Maybe I missed where you said it, but did you guys stay in the house during all of this?
This is really amazing! Thanks for sharing your experience!
Great info! I haven’t really thought about changing our roof yet. Maybe I should reconsider after seeing this post.
This was quite the upgrade! The benefits of the new shingles are sounding really nice.
Wow, this looks awesome! I love that you have a nice, new strong roof now!
Your new roof looks awesome! I am impressed with the service you received and the shingle color is perfect!
I had no idea the process was so involved! Good thing you had Lowe’s along for the ride. The end result is really impressive.
That roof looks amazing! It’s a lot of work to put on a new roof, but worth it!
Man oh man that looks like some HARD WORK. No one would ever see me doing that by hand, that’s for sure – hahahahahahaha!
Wow! This is really cool. You did this so fast, great job.
Wow great roofing. Glad you all were able to get this done.
It turned out amazing!
This would be awesome if we could do this at our house that we live in now! It needs a new roof so bad.
I wish we know this before we got our roof changed. I really like how this turned out!
I do know how important all these decisions are when it comes to building or repairing the roof of the house. I can relate to this subject after the hurricane did a good damage to our roof.
We live in a townhouse so I have never had to handle exterior repairs. Thanks for sharing your experience.
The new roof looks great! We’re getting ready to tackle some projects too hope it comes out as great as this!
Wow these gaf roofs look so good. Thanks for sharing.
what a beautiful roof! luckily since i am renting a house, i don’t have to deal with exterior repairs but will definitely keep your tips in mind for the future 😉
Pingback: The Most Common Hidden House Problems to Watch Out For
Pingback: Signs You Need a New Roof