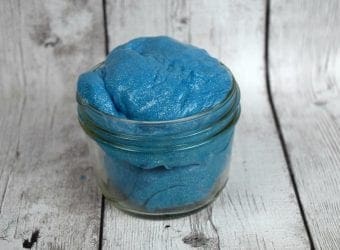
FROZEN Glitter Slime Recipe
FROZEN Glitter Slime Recipe FROZEN 2 is about to come out and this entire household could not be happier. We are counting down the days and in fact, it's even marked on our calendar....
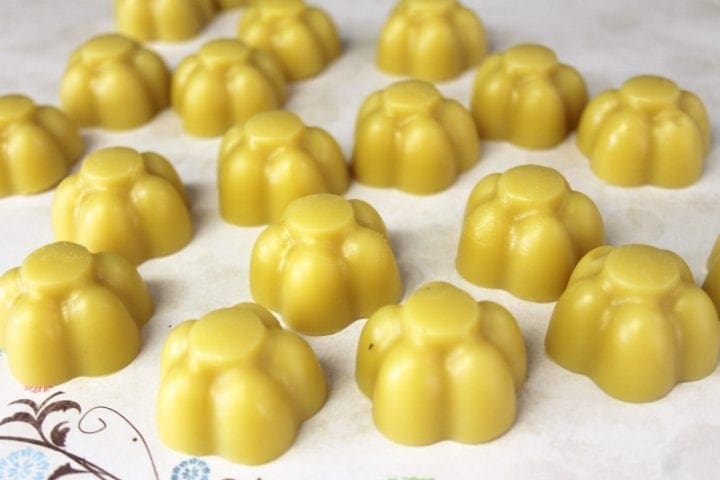
 Moisturizing Orange Lotion Bars
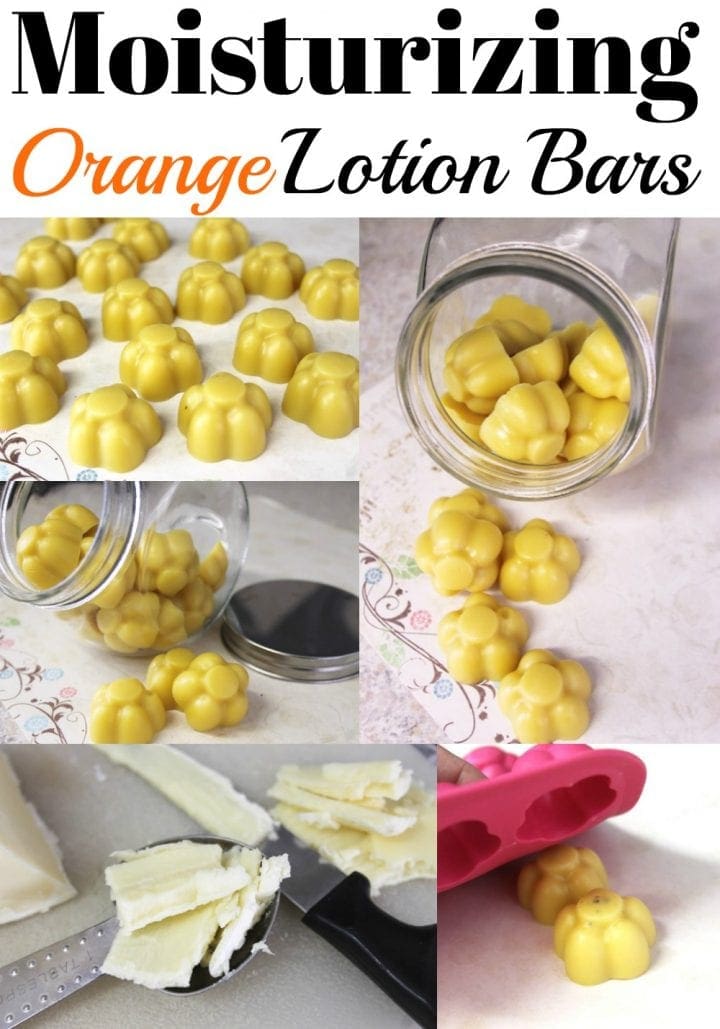
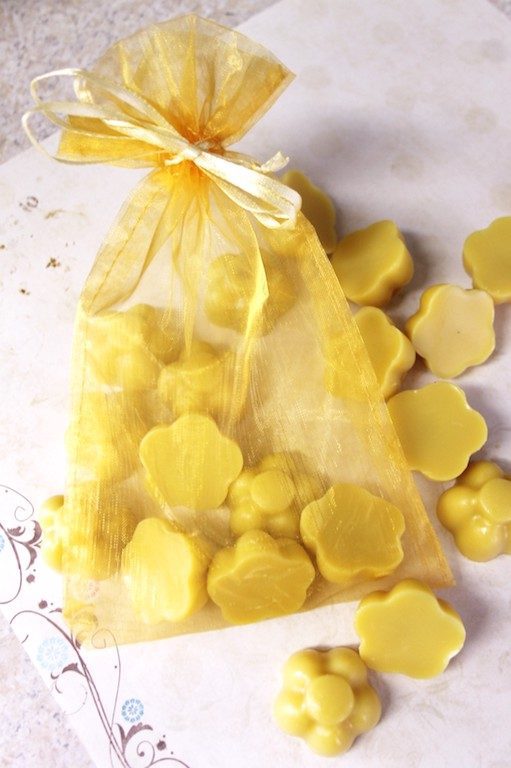
These Moisturizing Orange Lotion Bars are a really great way to keep your hands moisturized, without carrying around a liquid lotion that has the potential to leak and make a mess. They have great benefits for your body as well, especially if you are using pure essential oils on top of the great ingredients in the base of this recipe. They are easy to make, and cost very little, too, so they are perfect to make for gifts or just for keeping a stash handy for your own household!

 Moisturizing Orange Lotion Bars


FROZEN Glitter Slime Recipe FROZEN 2 is about to come out and this entire household could not be happier. We are counting down the days and in fact, it's even marked on our calendar....
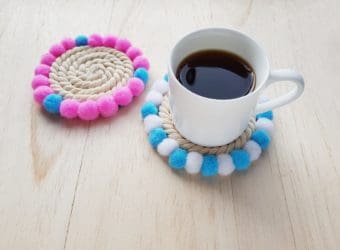
DIY Drink Coasters with Rope and Pompoms Are you looking for DIY table coasters or how to make drink coasters? I love being crafty. Even better when they are easy crafts that look great...
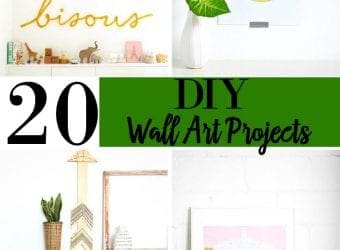
If you want to give your home and walls a fresh look, you can always find inspiration on Pinterest because there are so many amazing photos. There is so much creativity but I have...

We are a family of cereal eaters. All five of us love cereal. I could it for all three meals each day. My dad is a big cereal eater too so I grew up...

Ok, these are absolutely adorable, and they sound like they smell amazing! I actually just bought some lotion bars, but I should definitely be making my own!
Pingback: Aveda Hand Relief Moisturizing Creme Review Divine Lifestyle