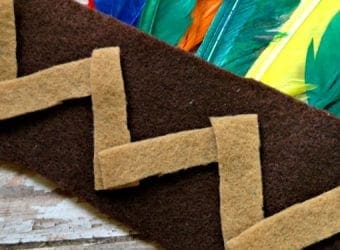
Native American Headdress Craft for Kids
Native American Headdress Craft for Kids Teaching children about the real meaning of Thanksgiving is so important. This is a wonderful chance to talk about the Native Americans and the role they played in...
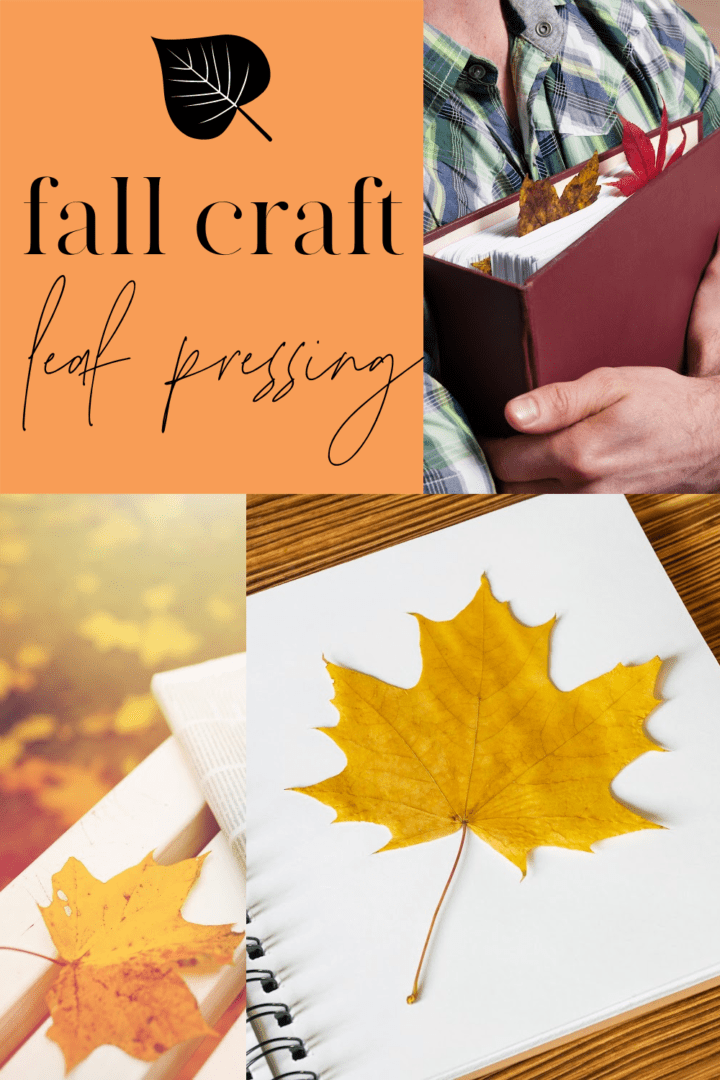
My kids absolutely love the very short change of seasons that we have here in Georgia. They love raking the leaves and jumping in them. They love playing outside and identifying all of the beautiful colors. And they love pressing leaves.
Finding great Fall activities to do with your children that are also educational is not always an easy task. Pressing leaves is a great activity that will take time, get you to exercise, and teach your children about trees all while having fun!
Go for a nice long walk through the neighborhood or park to go leave hunting. If you have a path surrounded by woods this is highly suggested as you will find a large selection of trees and leave types this way. Try to get different types of leaves from a variety of trees (this will make things a lot more fun later). Avoid leaves that are moldy or have rot.
Before you press your leaves it is a good idea to make sure they are dry and flat. You can ensure this by placing the leaves you have decided to press between two sheets of newspaper. Place some heavy books on top of your leaves covered in newspaper and allow to flatten and dry for a minimum of 24 hours.
While you are waiting for the leaves to dry you can look online or in books to identify your leaves. This is the best part because it is fun and educational.
You will need
Place selected leaves between sheets of waxed paper. Gently press waxed paper with medium-hot iron moving slowly over entire surface for about 10 seconds. You will not want this to be on a high setting because it can and will burn through the wax paper and leave which will cause quite a mess.
Repeat with remaining leaves you dried the day before. Keep hands away from hot surface of iron. Waxed paper will be hot after pressing. Allow pressed leaves to cool before using.
Once your pressed leaves are cool you can now show them off! You can trim around the edges of the waxed paper and place your pressed leaves on cards to send Fall wishes to someone. You can also place your leaves in a photo album or scrapbook with tags identifying your leaves. Pressed leaves also make wonderful sun catchers! Attach a string to your pressed leaves and hang in the window by looping onto the lock switch or hanging them up with the use of suction cups!
Native American Headdress Craft for Kids Teaching children about the real meaning of Thanksgiving is so important. This is a wonderful chance to talk about the Native Americans and the role they played in...
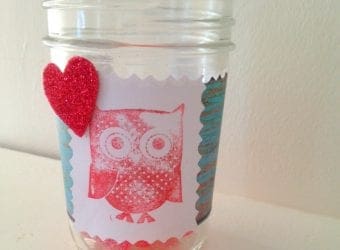
DIY Valentine’s Day Owl Treat Jar If you are looking for a fun way to give your Valentine a sweet treat, this DIY Valentine’s Day treat jar is the perfect idea. Made from a...
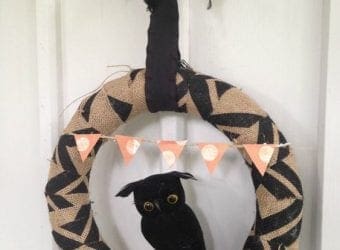
Easy Burlap Halloween Wreath with Black Owl Halloween is almost here and this adorable owl wreath will look amazing in your home as Halloween decor. Do you know how to make a burlap...

20 DIY Scandinavian Home Decor Projects The trend towards minimalism is certainly growing strong as we see more and more people looking to downsize their lives plus get organized. I love nothing more than...

I have never done this before! We love autumn!! I think my son is a little young to enjoy this, he will be 2 at the end of december, but it sounds like a perfect crafty little project for my nieces! thanks for sharing
My kids used to press leaves, and now my grandkids will enjoy it, too. One of the great things about fall is the beautiful colors. The leaves turn oranges, reds, and yellows and work wonderfully for crafts and artwork. Good tips – especially about making sure they are dry.
Pingback: DIY Flower Pot Apple ~ Perfect Back to School Craft | Divine Lifestyle
Pingback: DIY Kids Teepee Tent Tutorial How to Make a Child's Teepee Tent