DIY Teepee Tents
 DIY Teepee Tents
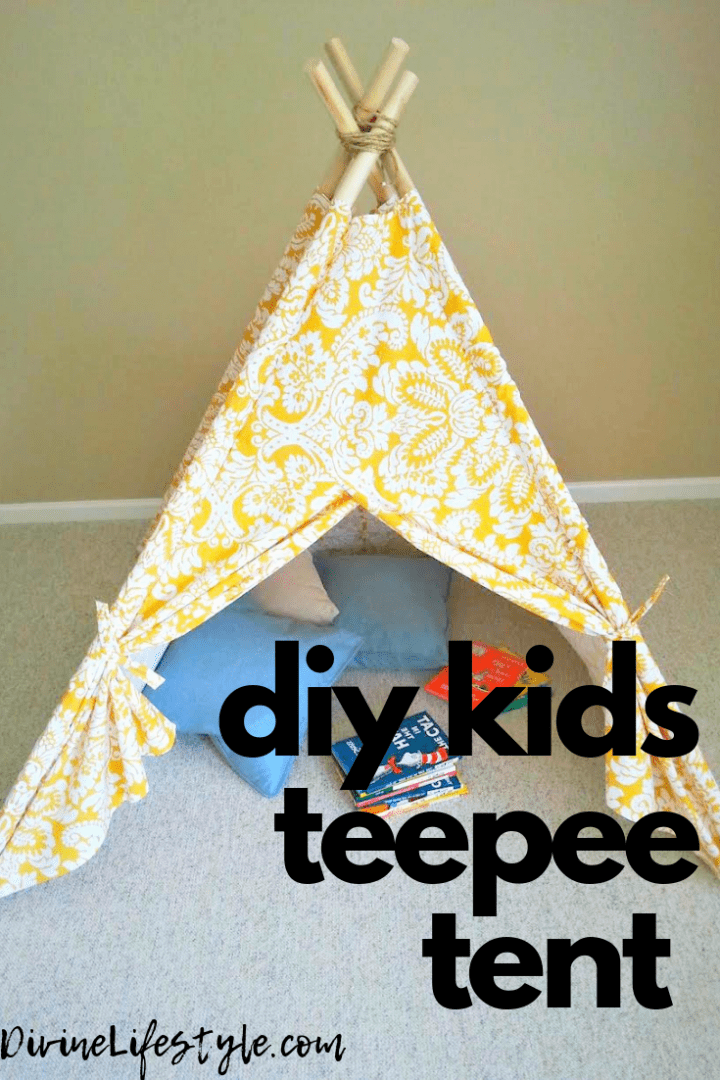
DIY kids teepee tent, anyone? Do you know how to sew a teepee for a child? We are back with absolutely the cutest DIY project: an indoor teepee tent diy. We know that this kids teepee tutorial will be loved by all. We love this DIY kids teepee tent because it's perfect for so many different types of play. Plus there's no need to spend hundreds on a teepee when you can make your own kids crafts! We even give you a sewing pattern for child's teepee. If you do plan on buying a tipi, there is no need to spend hundreds on a teepee. We hope that you love this DIY Teepee Tents post. 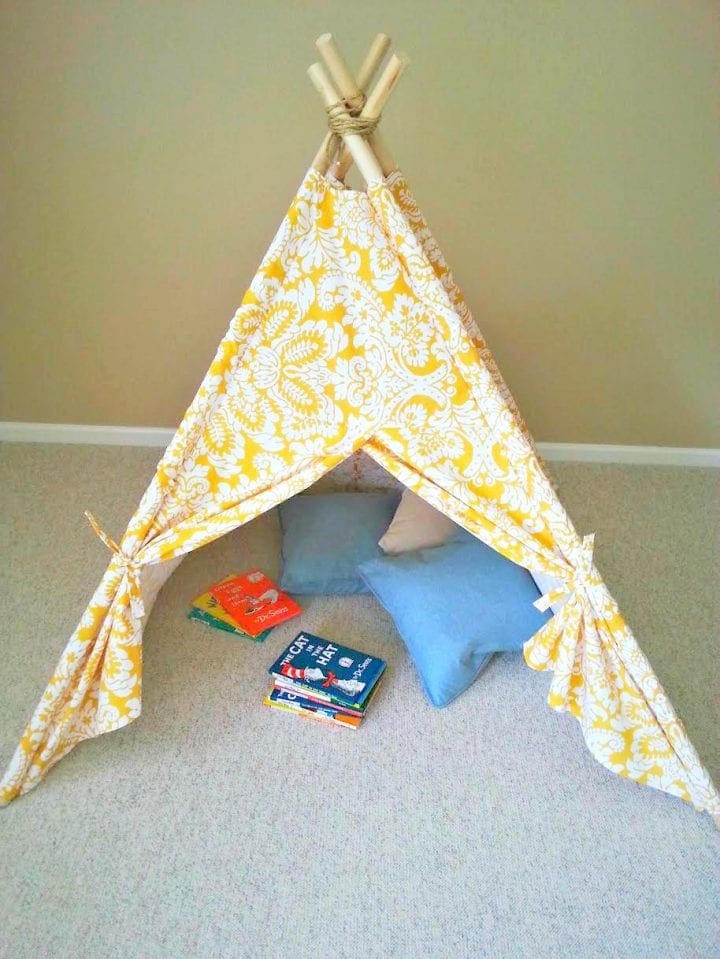
 DIY Teepee Tents
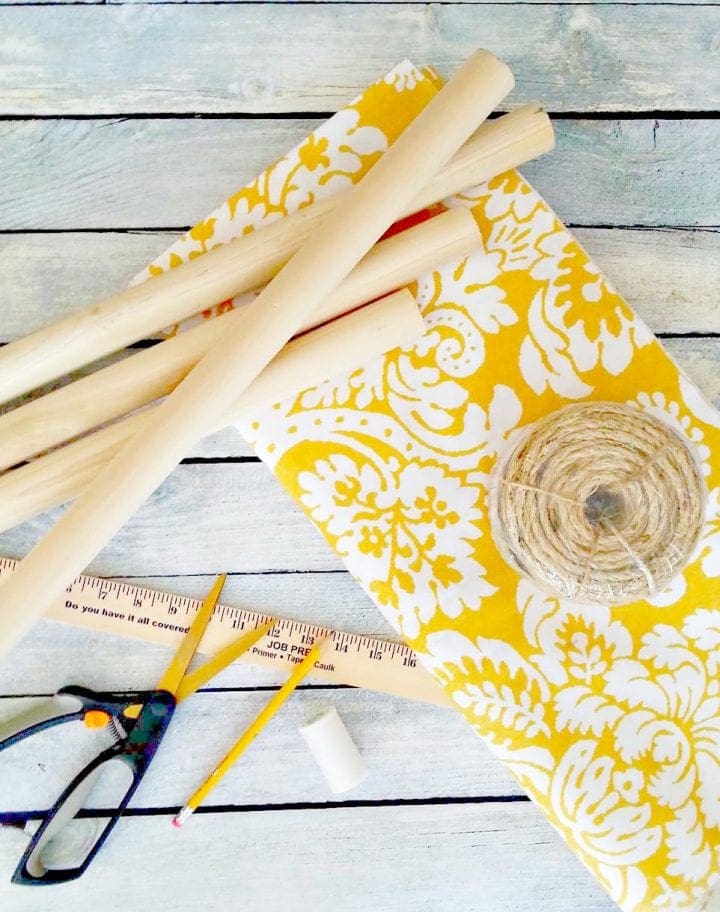
Supplies
Directions
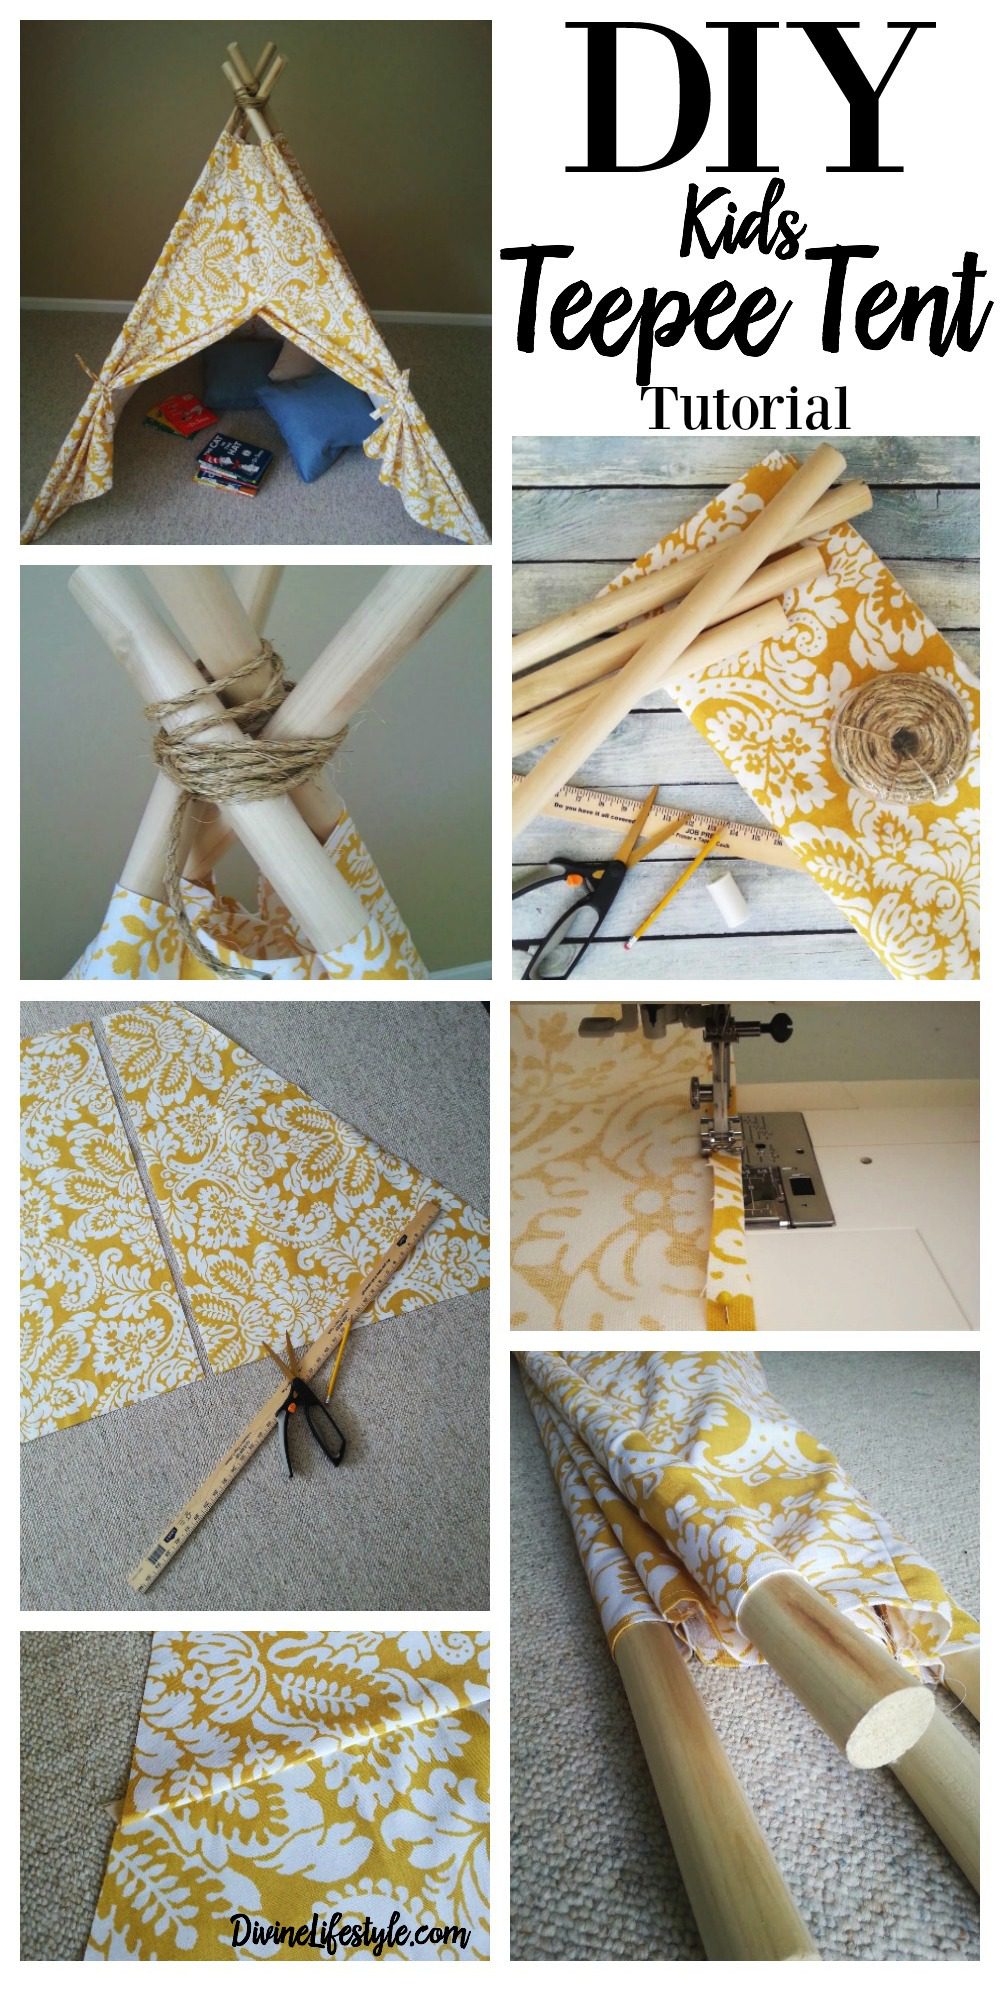
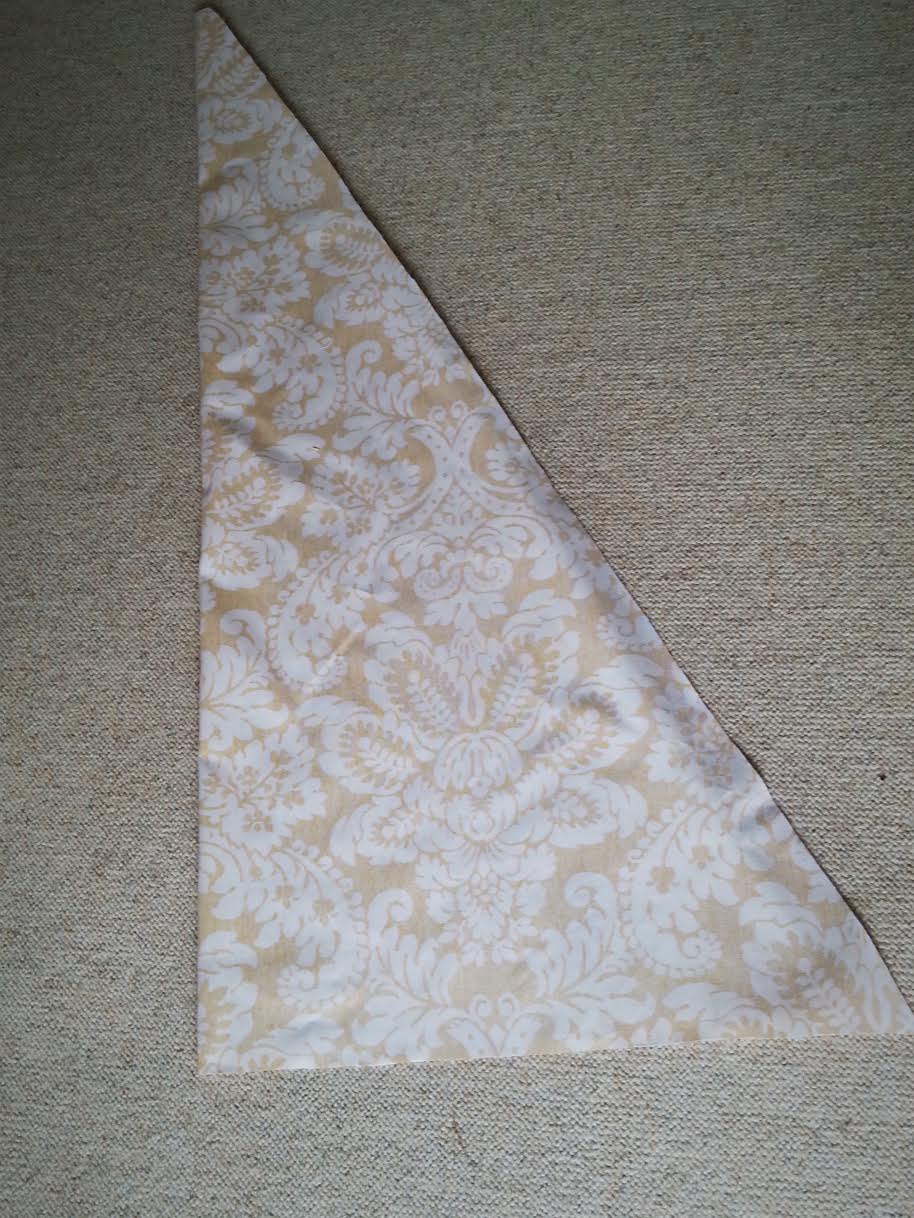
- Get the sewing pattern for child's teepee below. Start by measuring your upper front panel. I like to turn the fabric over and draw with a pencil right on the fabric as it makes seeing the lines easier for cutting, plus you'll never see the lines.
- Cut along the lines, and you should end up with your upper front panel. photo 2
- Cut out your two lower front panels.
- Fold your fabric in half with the right sides together.
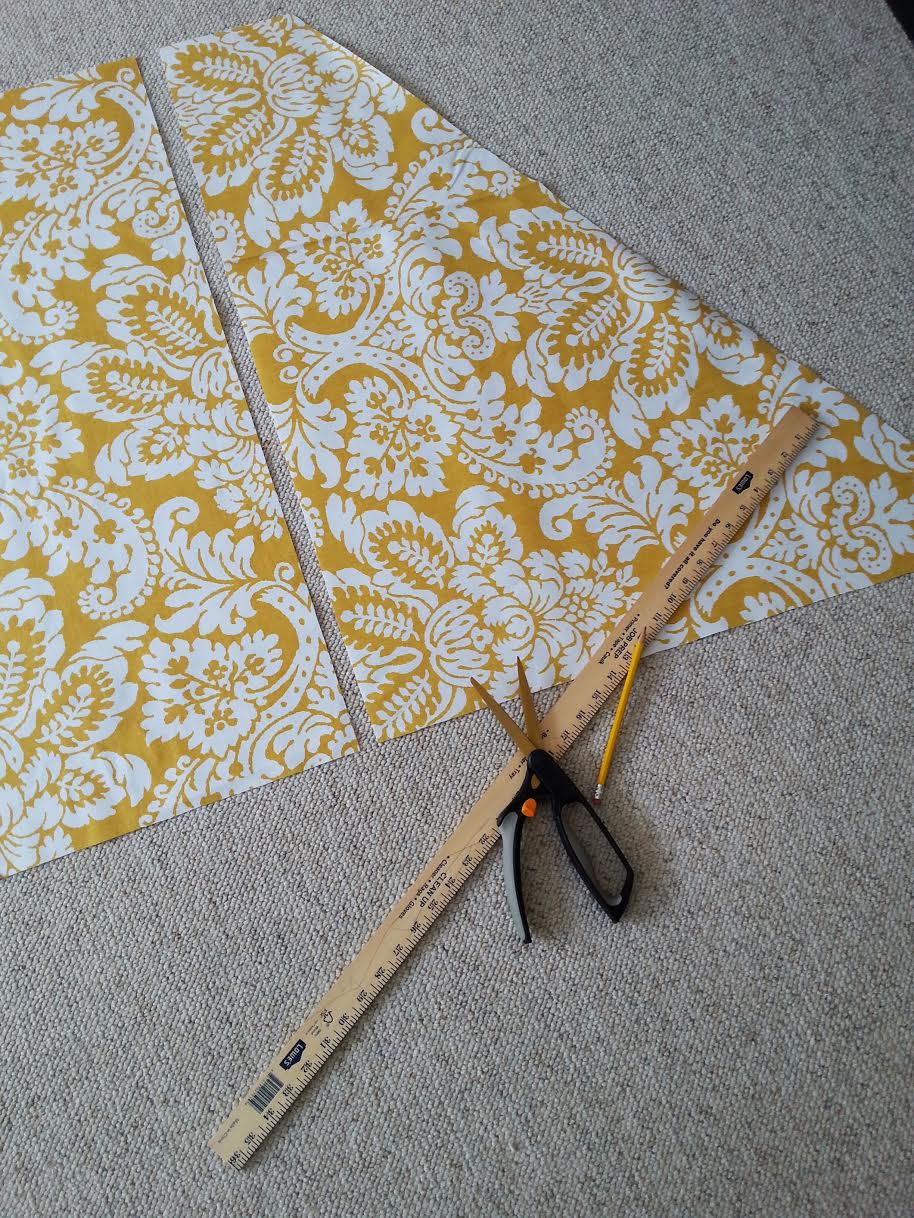
- Use your yard stick and pencil to draw the measurements according to the pattern. Make sure that the edge is NOT along a fold as we want to end up with two separate, opposite panels.
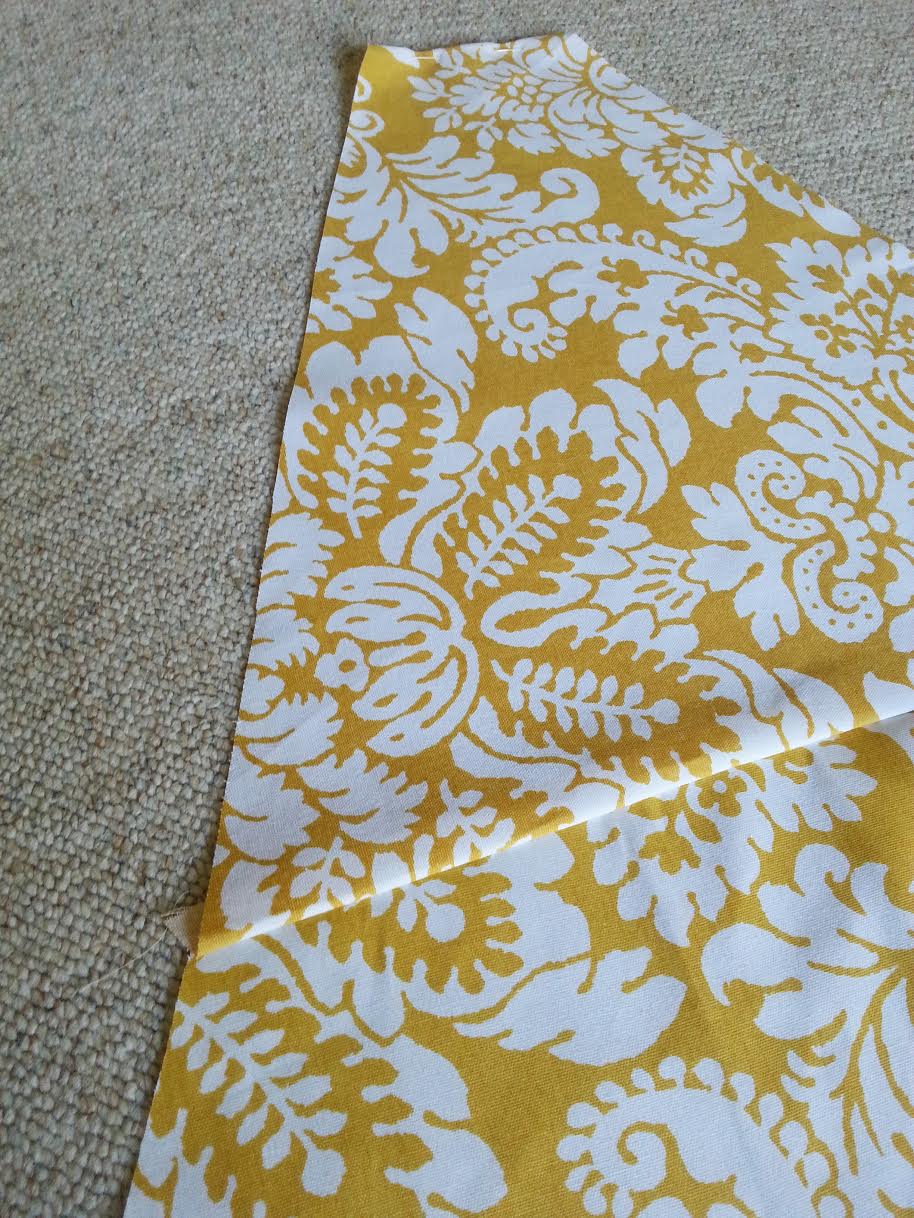
- Cut these out to get your two lower front panels. photo 3
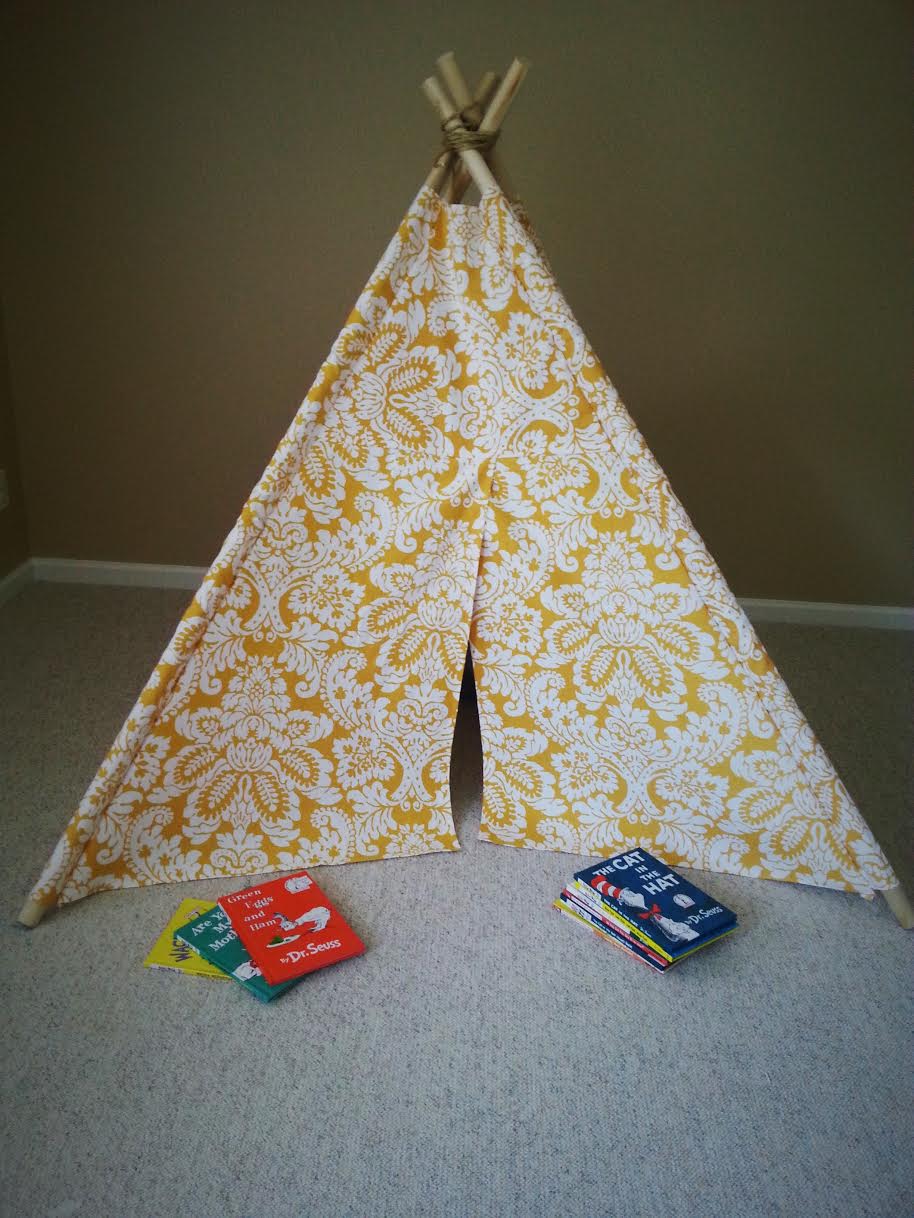
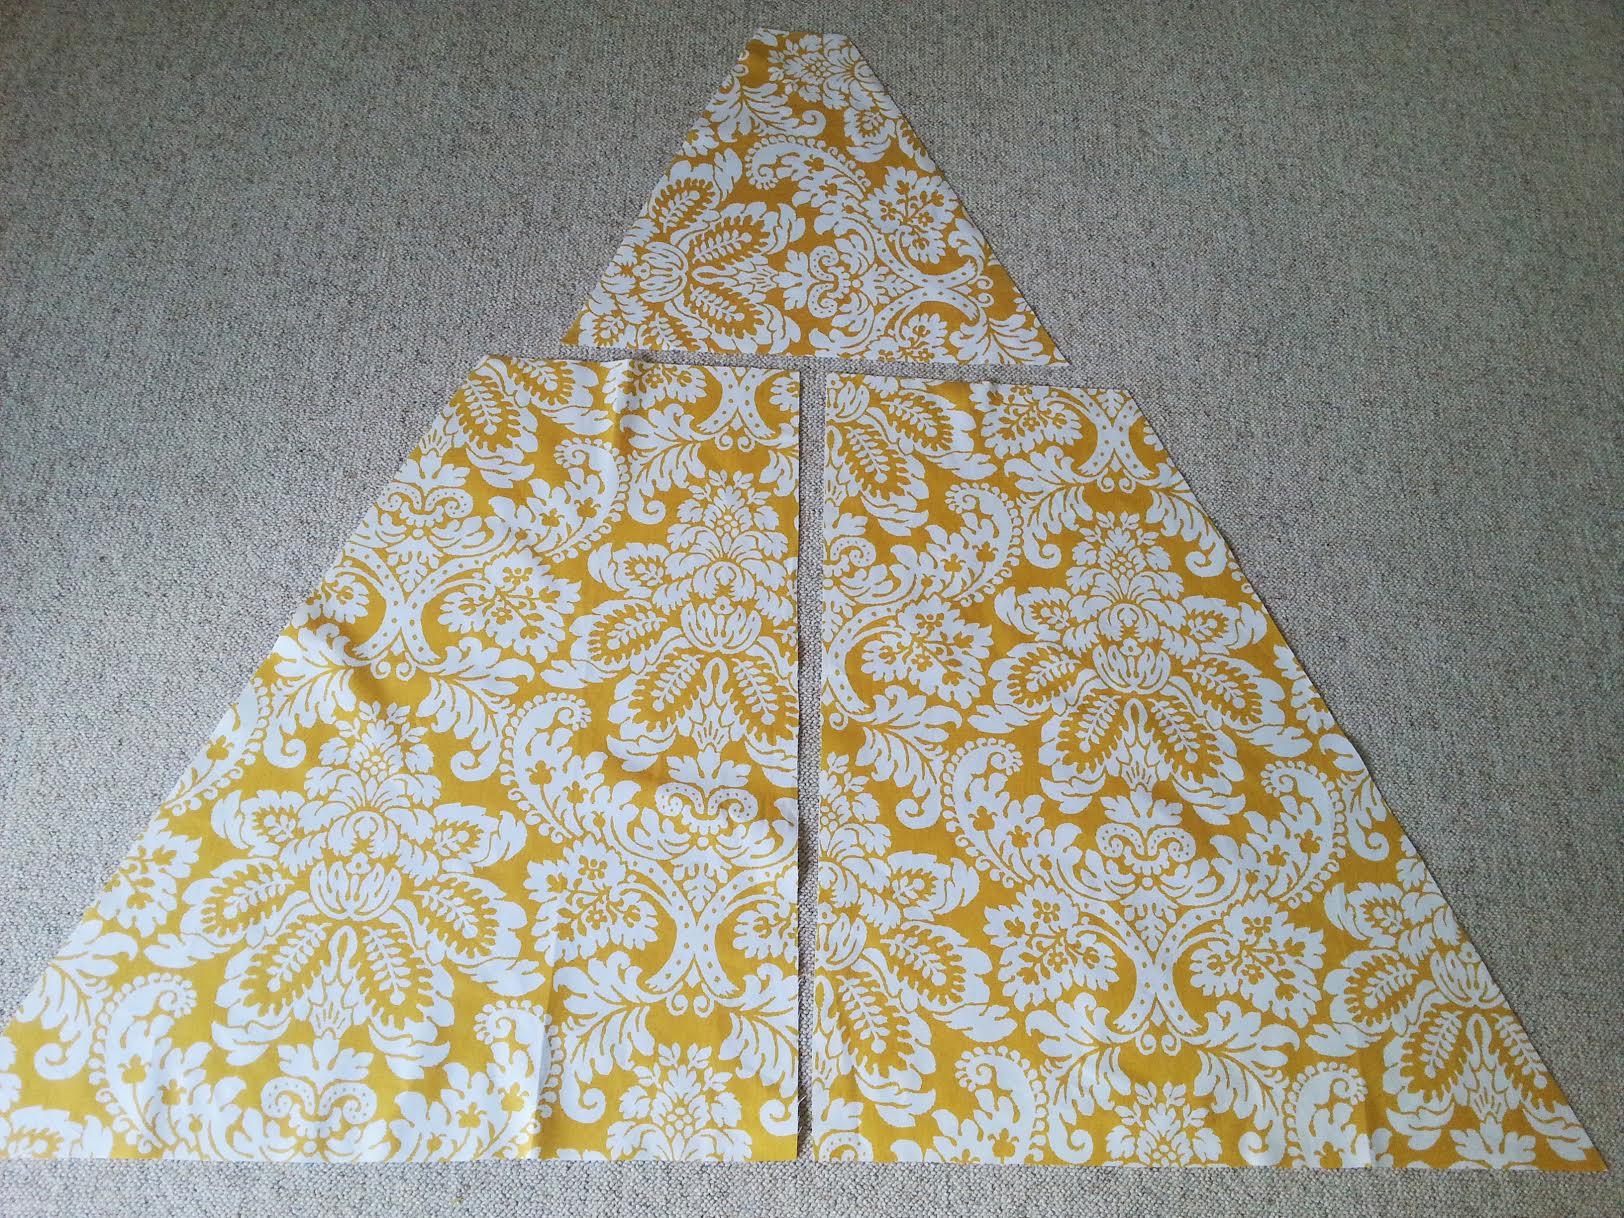
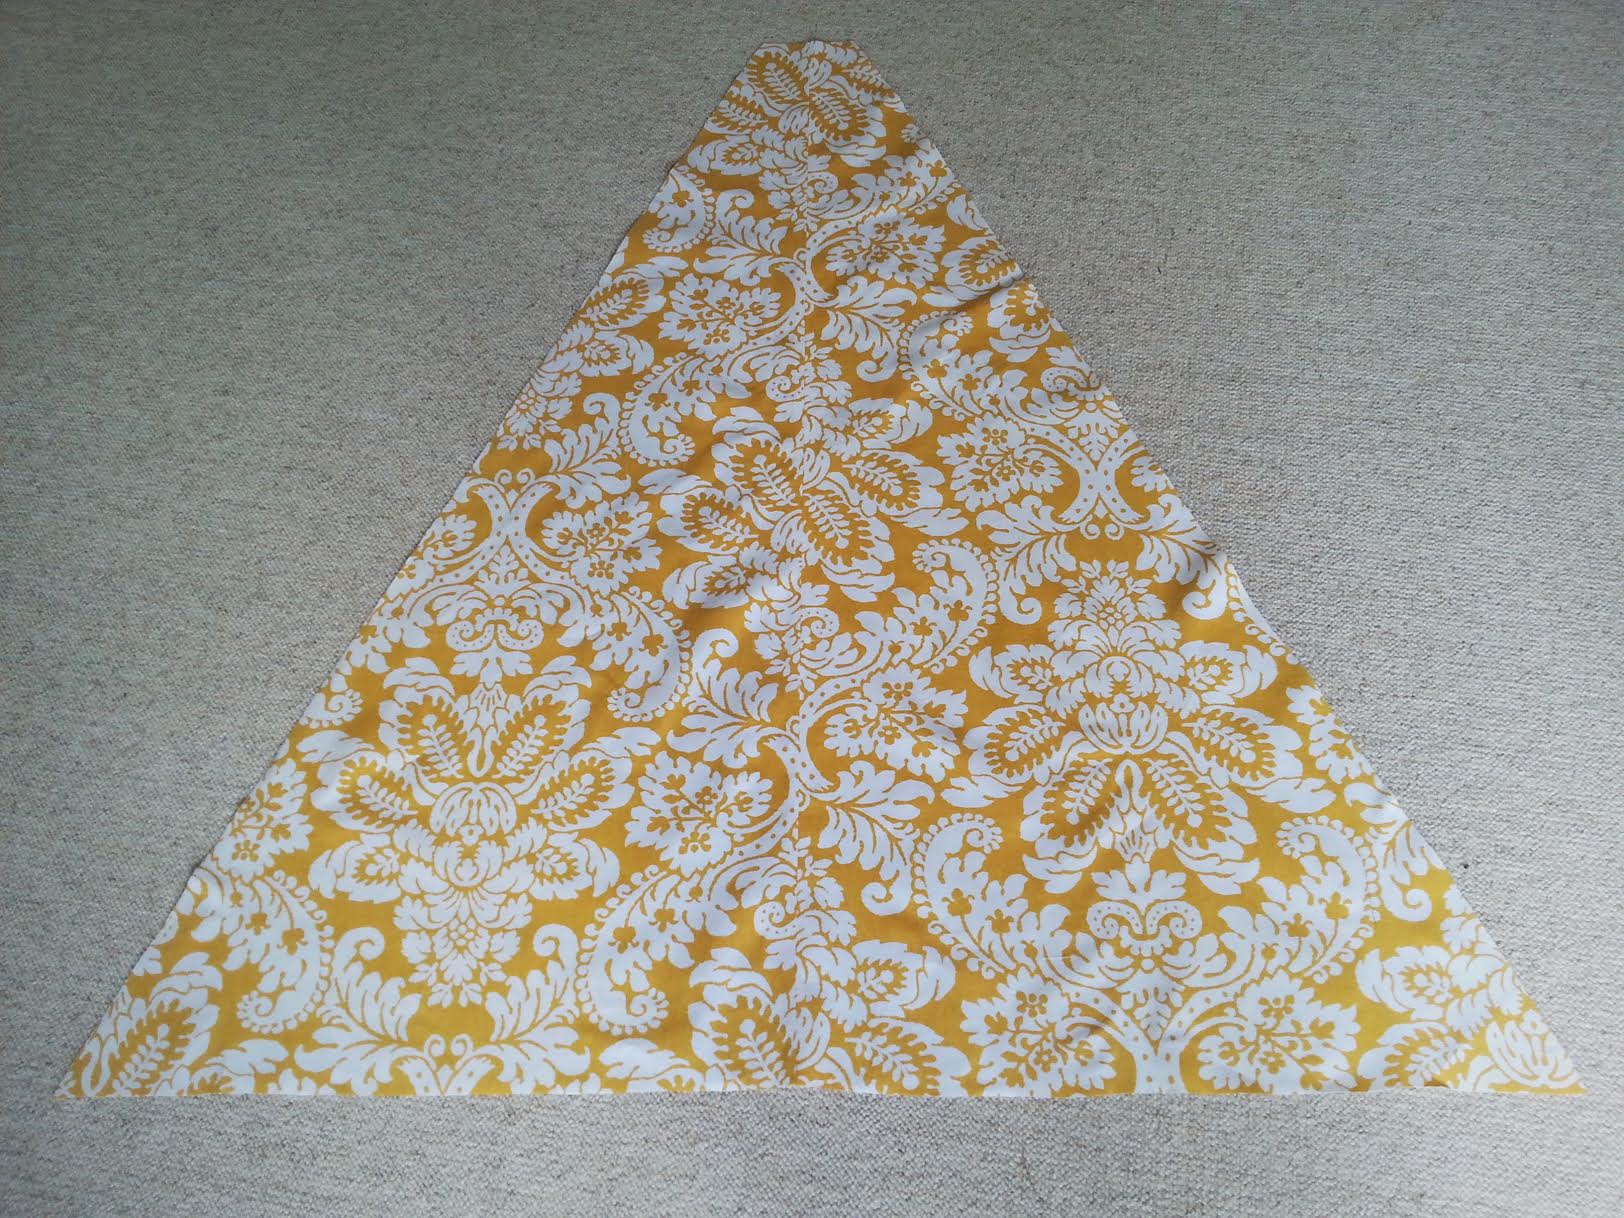
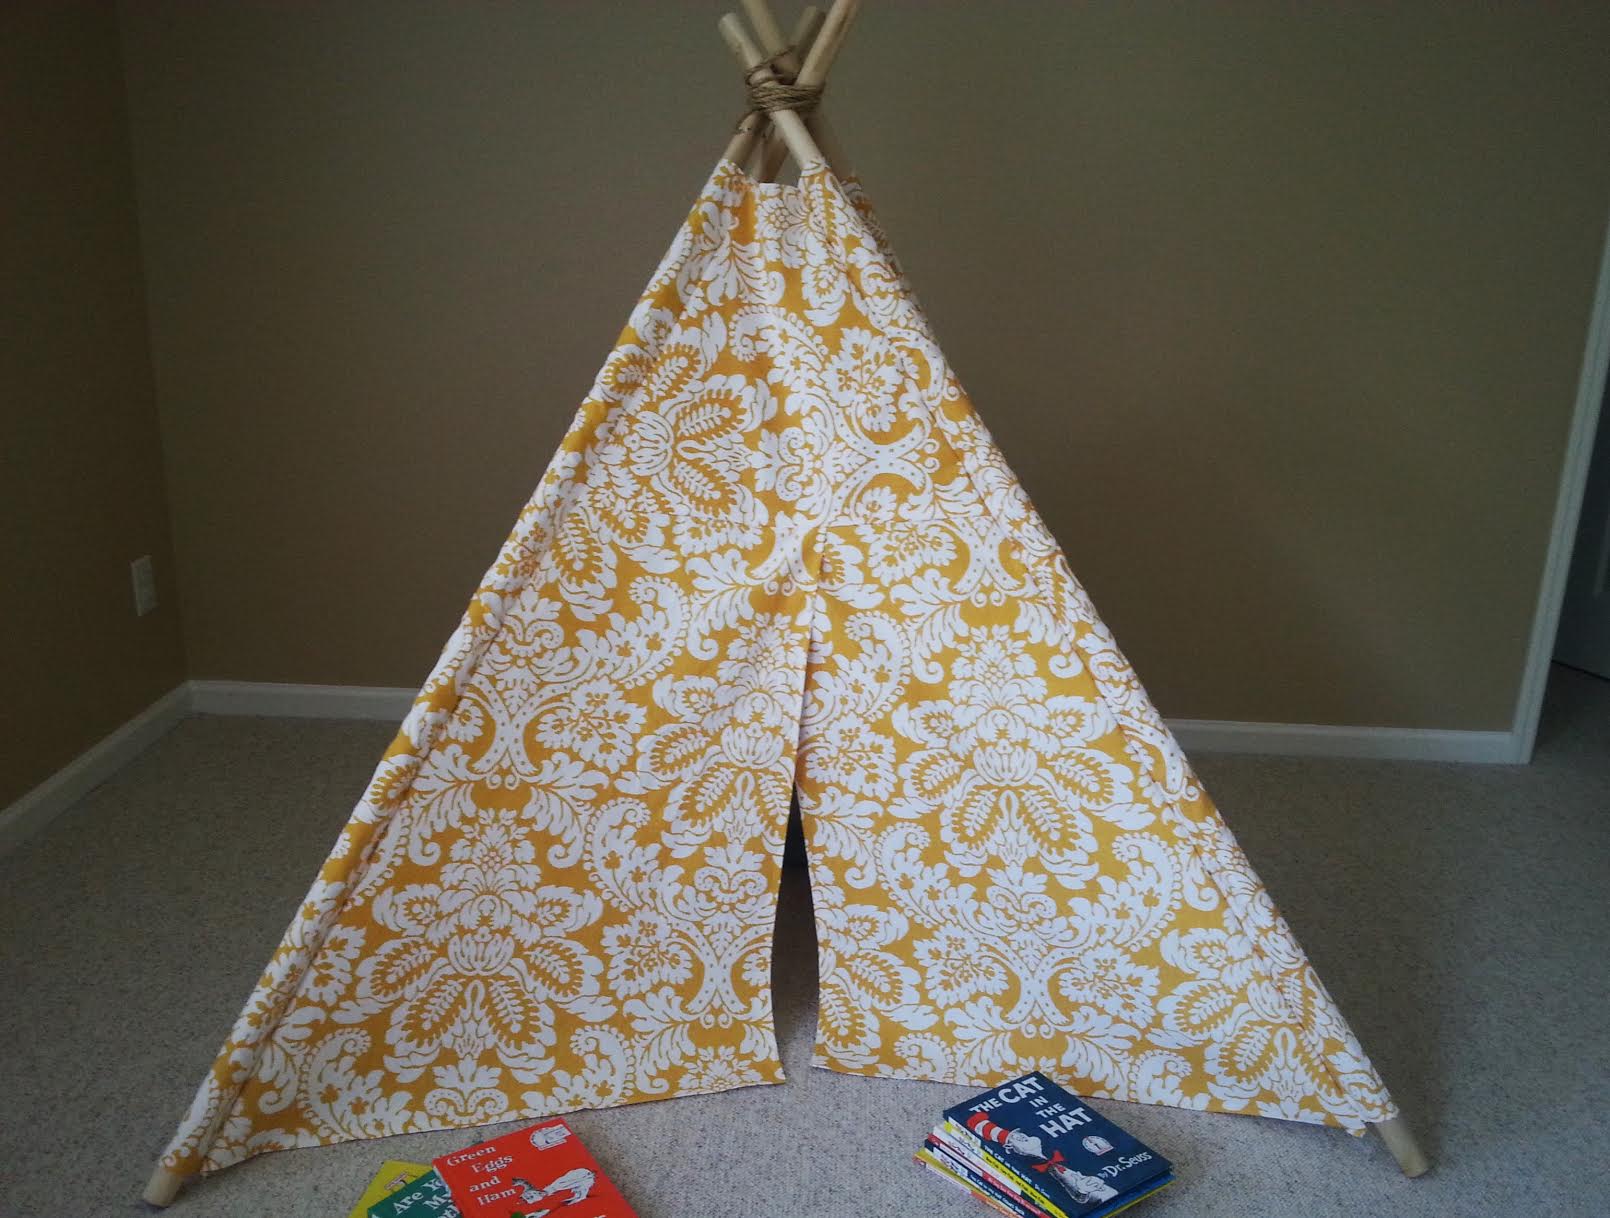
- Now you have all the panels to for the front of the teepee. photo 4
- To make your side panels, fold your fabric in half with the right sides together.
- Using your yard stick, measuring tape and pencil, measure out one of your side panels.
- Make sure you measure on the fold. photo 5
- Once you've traced your measurements, cut along the marks and open up to see your full side panel. photo 5a
- Repeat this so you have a total of three side panels.
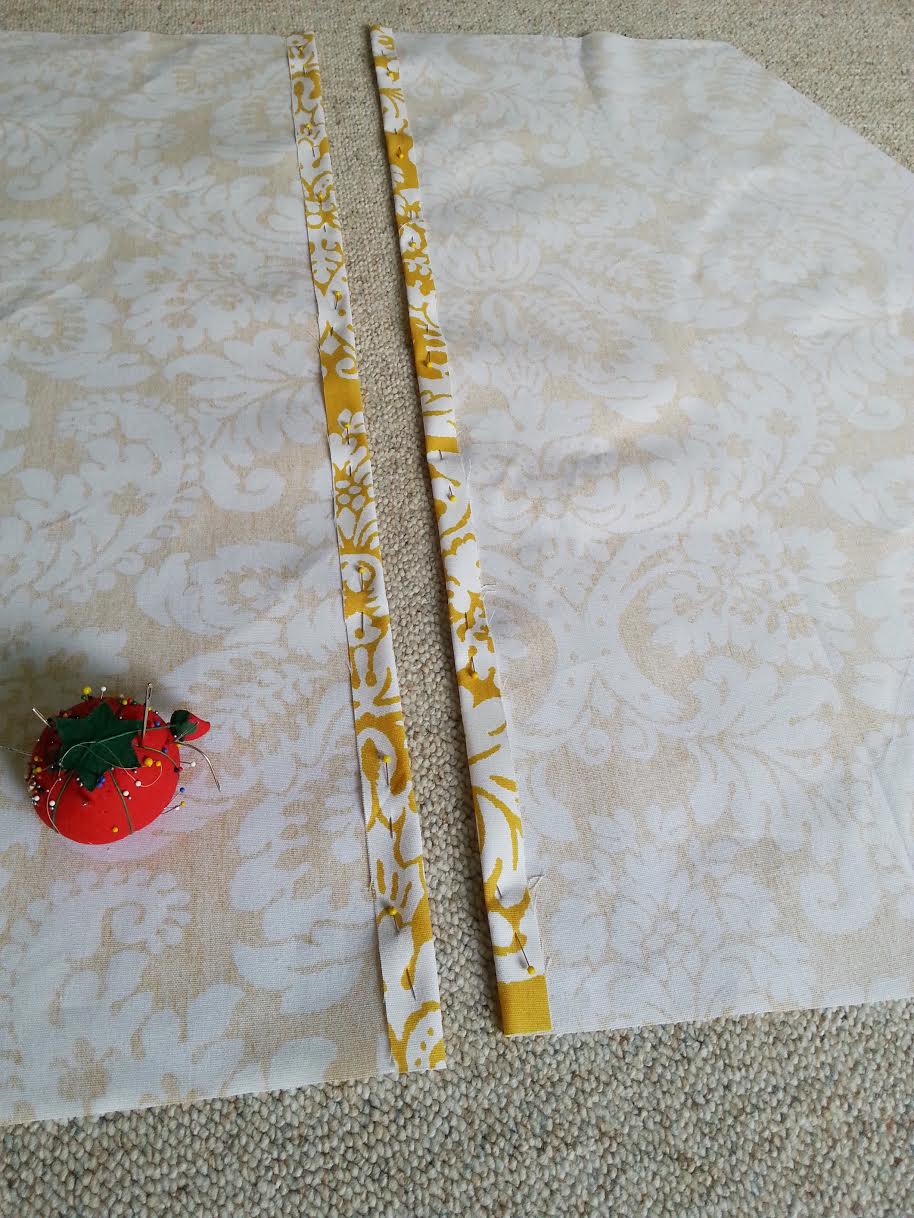
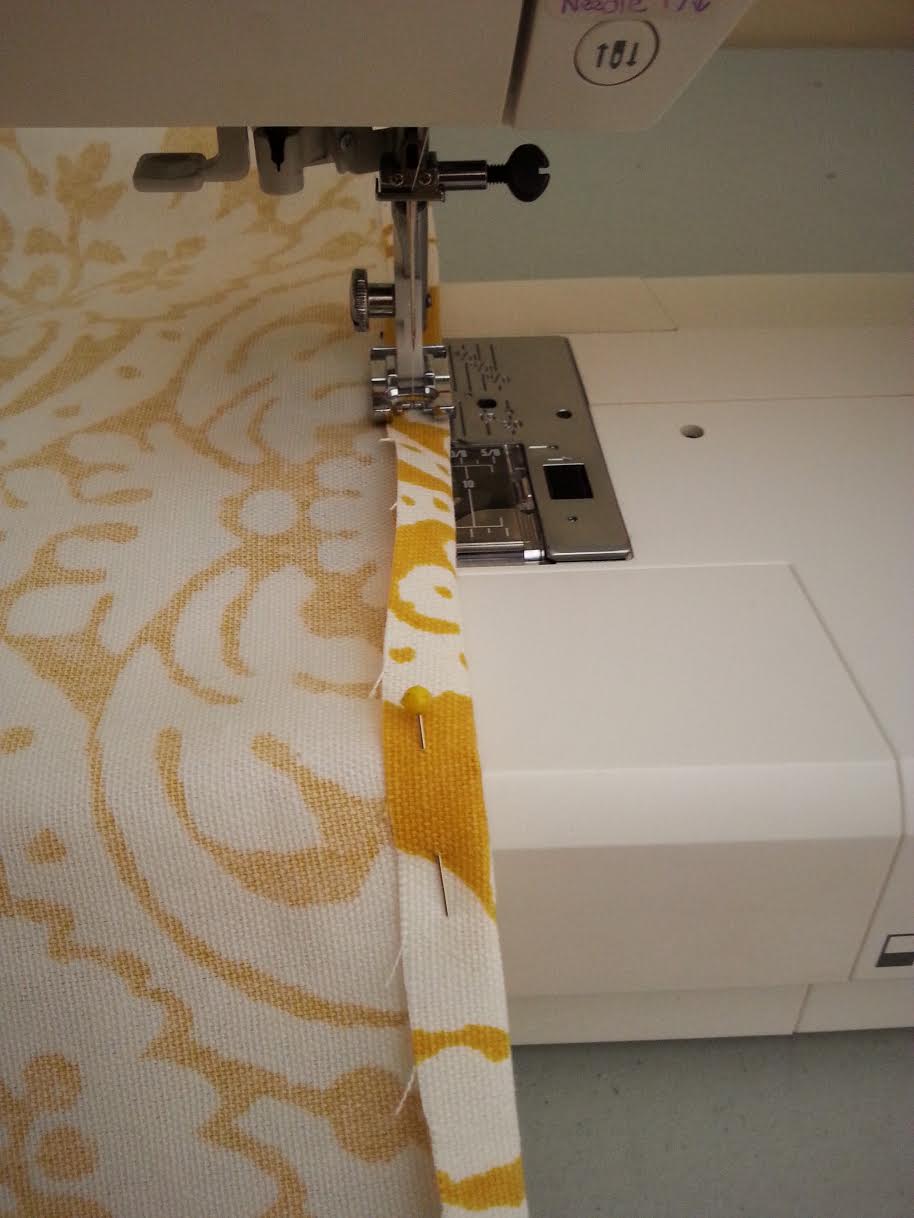
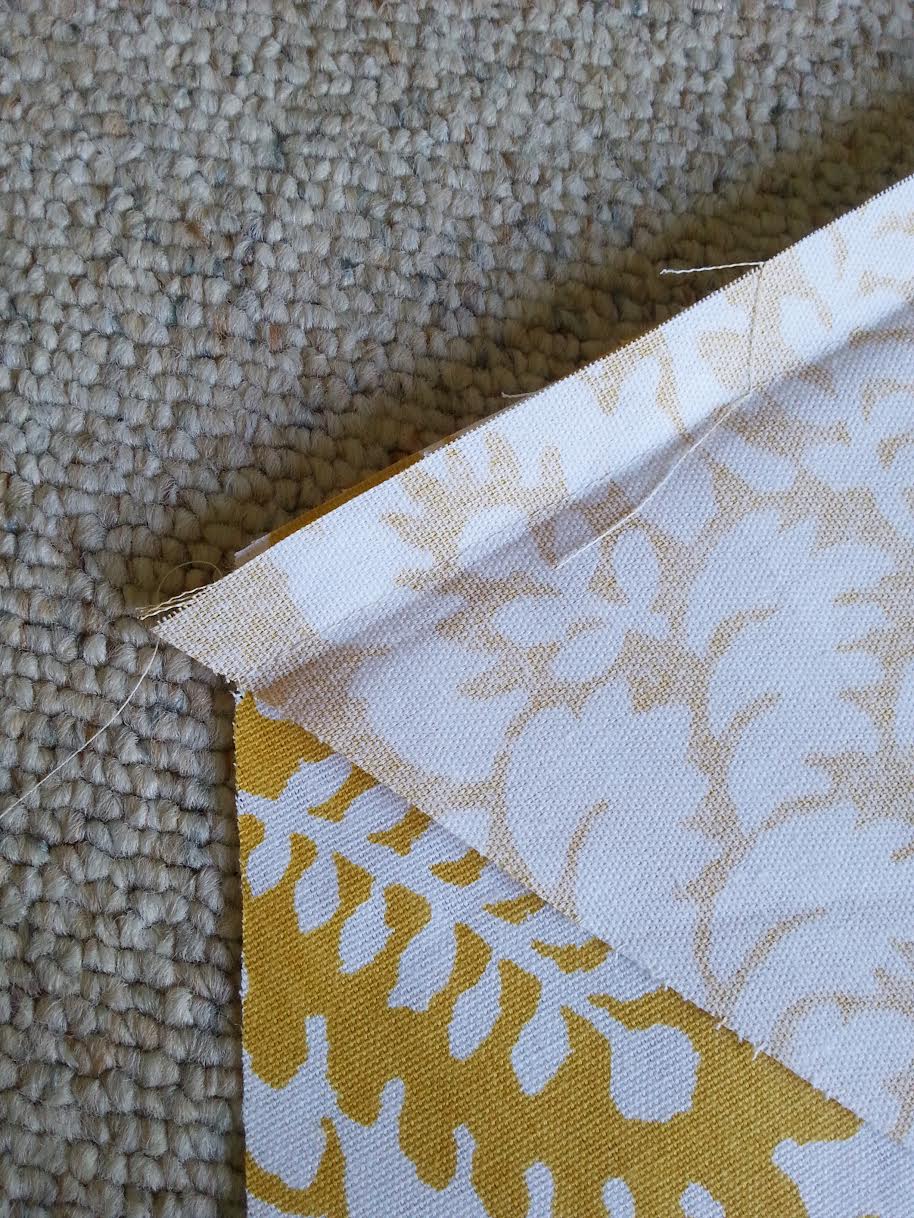
- On to hemming. Edges you need to hem are; the two inner straight edges of your front lower panels (photo 6), the bottoms of the two front lower panels, the bottom of all three side panels, the top of all three side panels and the top of the front upper panel. Fold in 1/2 inch and hem using a 1/4 inch seam. photo 7
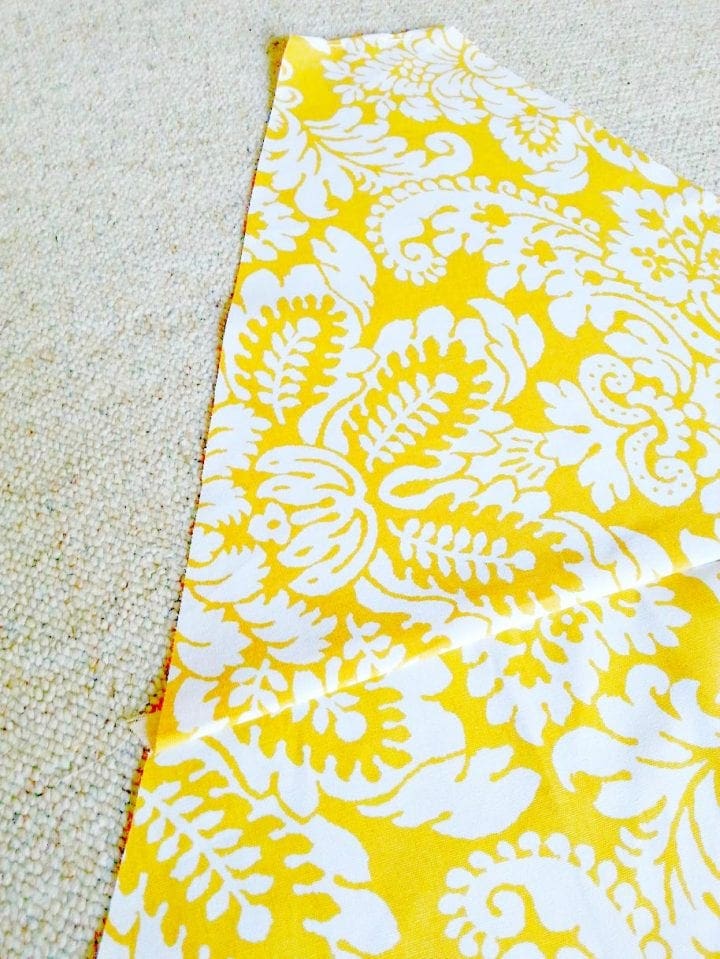
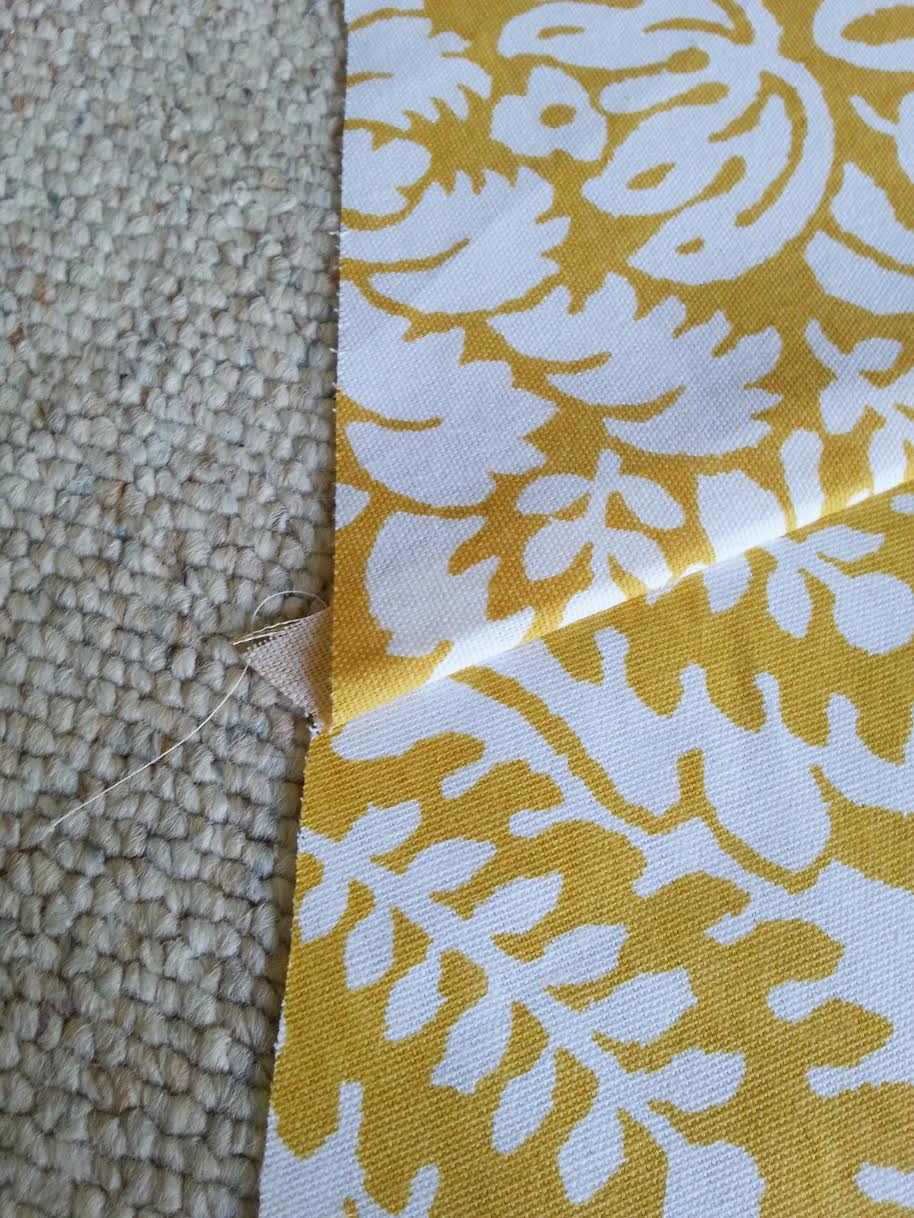
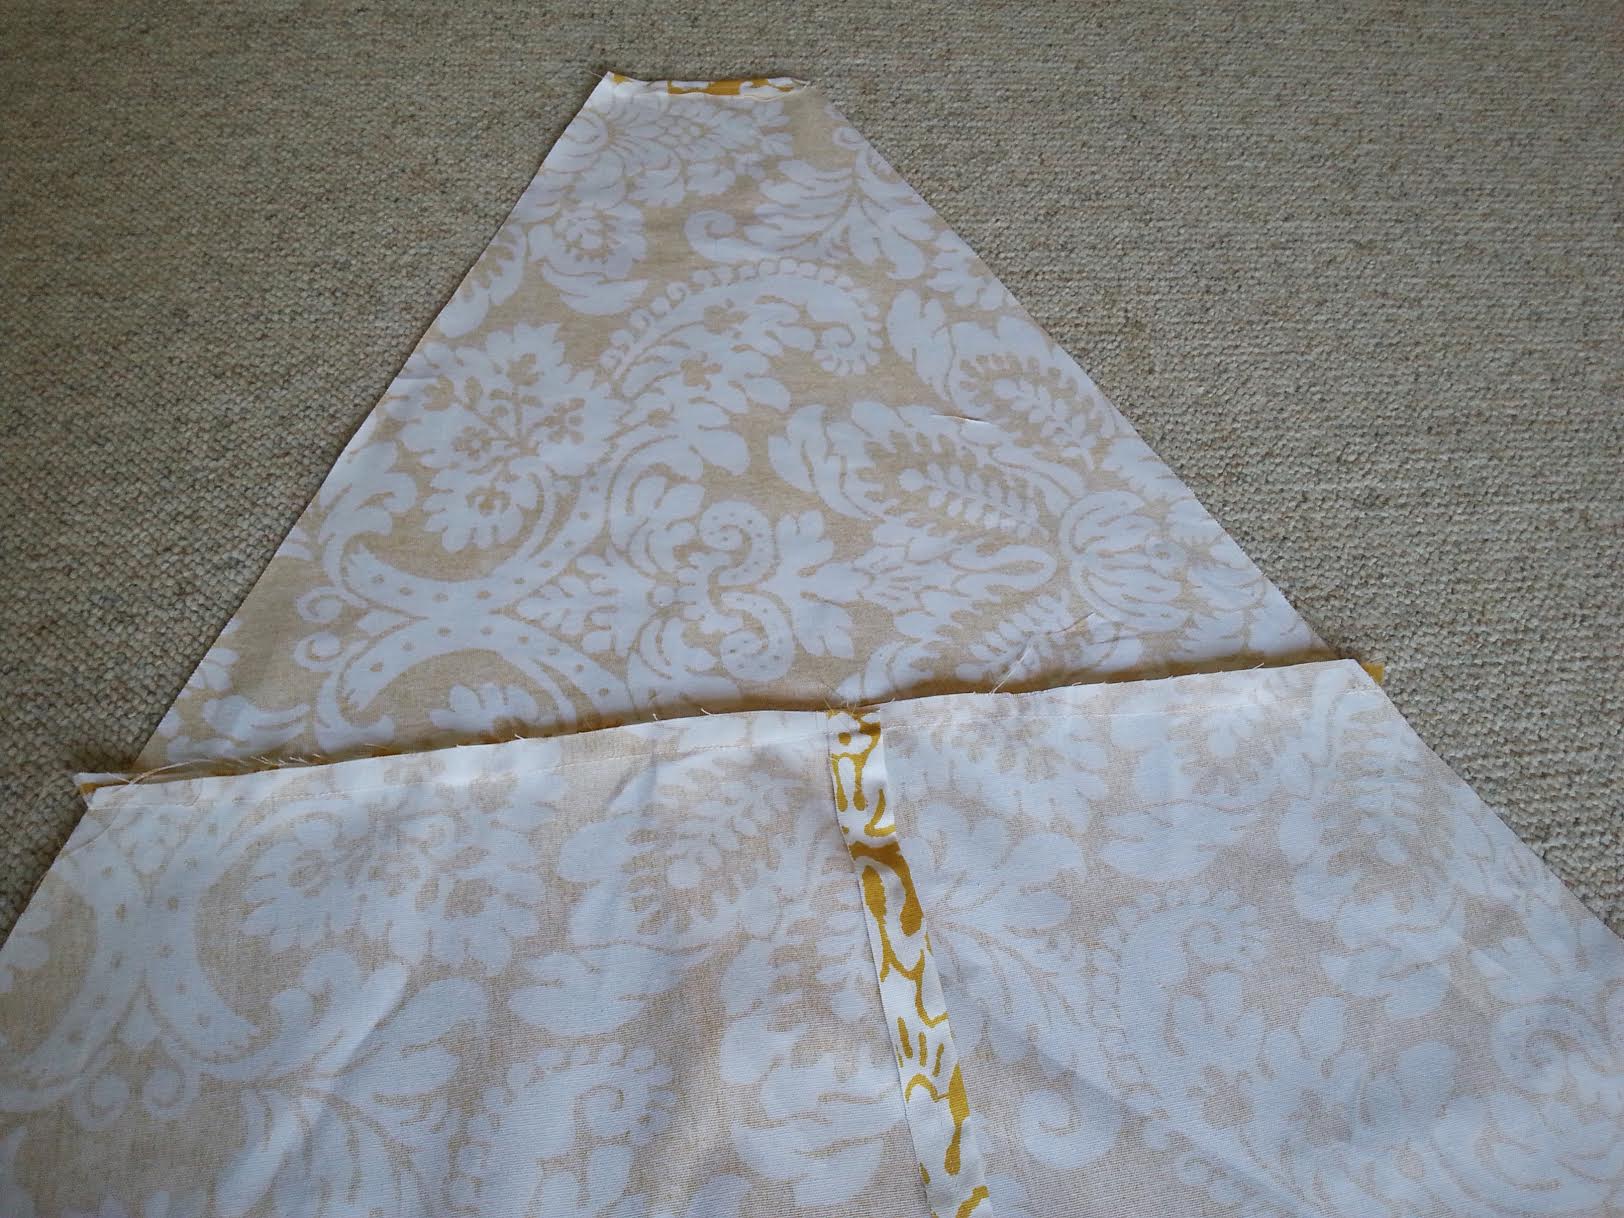
- Now we need to match up the upper front panel and the lower front panels. Lay out all three panels so they match up to make the front of the teepee. Your front panels will overlap a few inches. photo 8
- Fold the bottom edge of the front panel back 1/2 inch and lay it on the upper edge of the lower panels. photo 8a
- This part takes some trial and error. You want the three panels to line up evenly, so you will have to shift them a little at time until the edges line up. photo 8b
- Once you've achieved this, flip the top panel down and pin the bottom edge of the top panel to the top of the lower panels and hem at a 1/4 inch. photo 8c and 8d
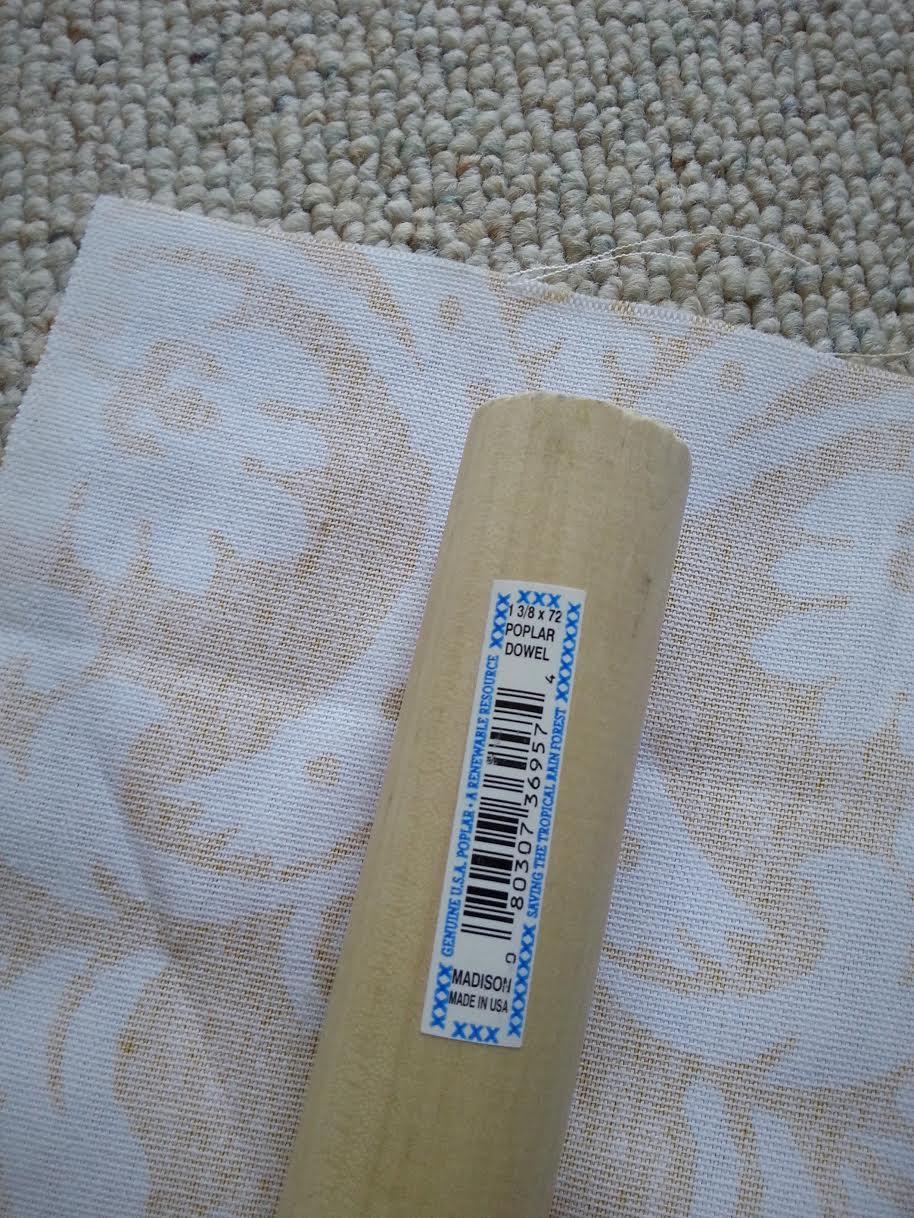
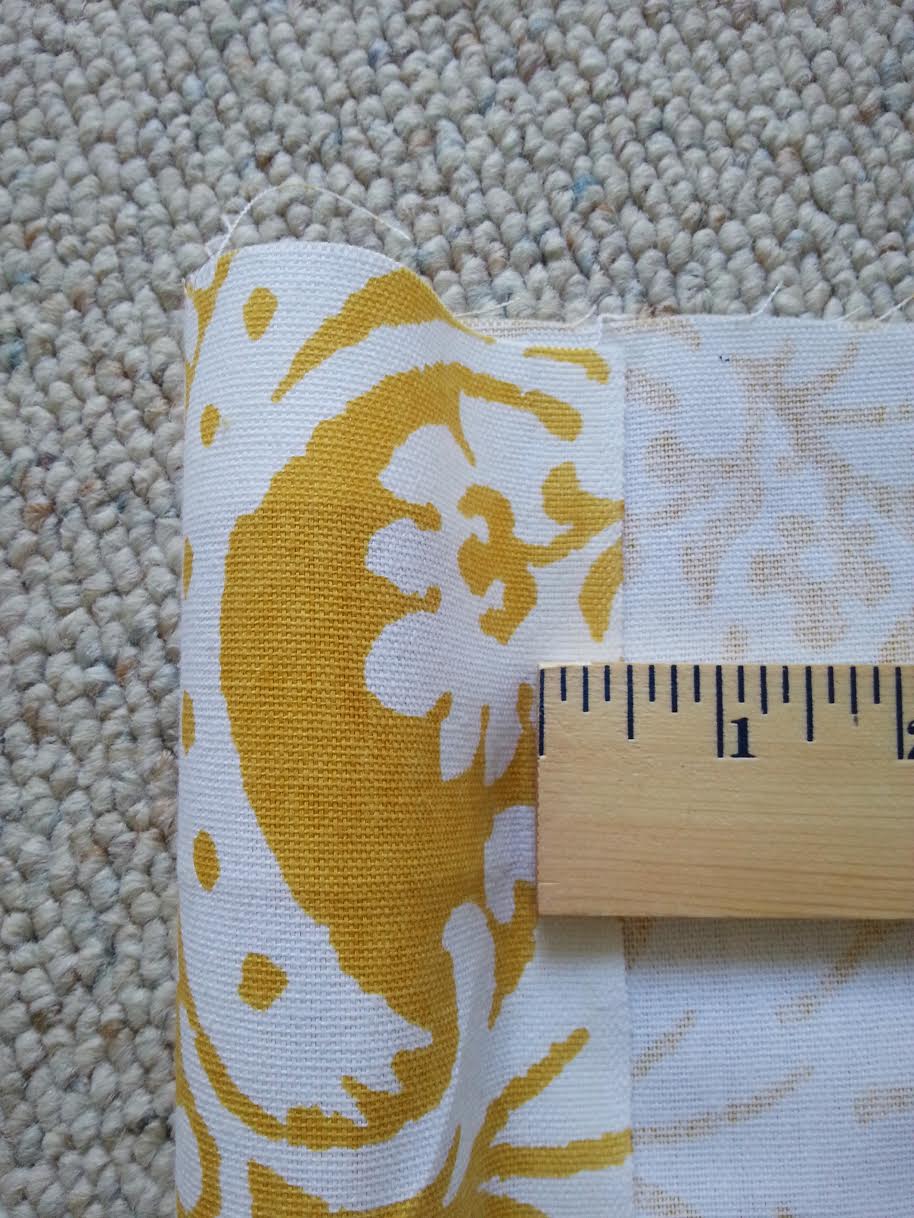
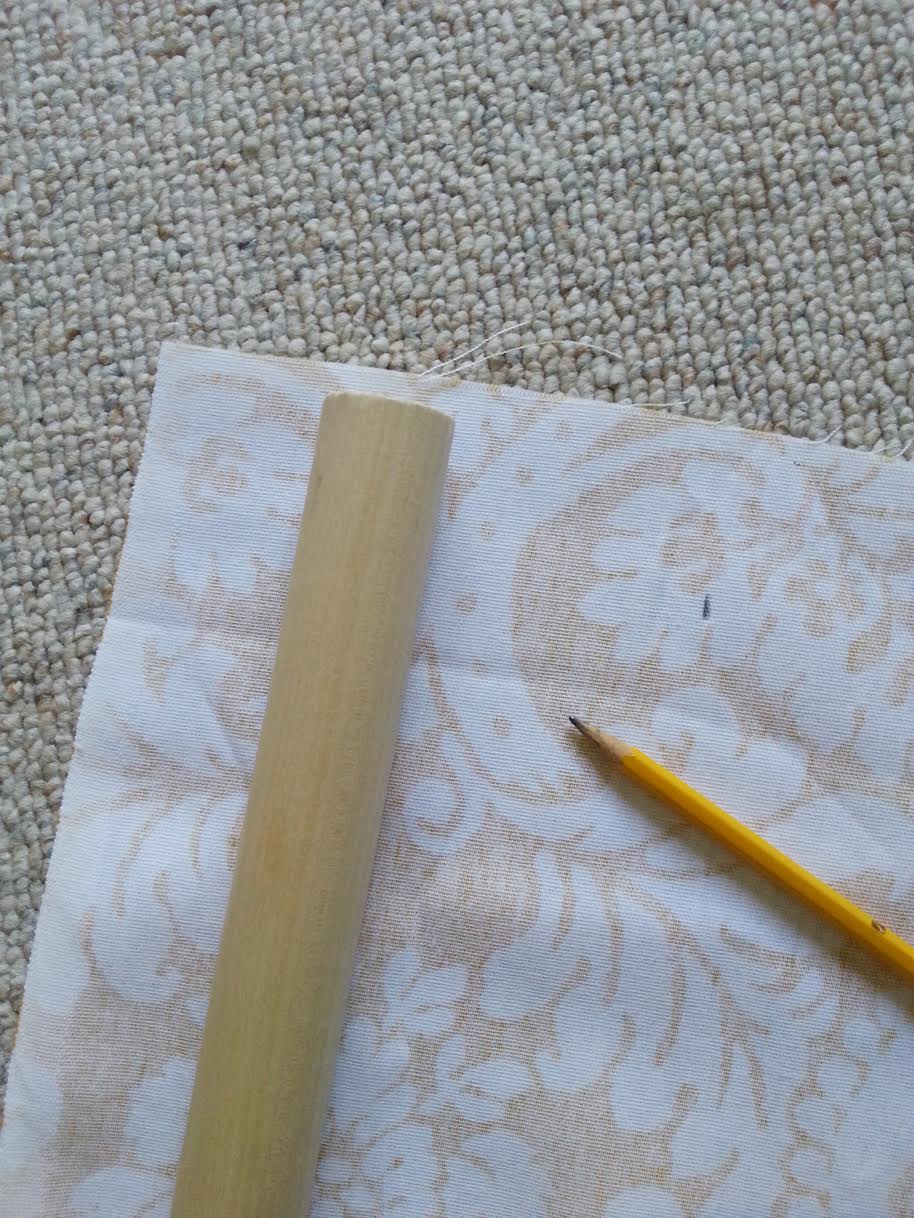
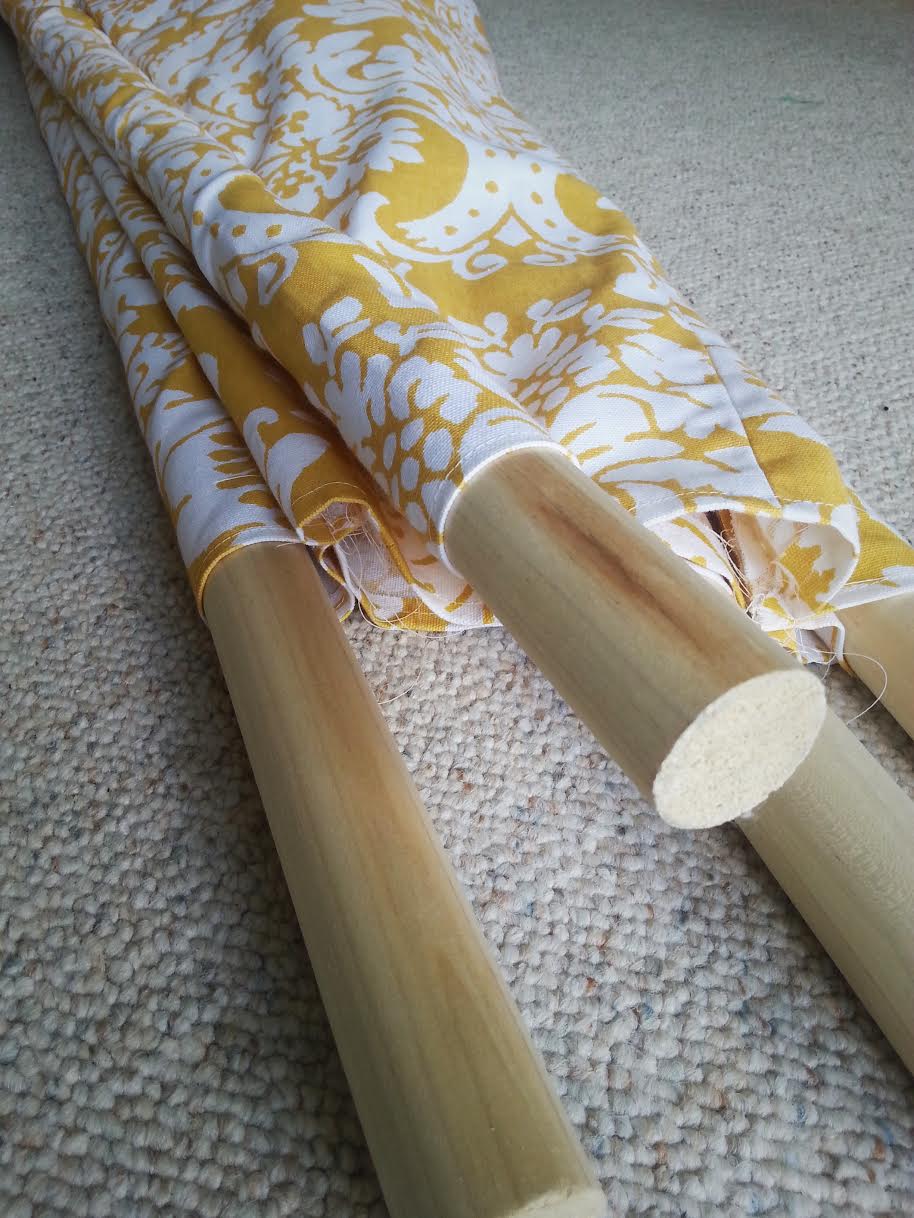
- Making the sleeves. I took one of the dowels (photo 9) and wrapped the fabric around it (photo 9a) accounting for an extra half inch for the the hem, I marked the width, approximately 6 1/4 inches. photo 9b
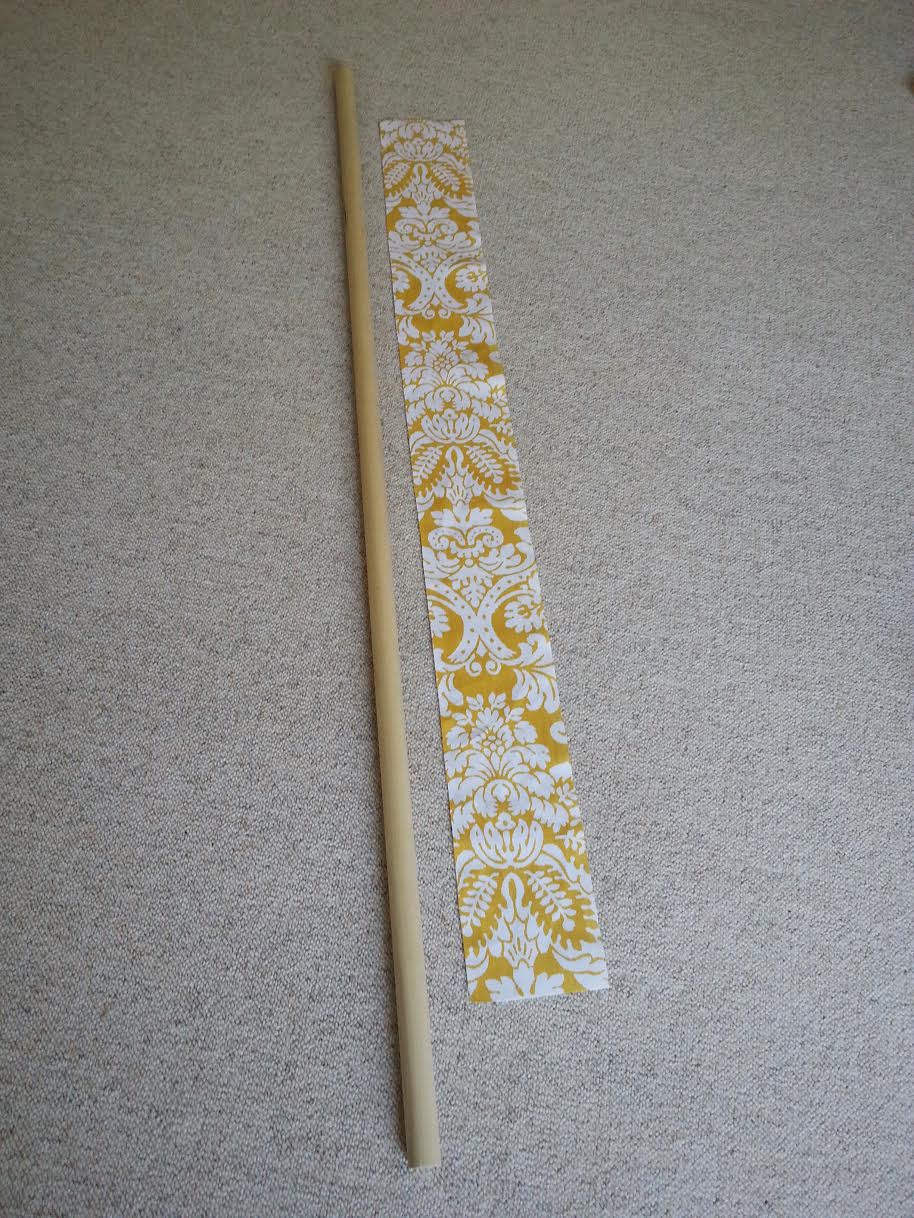
- I wanted the sleeve to be the same length as the sides of the teepee so I cut out 4 sleeves measuring 61 inches by 6 1/4 inches (photo 9c), turn the edges in 1/2 inch and sew a 1/4 inch.
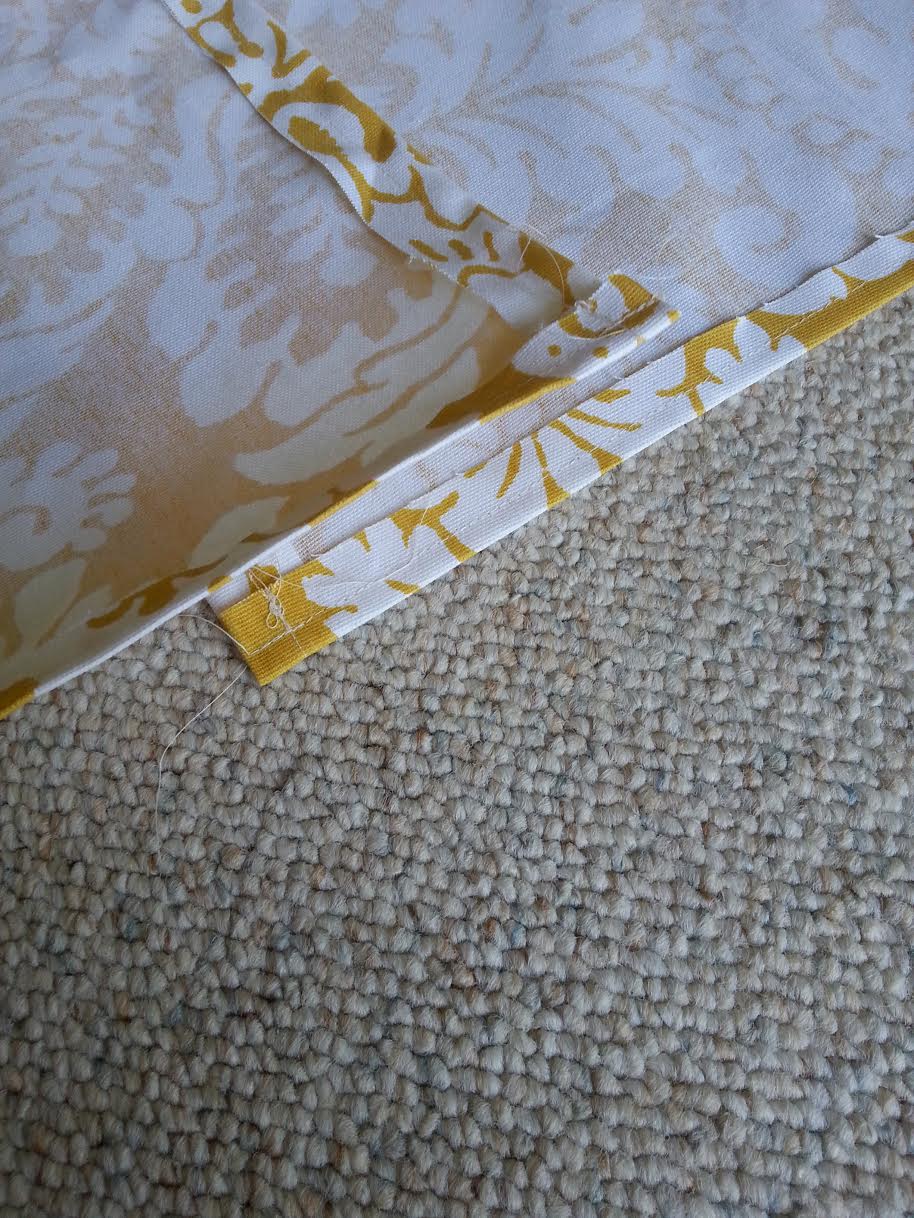
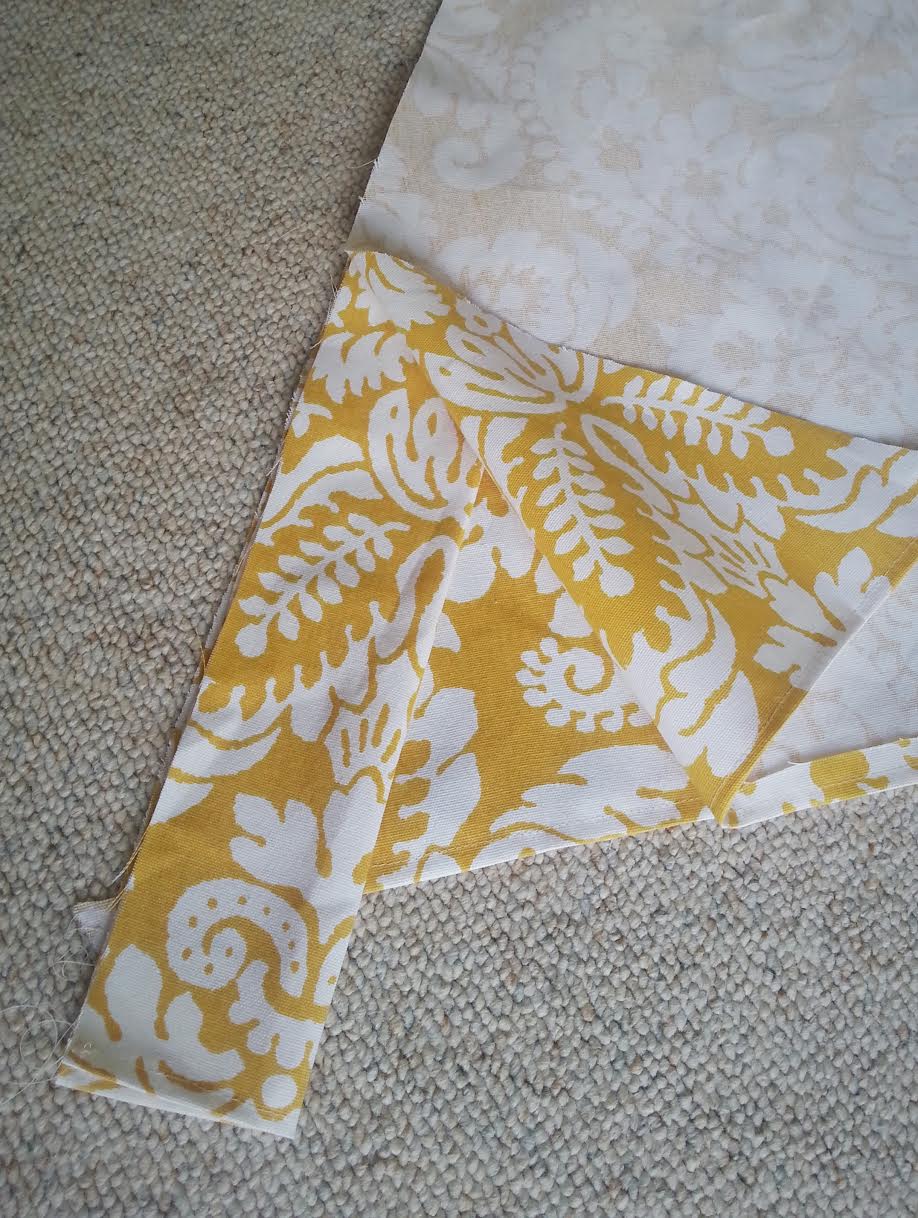
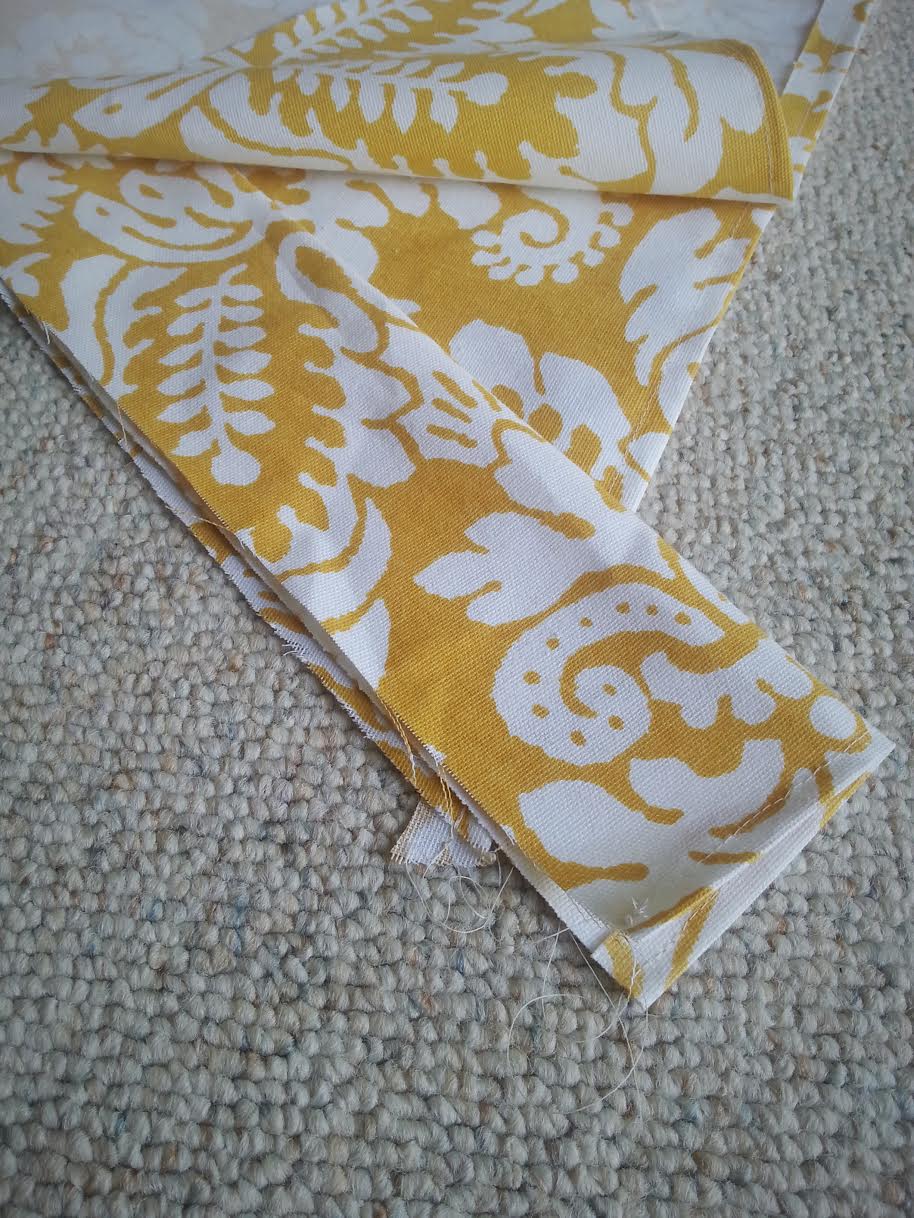
- Attaching the sleeves to the sides. Take two side panels and lay them on top of each other with the right sides together. Fold one of the sleeves in half lengthwise with the wrong sides together and lay it in between the panels with all the raw edges aligned. photos 10 and 10a
- Pin and sew at a 1/2 inch making sure to back stitch at the tops and bottoms. Repeat this until all sides and sleeves are attached.
- Flip the teepee right side out and insert your dowels into the sleeves. photo 11
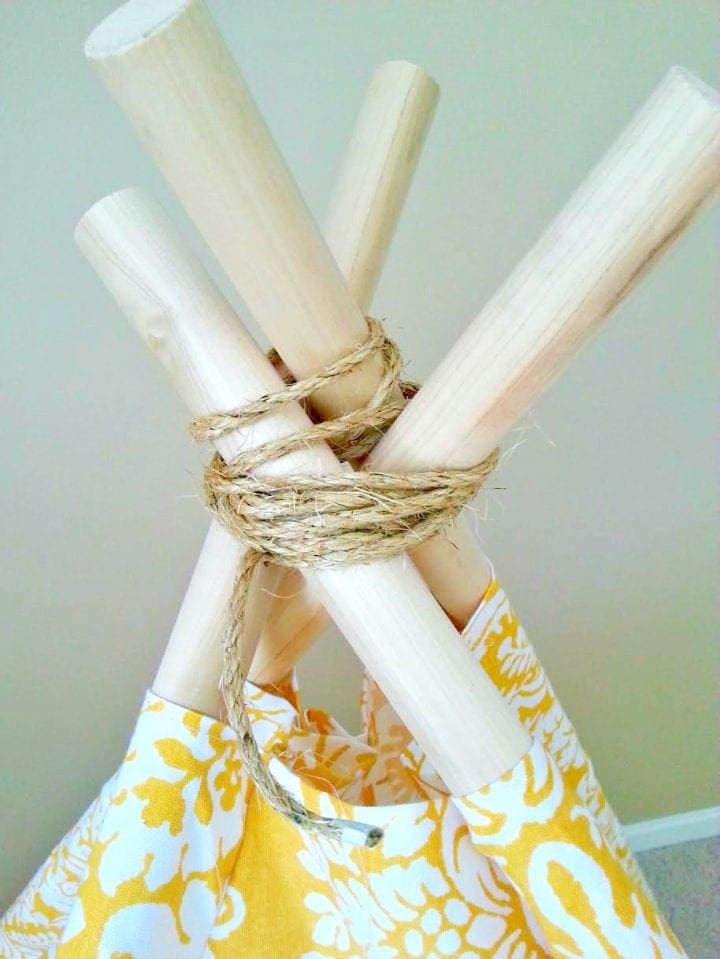
- Stand up right and wrap your cord around the intersecting point of the dowels to secure the frame. photo 12
- I thought decided it needed some ties to have the option to hold open the front lower panels, so I just cut 2 strips of fabric from the left overs (2 inch by 18 inch), and made a small slit in the side panel just enough to fit the strap though.
So now you know how to make a child's teepee tent and how to sew a teepee for a child. Who doesn't love a indoor teepee tent diy? We hope that you love this DIY Teepee Tents as much as we do!


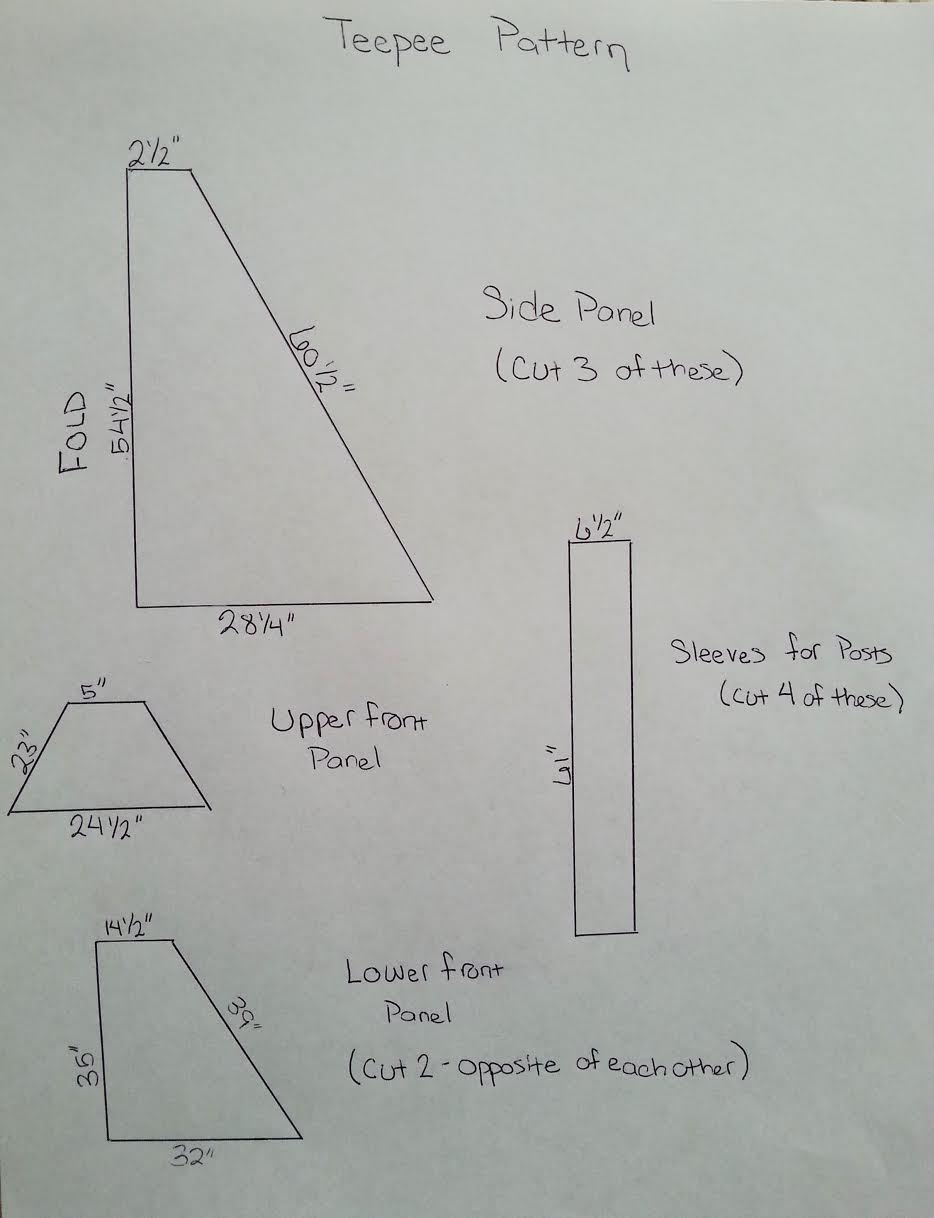 sewing pattern for child's teepee





You May Also Like
 DIY Teepee Tents

 DIY Teepee Tents
It’s really cool. I would love to have this for our camp or overnight at beaches or just have this in our room at home.
This is such a cute project! My kids would love it. You can score some really great indoor/outdoor canvas on EBay. You just have to spend a little time searching.
Love it! I wish my son was younger and I could make something like that for him!
This is a fantastic idea. Kids would love to play in this. Thanks for the great tutorial. It is not to hard to make and looks great.
This is a cool idea. My youngest would enjoy this teepee. I might have to make him one for his birthday.
Omg cutest teepee ever!!! My daughter would love one of these!!! So need to make one.
I must make one of these now! How freaking adorable and pretty easy to make too! Thanks for sharing!
It would definitely be wonderful to make one with material that matched the kiddos decor. I love this idea too!
What a fun item to make. I’m pinning it. I want to make one!
What a cute idea. I did something similar when I was an elementary teacher. Kids like to have a place to hide while they are enjoying reading.
This turned out awesome! I never thought to try and make a teepee myself but you made it look so easy!
what are the ending dimensions of this?
I love this! The only suggestion is… If you’d put pictures and instructions together my brain wouldn’t hurt so bad trying to figure it all out!!! But I’m loving the journey
Hi.
Great tutorial.
Can you please help me witht the measurements if the dowels I have are 150 CM (4.92 ft).
How to make the adjustments according to the poles you have?
Thanks a lot
That is such a fun idea. My kids would love it if I made them a teepee!!
That’s such a cool idea. This is the best fort ever. I need to do this with my kids.
Man I wish I had made one of these for my kids. I can make one for my friend’s granddaughter. What a cute idea.
This is great, and educational! I think I could even get my teen to do this project with his friends, thanks for this brilliant idea!
I have always wanted to have a meditation and reading teepee, I just need a bit more material, bwah ha ha ha! LOL 🙂
I made this and needed nowhere near 8 yards of fabric, prob closer to 5 yards!
Great project for the next time my niece and nephew are over. It is a neat place to sleep for a little kid.
MY daughter was always trying to make teepees out of things when she was little. I need to make this for my granddaughter.
That is so cool! I have seen these in catalogs, but they are ridiculously expensive! This is so much more affordable, and I can pick the fabric. I will have to try and make one for my son.
Oh wow this is great! My daughter will surely love and enjoy this. So creative!
That is a super cute teepee idea! I bet my kids would go crazy over this! So creative!
You did a marvelous job with this. It looks really great. I would have to say that it sounds like a lot of fun to make something like this. It also seems pretty decorative, even if you don’t have kids.
Totally loving this one! I love making DIYs especially for the kids, my daughter will surely love this one! It’s a great way to keep her reading as well. It would be a nice little reading place for her.
That is such a beautiful teepee! If I had that at home, my grandchildren won’t ever come out and spend hours playing in there. I wish I had at least a little bit of your crafting talent!
What a good ideas for making a tent and I’m sure my kids would enjoy this so much. I would love to try this
This is such a cute project and I am confident I can manage this myself. Thanks for the step by step tutorial on how to make it. I will start on this project and set it up in the patio or the yard for our family get together on the 4th. The kids would have their own “space.”
Wow this teepee looks fantastic. I have seen a few online and wondered how easy they were to make. I will have to get the supplies I need to make one.
I just want to say thank you for this tutorial! I was able to complete this project in a day for my best friend baby shower. I was able to follow the instructions easily and I don’t feel like there was any steps missed. Thanks again!
Super cute but just a recommendation to put the vertical dimension of the upper front panel into your directions/pattern because that’s the one key measurement that’s missing and would make this even easier. Thanks!
Hi.. Have been thinking of making it for a long time and now with a new House i am sure to make it. Can you please confirm it OK for the fabric to be 60″ wide. Until what age can it be used
Pingback: Diy – todoityourself.com
Pingback: 20 Best Ideas Diy Kids Teepee - Best DIY Ideas and Craft Collections
I made it, instructions were great. Couple of suggestions as there is lots of wasted fabric. I pieced the dowel cover from the scraps and had lots of fabric left over so you can certainly reduce the fabric purchase. I also zigzagged all seams and only used a zigzag stick on the hem to add some pizazz and minimize fraying.
I used Barkcloth which is heavier than cotton and comes in 56 wide which worked great
Pingback: Indoor Camping Ideas for Entertaining the Kids - Crazy Camping Girl
Pingback: 30 Cozy DIY Home Decor Ideas to Convert Your House Into a Home – PinkDIY.com
Pingback: The Best DIY Teepee & Kids Tents – Terra & Tint
Thank you so much for sharing this. It’s very clear and helpful ! ❤
Pingback: DIY Teepee Blog List - Teepee Joy Blog
Pingback: Winter Sports for Kids Preparation Checklist