Glass Snowman Christmas Ornament
Glass Snowman Christmas Ornament If you are searching for diy christmas ornaments or diy snowman crafts, then we have the cutest clear ornament snowman craft for you. You can easily make these snowman homemade...


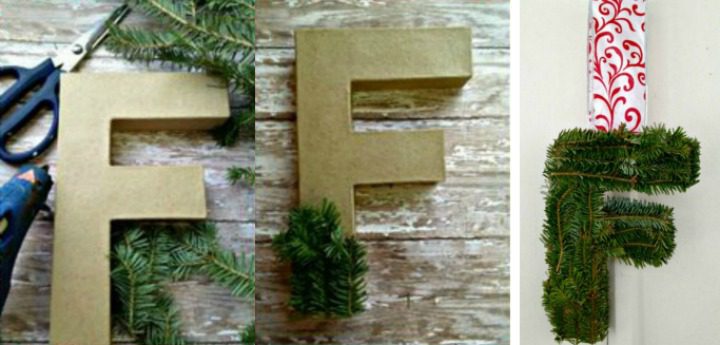
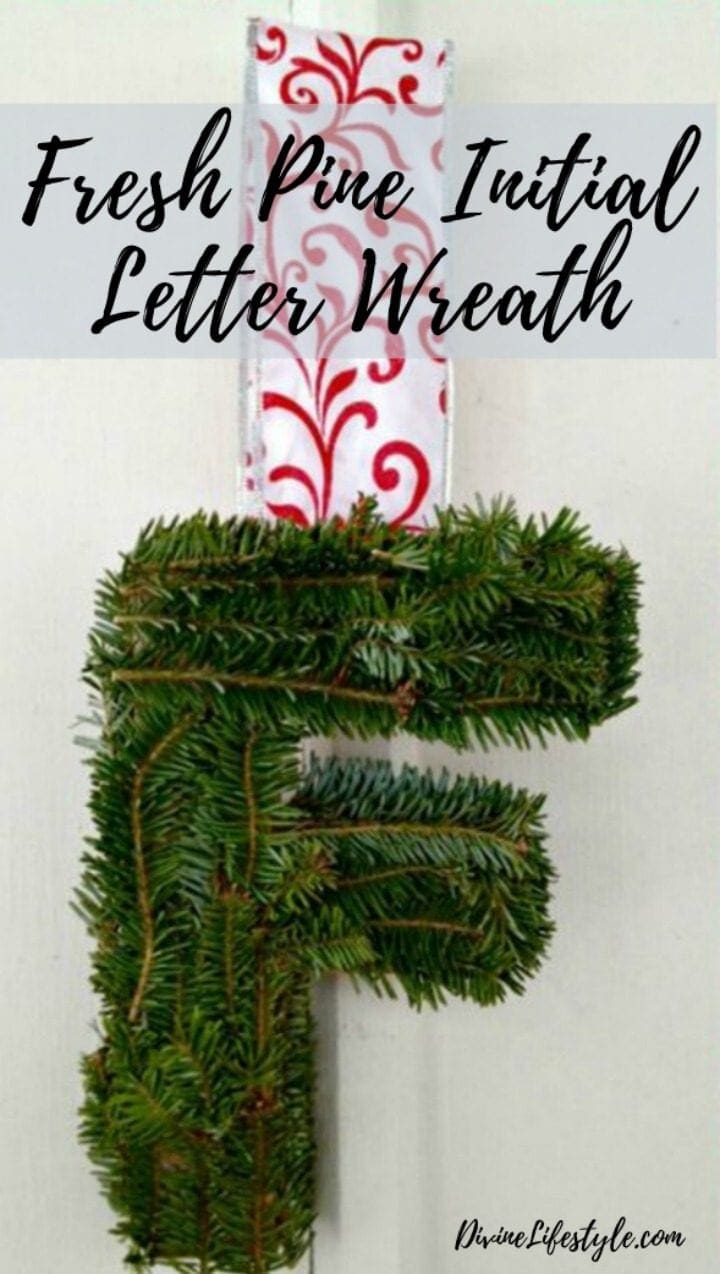
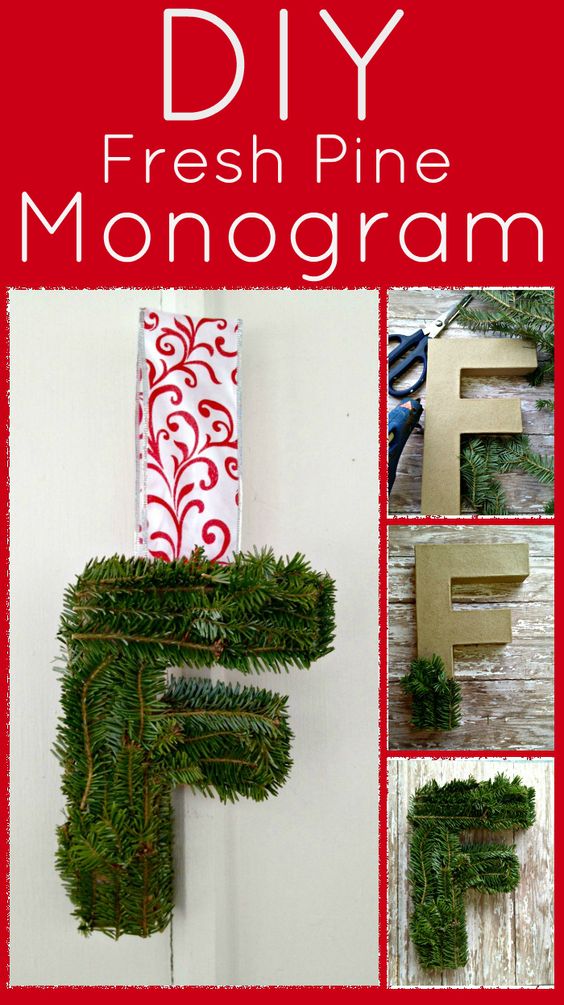
If you love bringing the fresh scent of pine into your home all winter long, this DIY fresh pine monogram craft is an activity you won’t want to miss. Simple to make, this monogram looks like a piece you would buy in a specialty boutique. But the truth is, you can make it yourself in just minutes and for under $5! Take a peek below at how to make your own to enjoy or give as a gift. They smell just as great as they look. We hope that you love this DIY Fresh Pine Monogram Letter Wreath.
I have always wanted to do a boxwood initial wreath or one of those southern monogram wreaths. I think that the perfect DIY wreath or boxwood wreath is one that uses supplies and things that you already have around the house; it's the perfect Christmas craft. This Christmas wreaths DIY makes the cutest monogram wreath letter with this initial wreaths for front door DIY.
 DIY Fresh Pine Monogram Letter Wreath
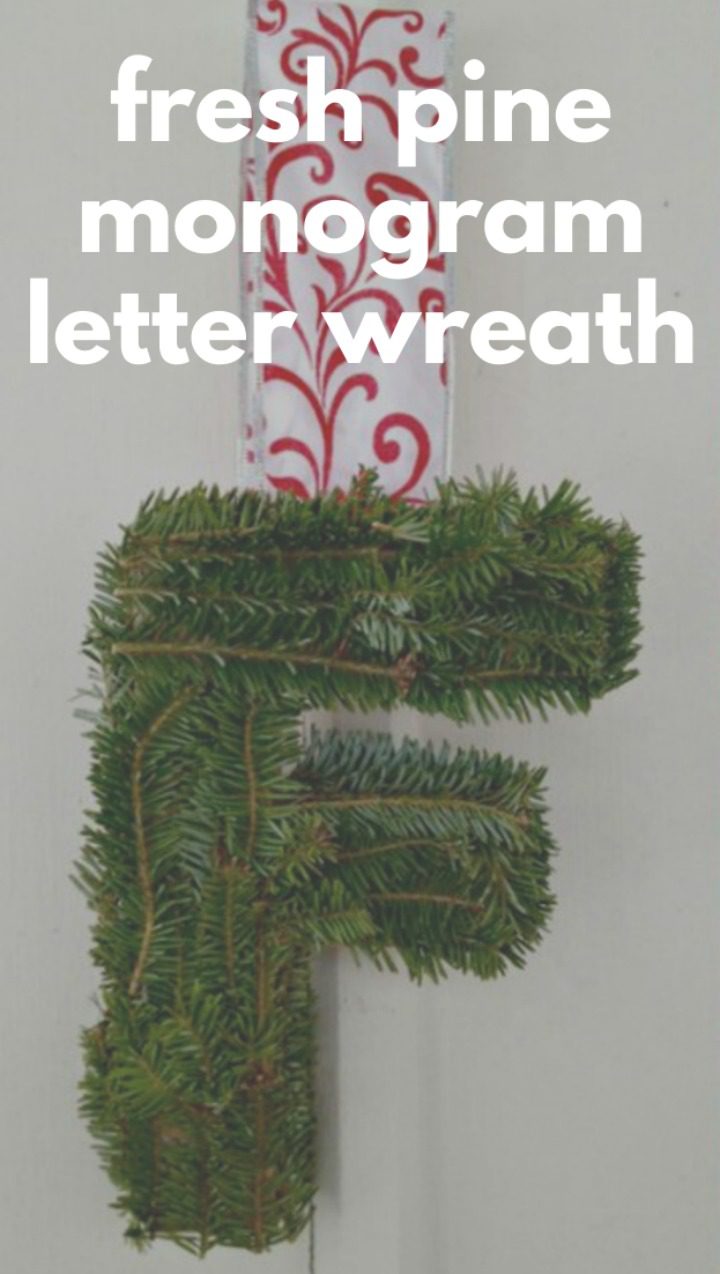
These fresh pine monograms are so easy to make, and can be displayed from your door, mantel, or even the back of a dining room chair. Give them a try and add the fragrance and charm of fresh pine to your home this winter season.
Whether you were looking for a boxwood letter wreath or a initial wreaths DIY or a monogram boxwood wreath or a letter wreath for door DIY, this DIY wreaths for front door is the cutest monogram wreath DIY.
To know how to make a monogram wreath, follow these directions exactly. We hope that you are inspired by this DIY Fresh Pine Monogram Letter Wreath. Happy crafting!
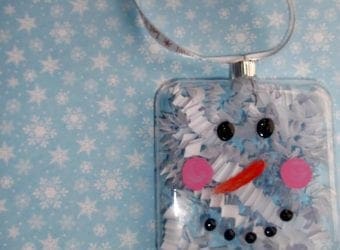
Glass Snowman Christmas Ornament If you are searching for diy christmas ornaments or diy snowman crafts, then we have the cutest clear ornament snowman craft for you. You can easily make these snowman homemade...
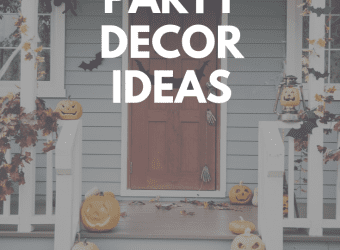
DIY Frugal Halloween Party Decor In just a few weeks it will be time to gather ghosts and goblins for a spooky good time. Halloween time brings Halloween celebrations, full of fun games to...

DIY Heart Craft Tissue Paper Night Light Now that we are back to school and winter is in full swing, my kids who love kids crafts are always looking for valentine heart craft ideas....

Intro to Wood Burning | 20 DIY Wood Burning Art Projects Wood burning is something that I have recently tried and I am absolutely loving the results. For years, I never attempted wood burning...