DIY Outdoor Living Space Ideas
DIY Outdoor Living Space Ideas Are you wanting a custom outdoor living space? Outdoor spaces can truly become an extension of your home. We view our back deck which spans the entire length of...
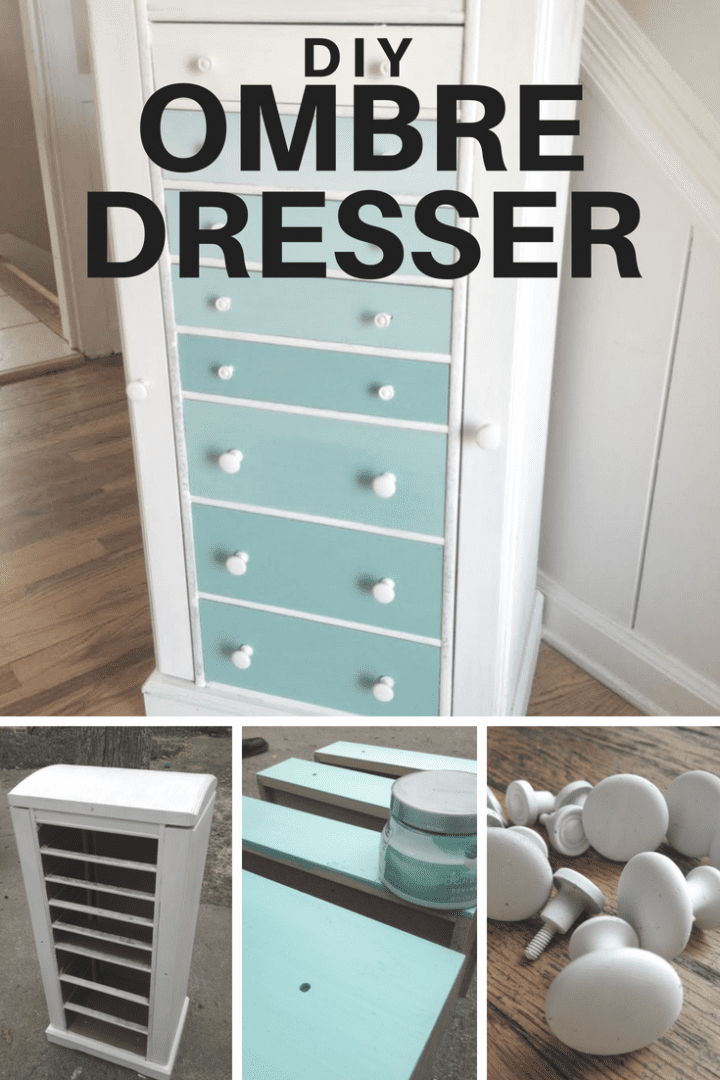
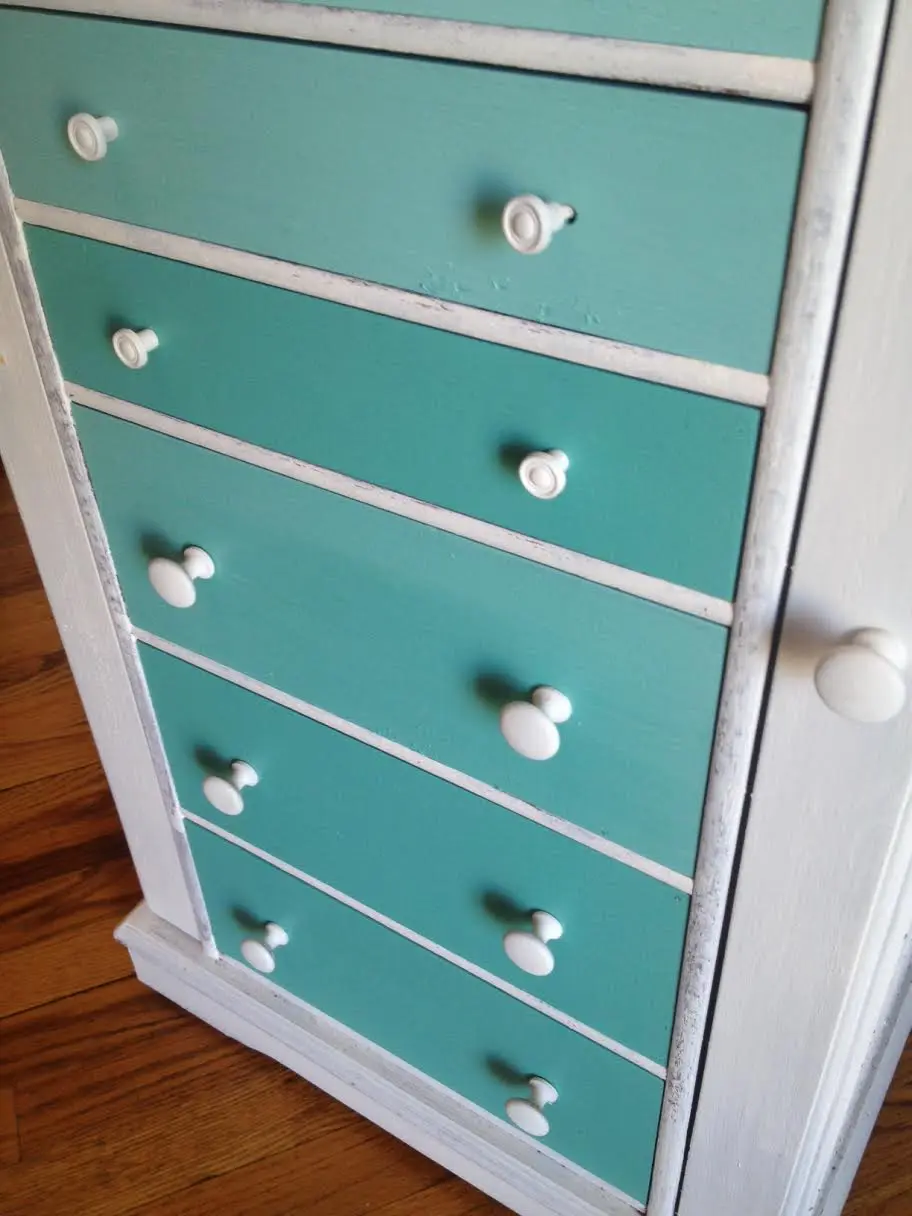
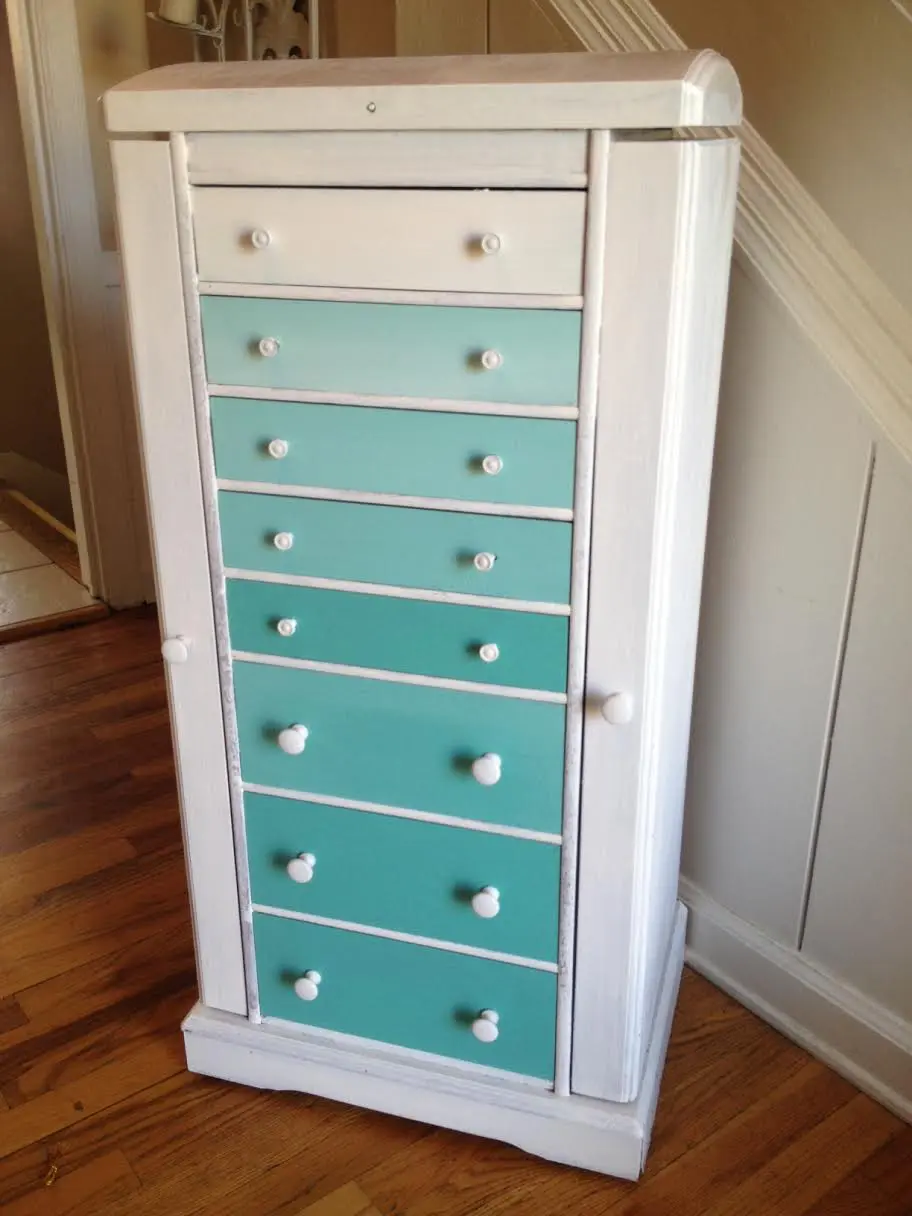
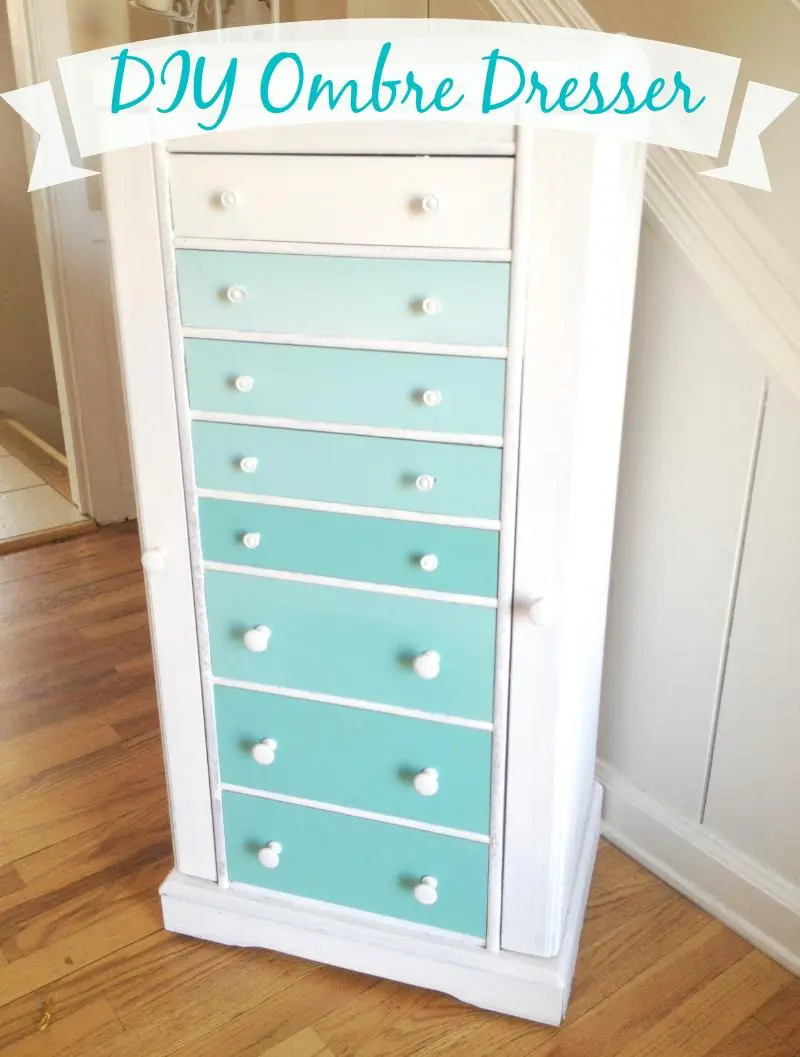
Ombre style coloring is all the rage in home décor. Ombre colored pieces give a water color effect, where the color starts off light and trickles down to a bolder hue. You can add the look of ombre easily to your space by using a simple painting technique. Take a look below at how to paint this DIY Ombre dresser using ombre coloring. It is easier than you may think and the finished result is something that looks of boutique quality. We hope that you love our DIY Ombre Dresser. Take a peek!

We found the paint used for our project at Target. They have a new line of home décor paint out called Devine, and the colors are beautiful. You can buy sample sizes (8 oz.) for $5, which is the perfect amount for this project. We now suggest Annie Sloane's Chalk Paint in the color we linked to above for better and longer lasting coverage.
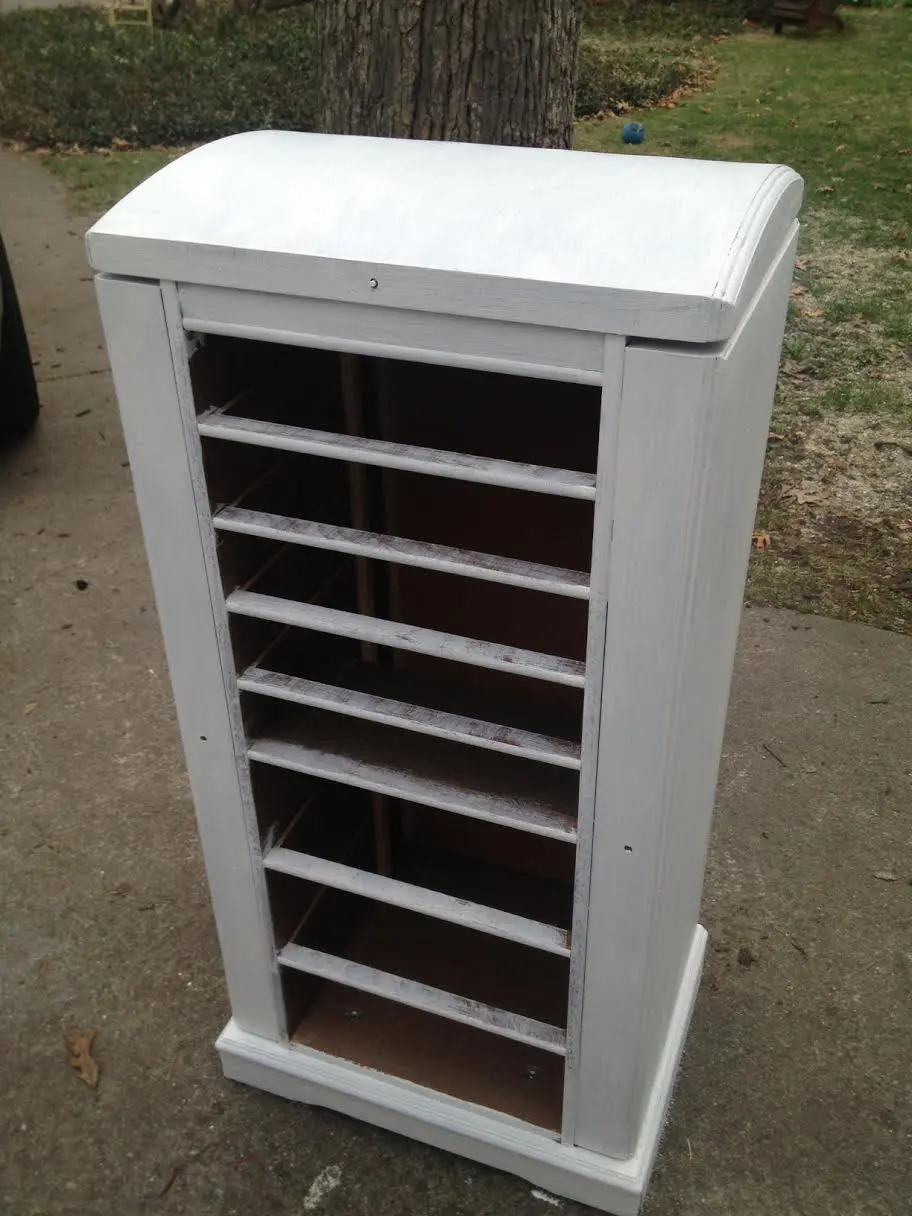
As far as a dresser, check out your own garage or local thrift spots to see what you can find. Also check NextDoor. Ours was a curb cast off that needed some love, and as you can see it cleaned up nicely.
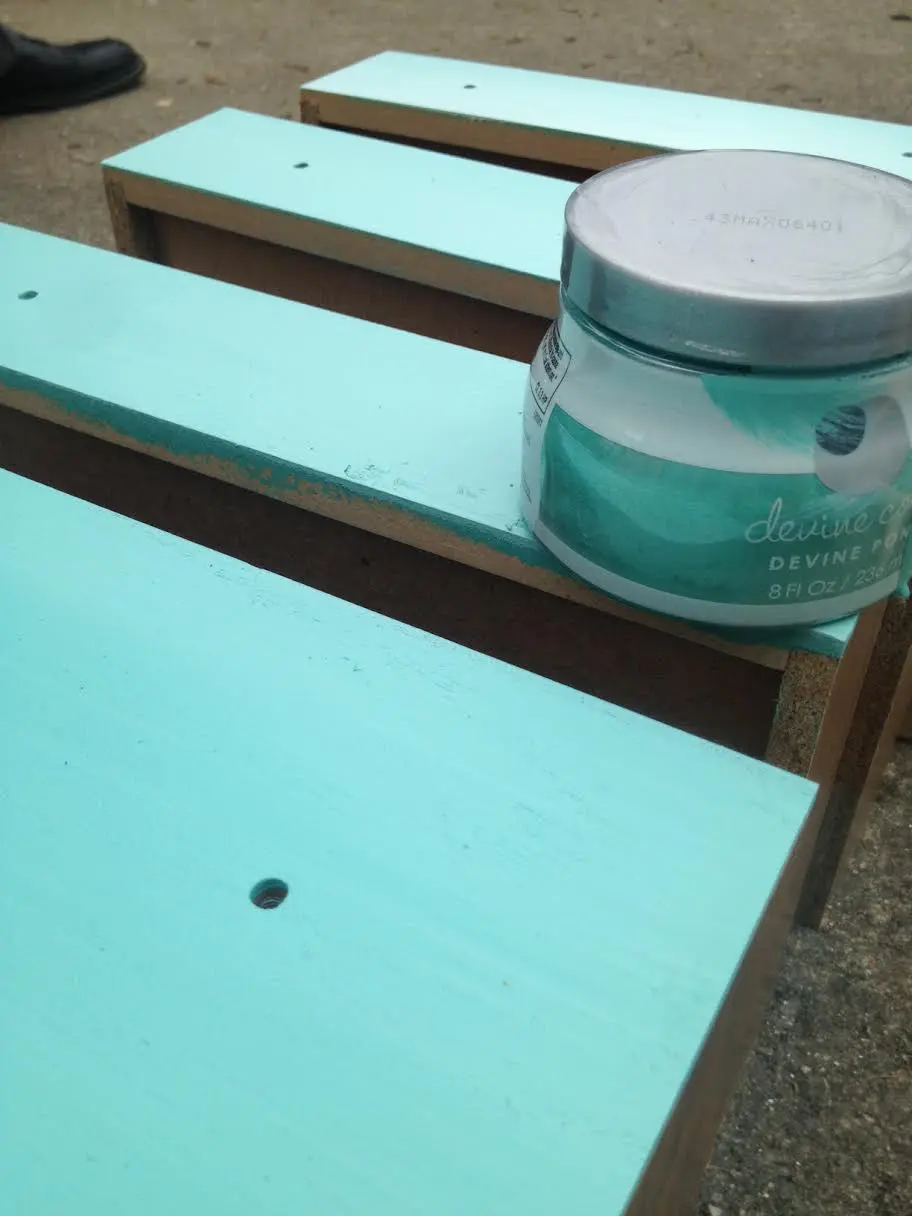
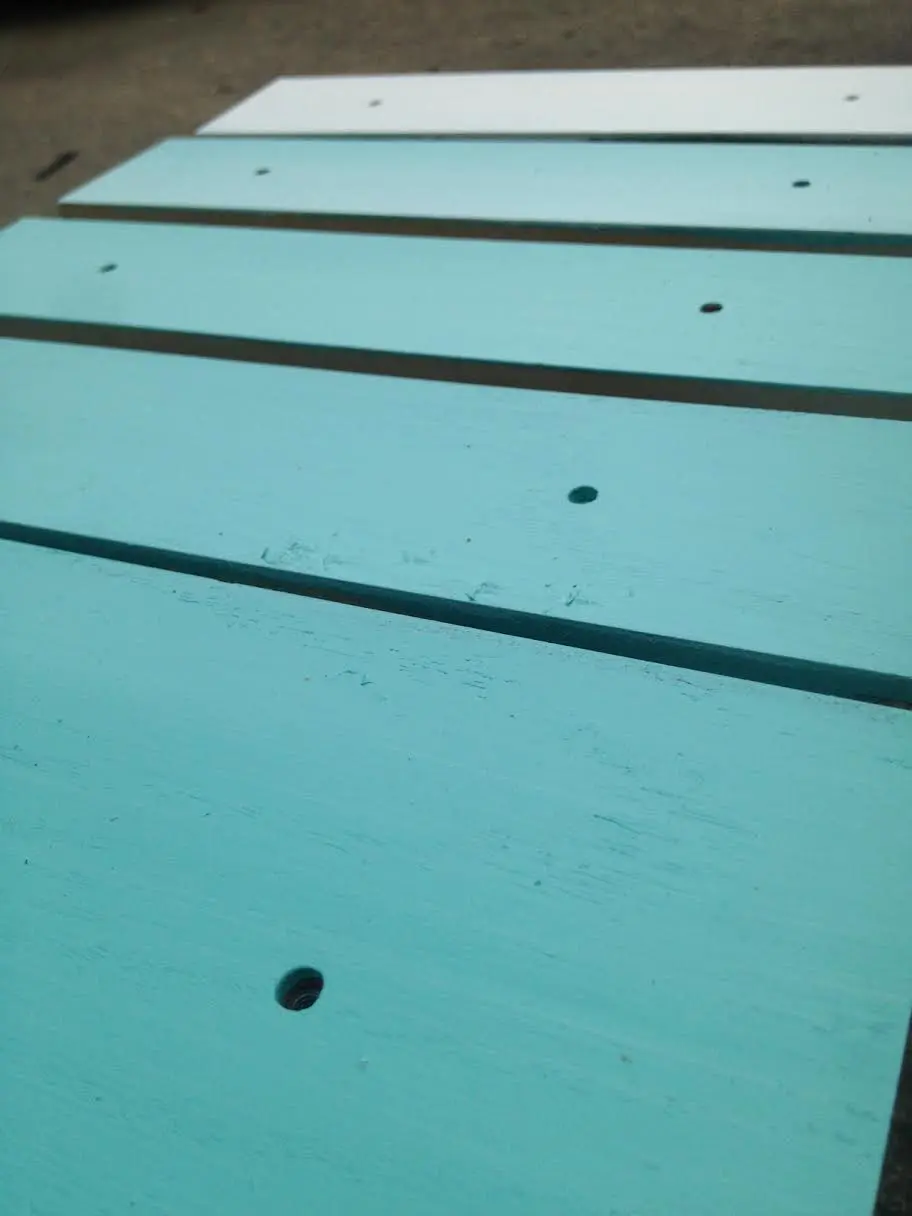
Trust your eyes. If your colors are not drastic enough of a change for you just add more of the color or the white paint to get the hue of your choice. Always apply two coats to each drawer so you can get an idea of the true color. You can always add additional coats to darken the color if you wish.
When your paint is dry, you can apply a clear coat for protection or distress it slightly with sandpaper for an antique look.
Painting your own ombre dresser can be fun and easy. Give this technique a try and you are sure to come up with something fun! Good luck with your own DIY Ombre Dresser.
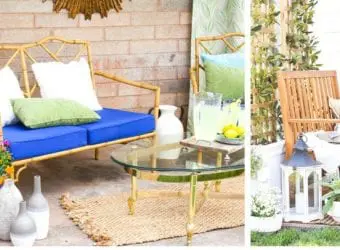
DIY Outdoor Living Space Ideas Are you wanting a custom outdoor living space? Outdoor spaces can truly become an extension of your home. We view our back deck which spans the entire length of...
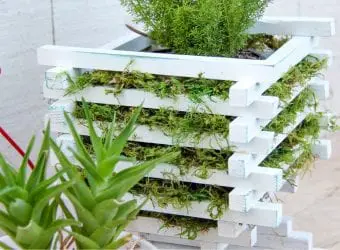
DIY Planter Box We've all been there, we buy seasonal plants like chrysanthemums (mums) and poinsettias to put on our front porch during autumn and the holiday season. We've been gifted potted plants for...
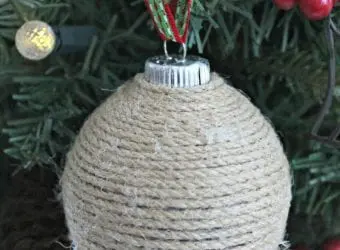
DIY Twine Christmas Ornament Making ornaments isn't something that I have done a lot of. My kids seem to do them in school every year and bring them home which I lovingly hang on...

DIY AROMATHERAPY NECK PILLOW Materials: 1 tube sock Needle & thread OR sewing machine White rice (2-3 cups depending on the size of your sock) 10-15 drops Lavender oil (or your essential oil of...