 This post is brought to you in partnership with
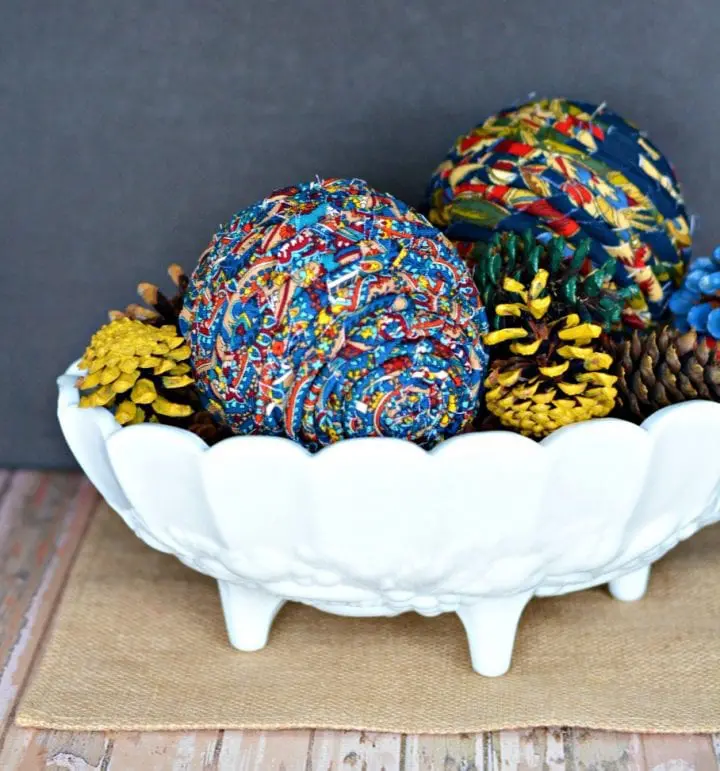
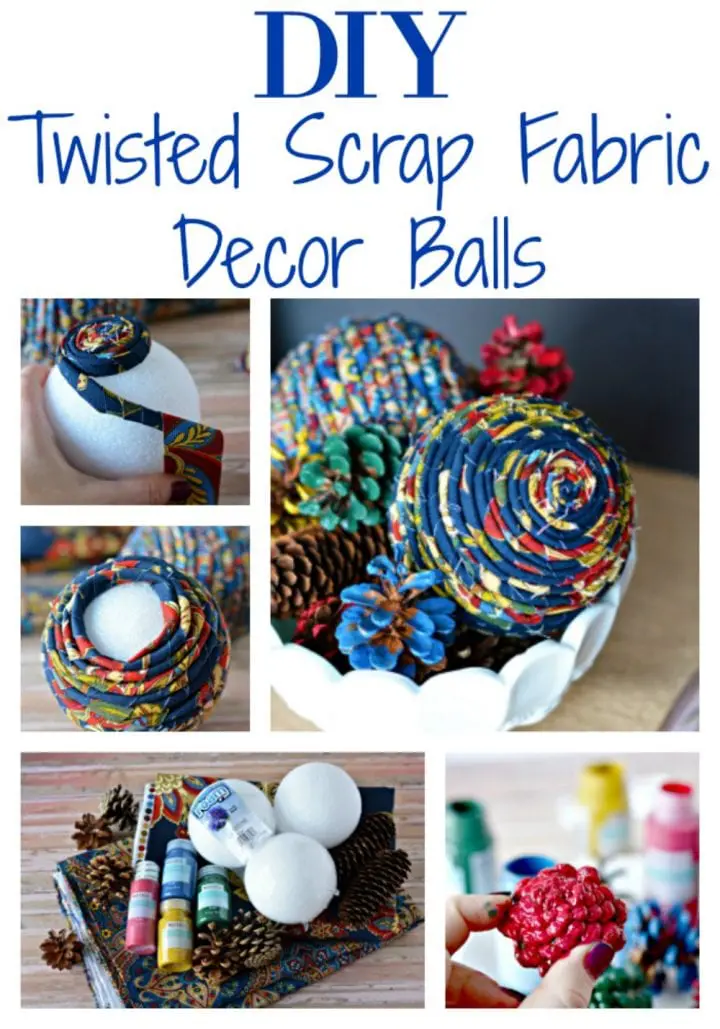
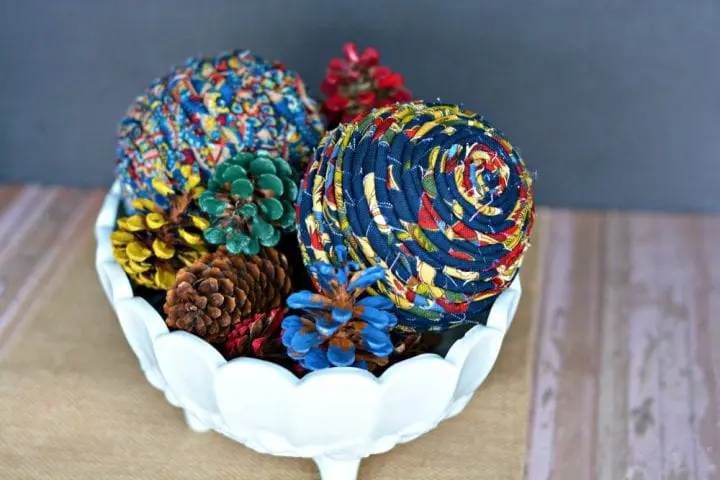 DIY Twisted Scrap Fabric Decor Balls
 Directions
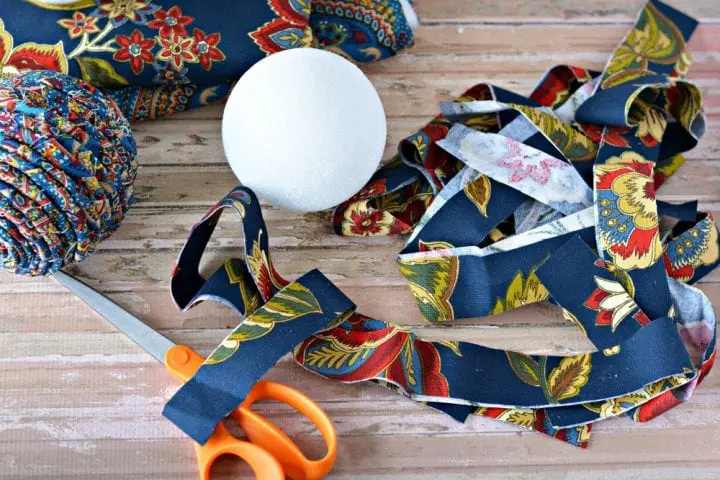
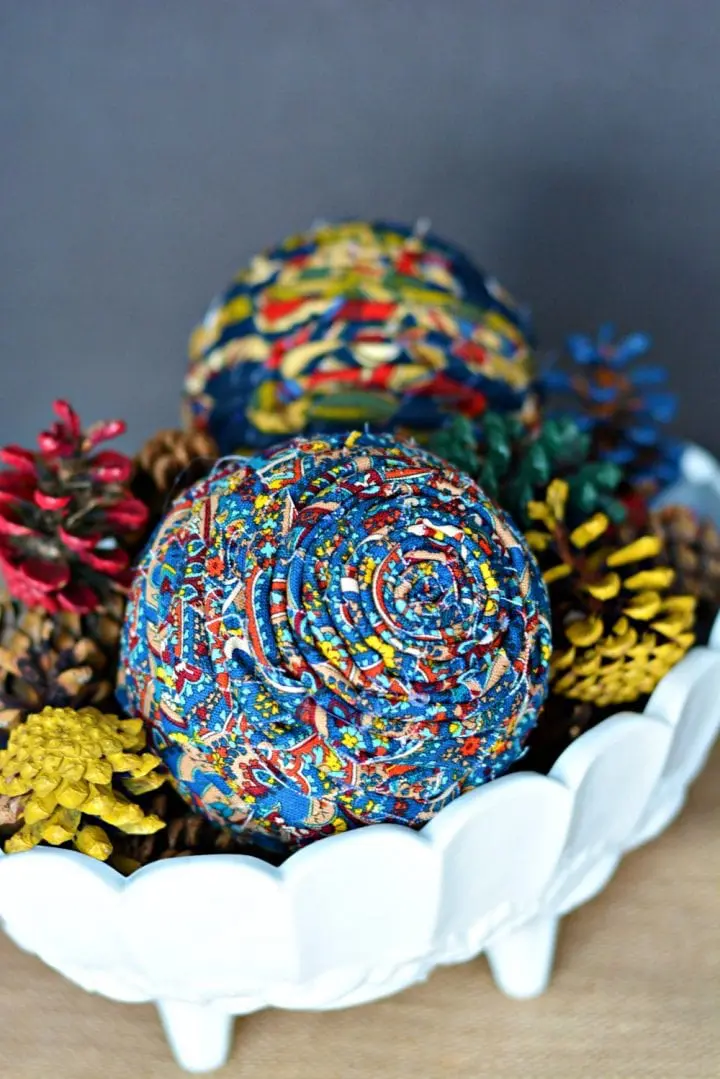
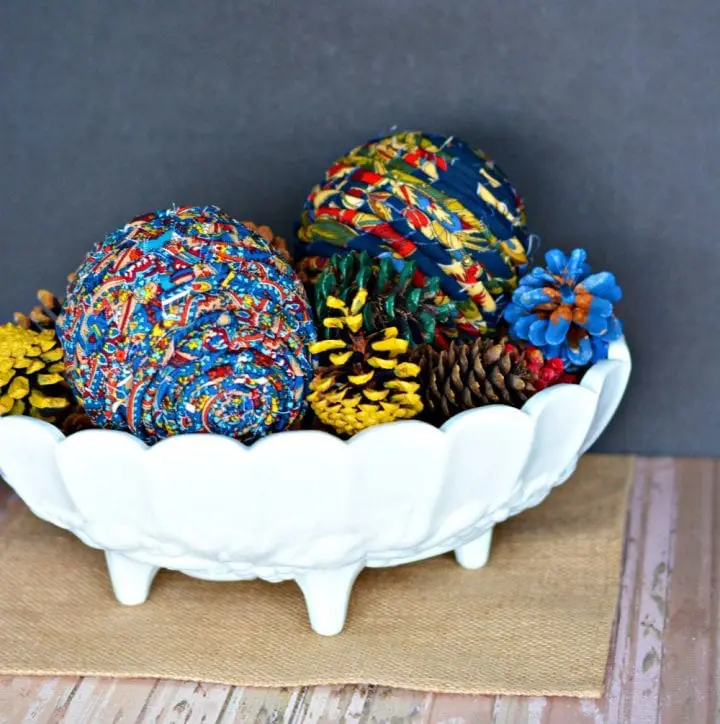
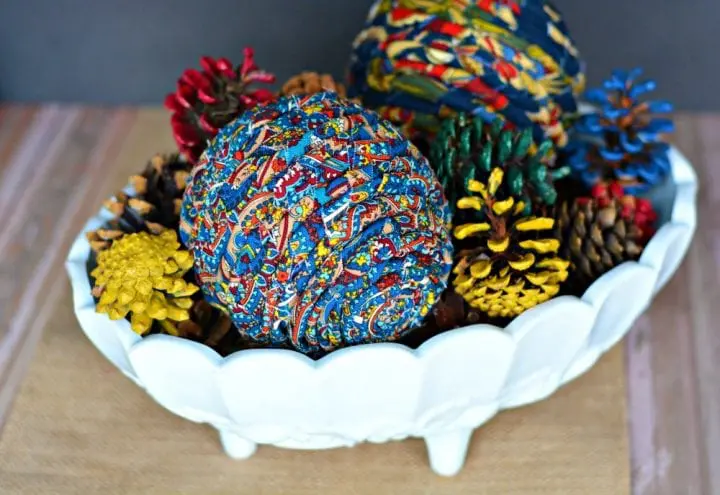
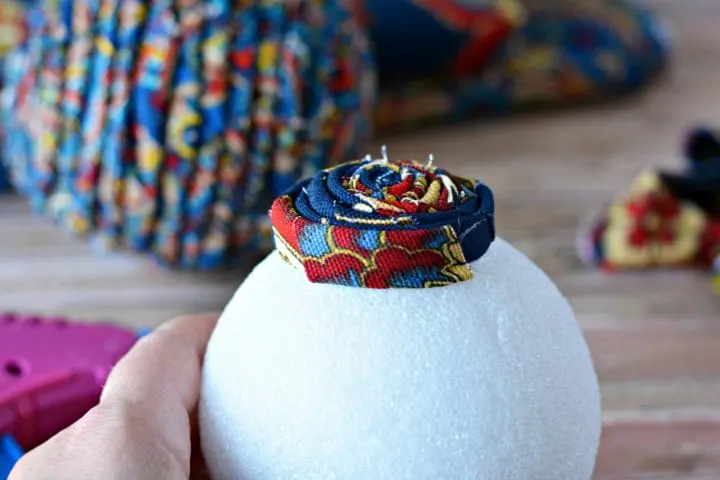
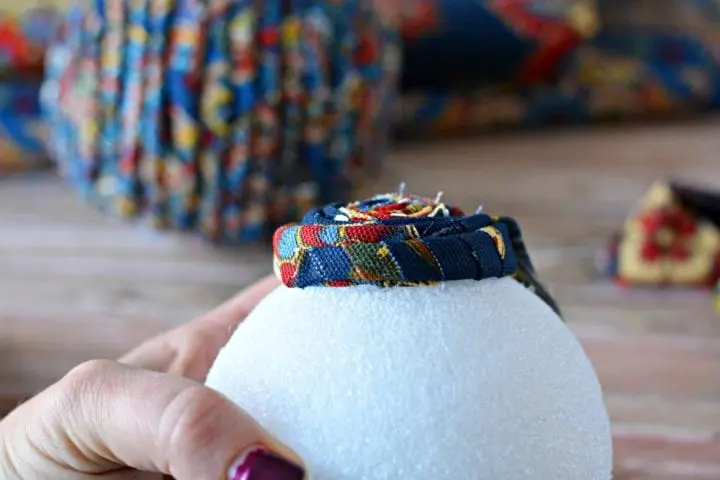
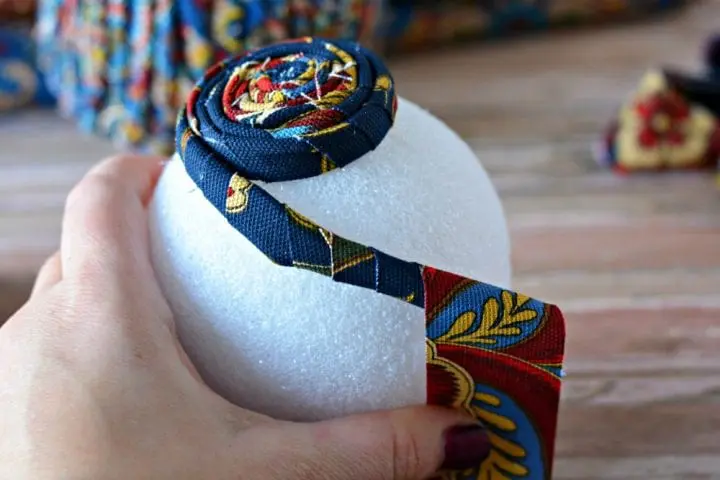
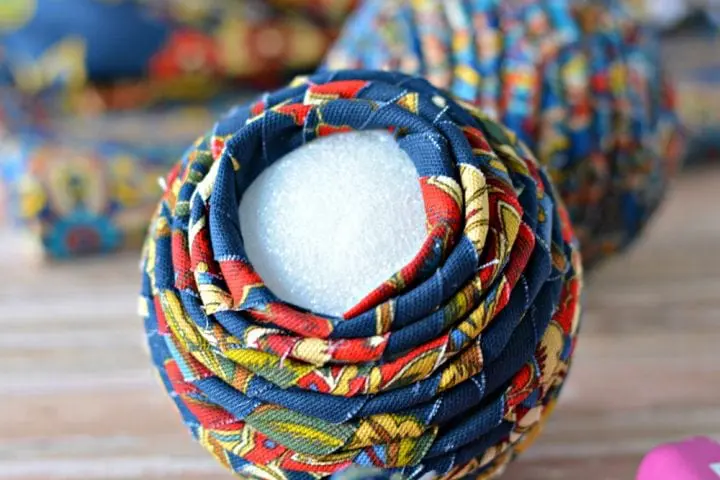

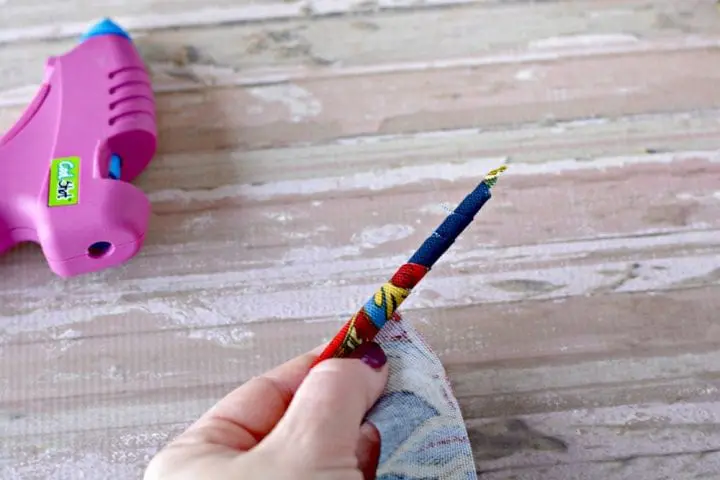
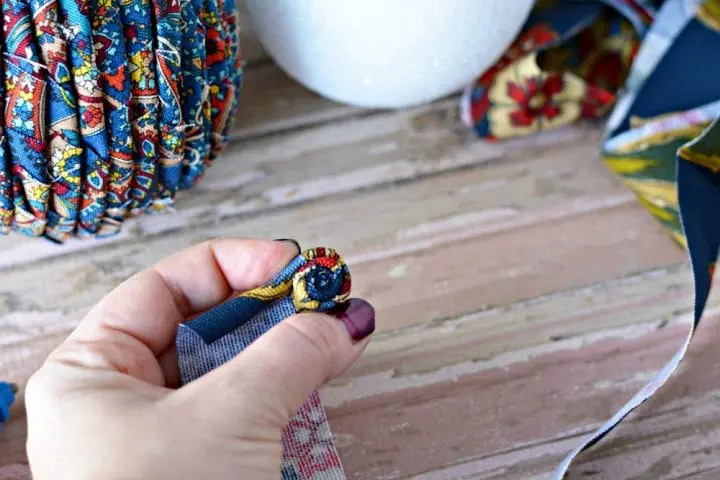 FABRIC BALLS/SPHERES:
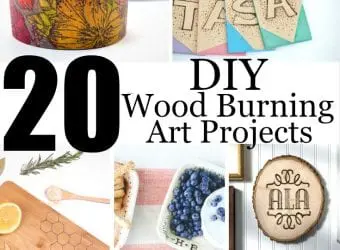
Intro to Wood Burning | 20 DIY Wood Burning Art Projects
Intro to Wood Burning | 20 DIY Wood Burning Art Projects Wood burning is something that I have recently tried and I am absolutely loving the results. For years, I never attempted wood burning...