Chalk Paint Upcycle Antler Chandelier DIY
Chalk Paint Upcycle Antler Chandelier I literally found this chandelier in a laundry basket in my basement. No one knows how it got there so guess what? PROJECT. Yay! No one loves a DIY...
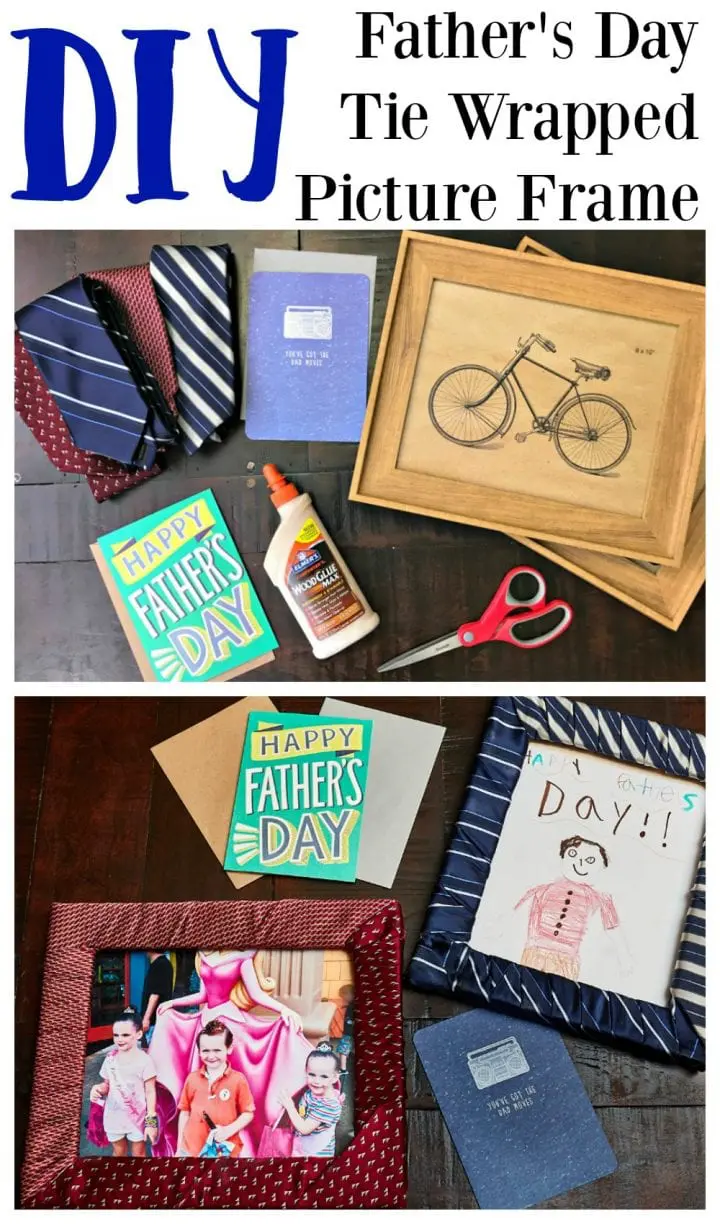
Gift giving is no easy feat. What do you give to the man who raised you or to the father of your children that can truly signify how much they mean to you? I take my gift giving seriously and in fact, I spend a lot of time researching then buying a present that I know the recipient will love. The cards are just as important as the gift. I search for cards that really share my emotions. I often spend 20 minutes looking at cards while in the store. I read and read until finding just the right card. We hope that you love this DIY Father's Day Tie Wrapped Picture Frame.
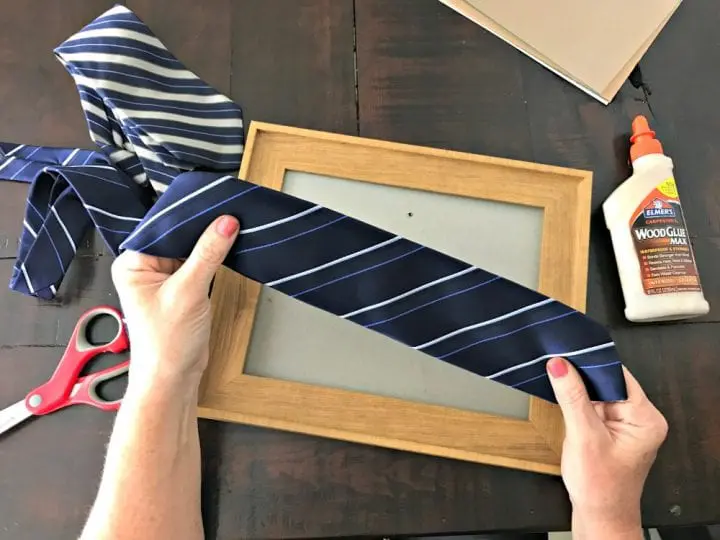
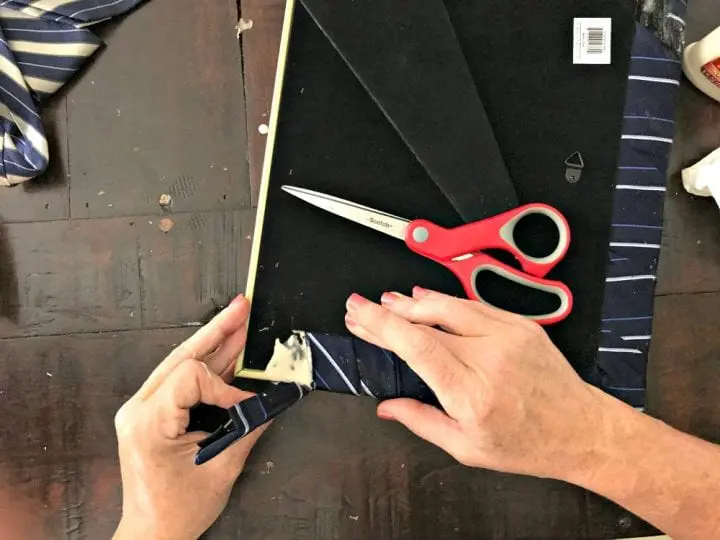
There are times instead of buying a gift, we plan to make something instead. Father's Day seems to be the holiday where this happens most. I had some inspiration while at a thrift store recently. I saw a lot of men's ties available and wondered what I could do with them. I had just purchased the frames from Target along with a few Father's Day cards. A few coordinating ties to round out my supplies and we were ready to create something fun.
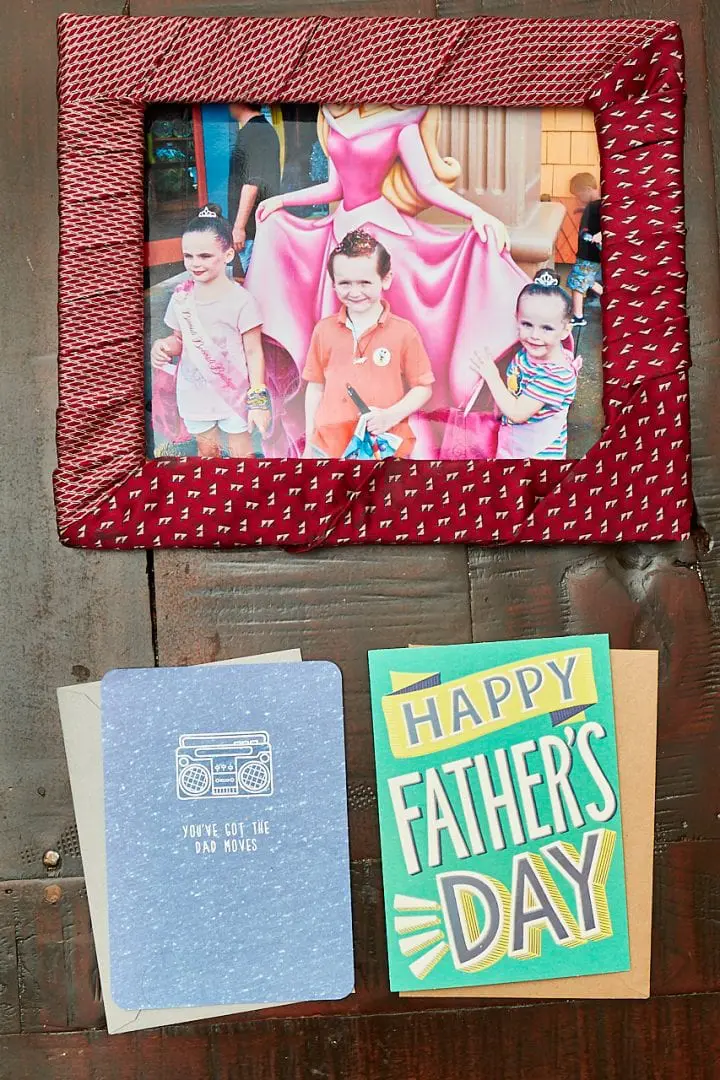

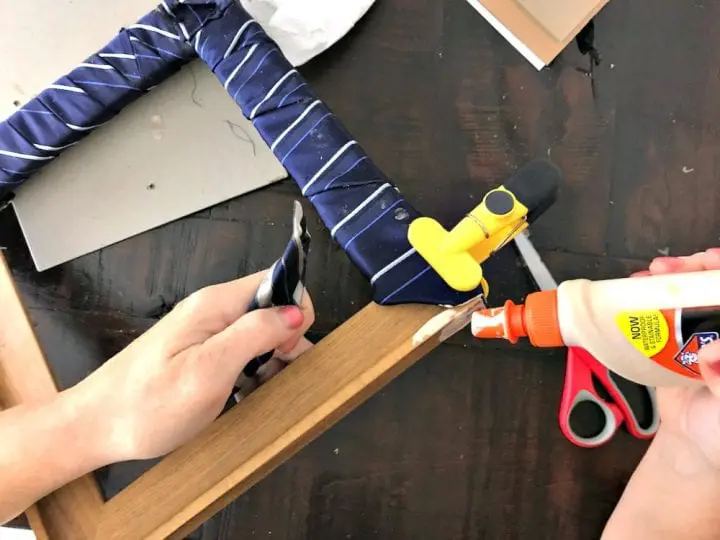
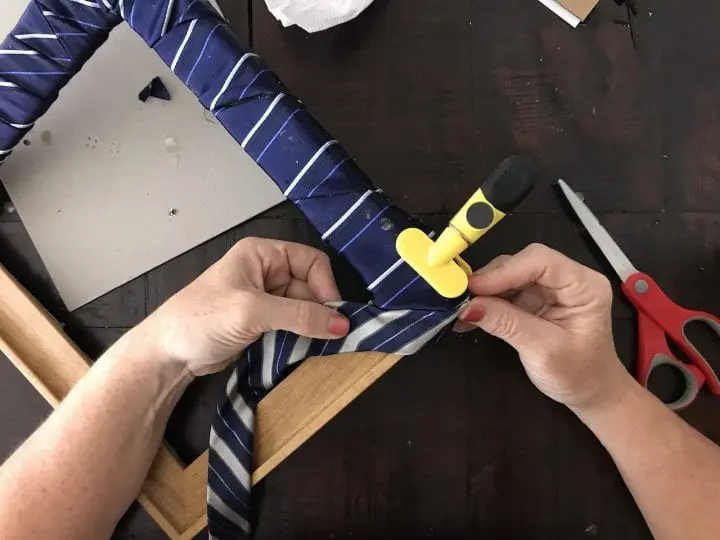
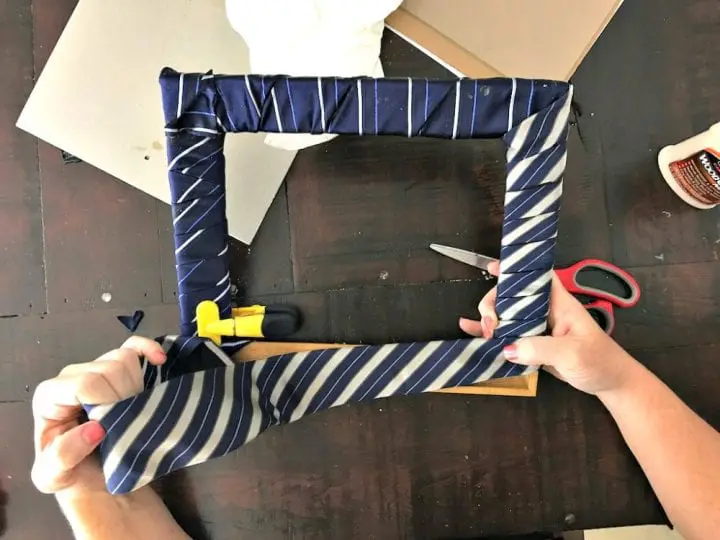
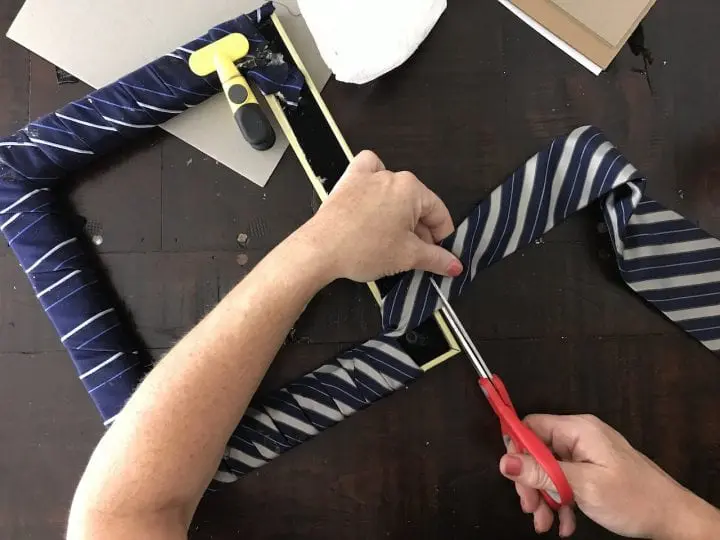
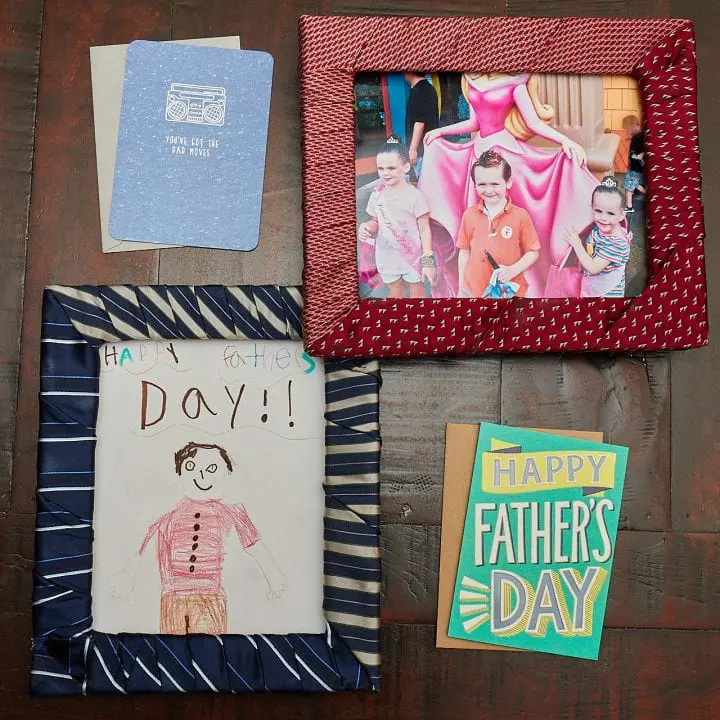 DIY Father's Day Tie Wrapped Picture Frame
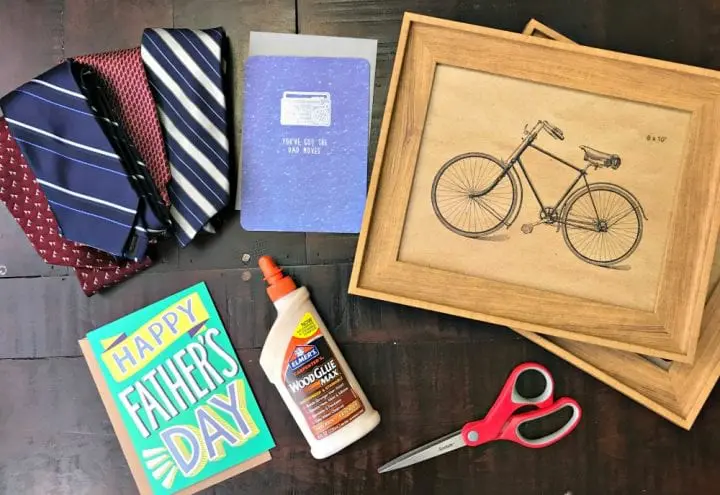
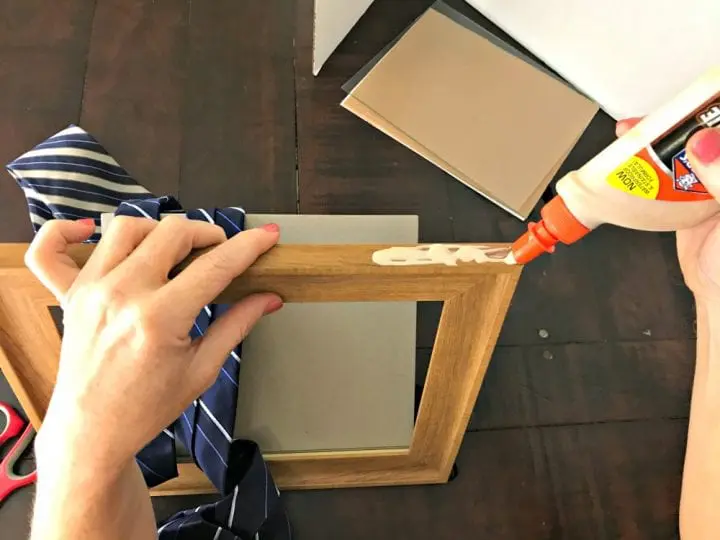
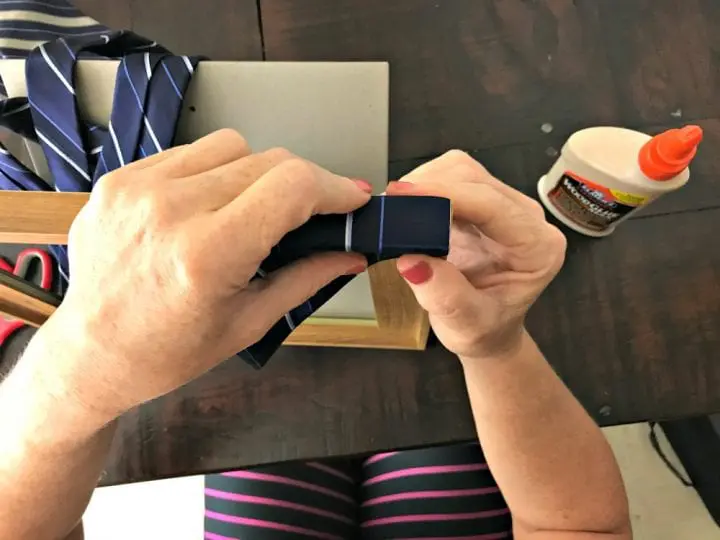
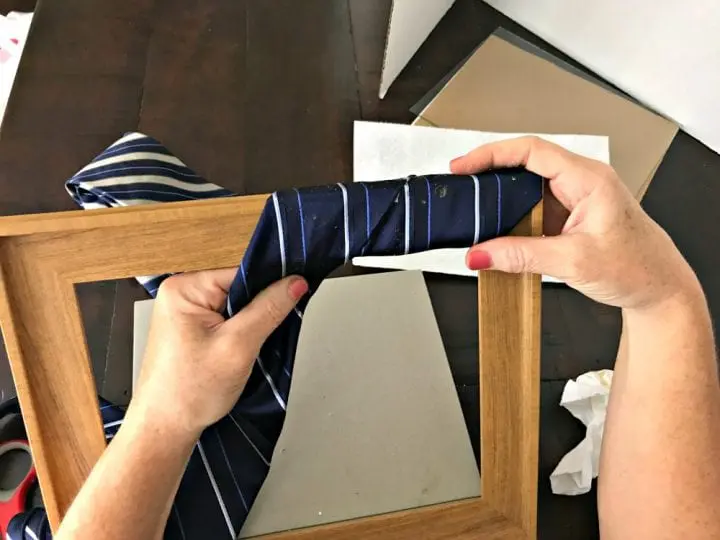
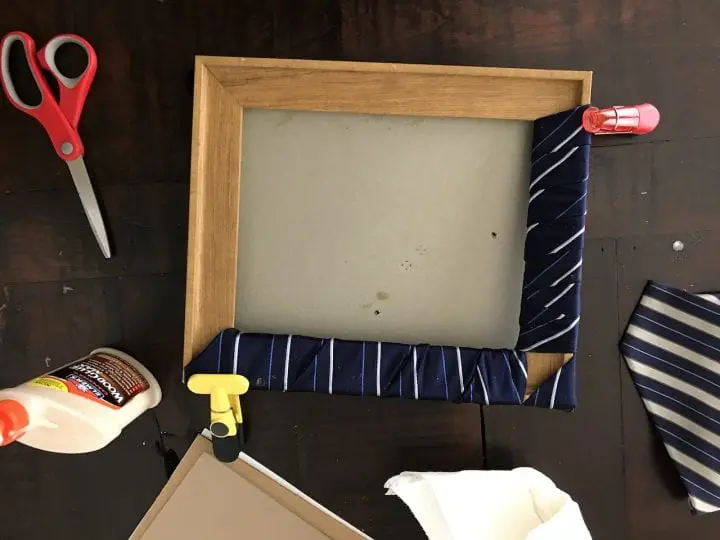
What makes this such a fun DIY is that mistakes are totally ok. This is a kids project using old ties so never worry if a mistake is made. We used too much glue in one part. Simply wait for it dry and then use a dry toothbrush to brush off of the ties. We hope that you are inspired by this DIY Father's Day Tie Wrapped Picture Frame. Happy crafting!


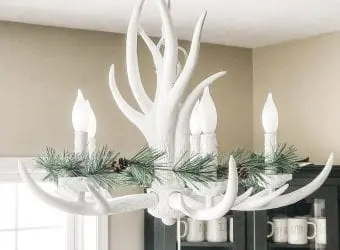
Chalk Paint Upcycle Antler Chandelier I literally found this chandelier in a laundry basket in my basement. No one knows how it got there so guess what? PROJECT. Yay! No one loves a DIY...
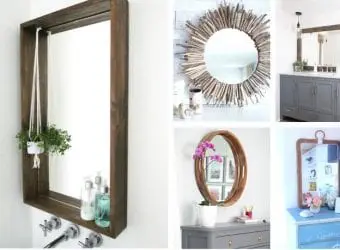
DIY Farmhouse Mirror Everyone wants that farmhouse look these days. Or they at least want some pieces in their homes that have the farmhouse look. If you are like me, then you love coming...
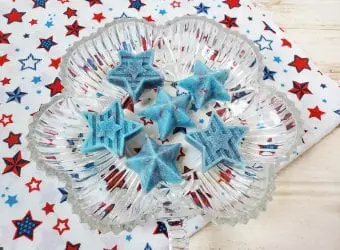
Patriotic Stars Exfoliating DIY Melt and Pour Soap Bars Homemade beauty products are quickly becoming one of my favorite things to do or DIY. There is an art (& Craft) when it comes to...
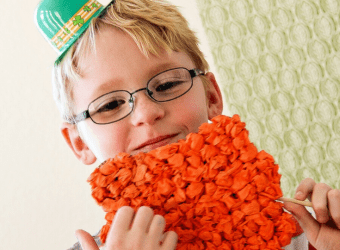
St. Patrick's Day Craft: DIY Leprechaun Beard If you are looking for a simple craft this St. Patrick's Day that will keep the kids busy, and create a lot of fun afterward, then try...